Winter storm Nemo passed over New York City last night, leaving us with somewhere around a foot of snow. Mayor Bloomberg encouraged everyone to stay home. But my brother-in-law was stranded in Los Angeles and my sister Hannah was going a bit nuts trapped inside with their teething one-year-old, Wally. So I donned my shearling-lined Bean boots (thanks, Mom!) and headed outside.
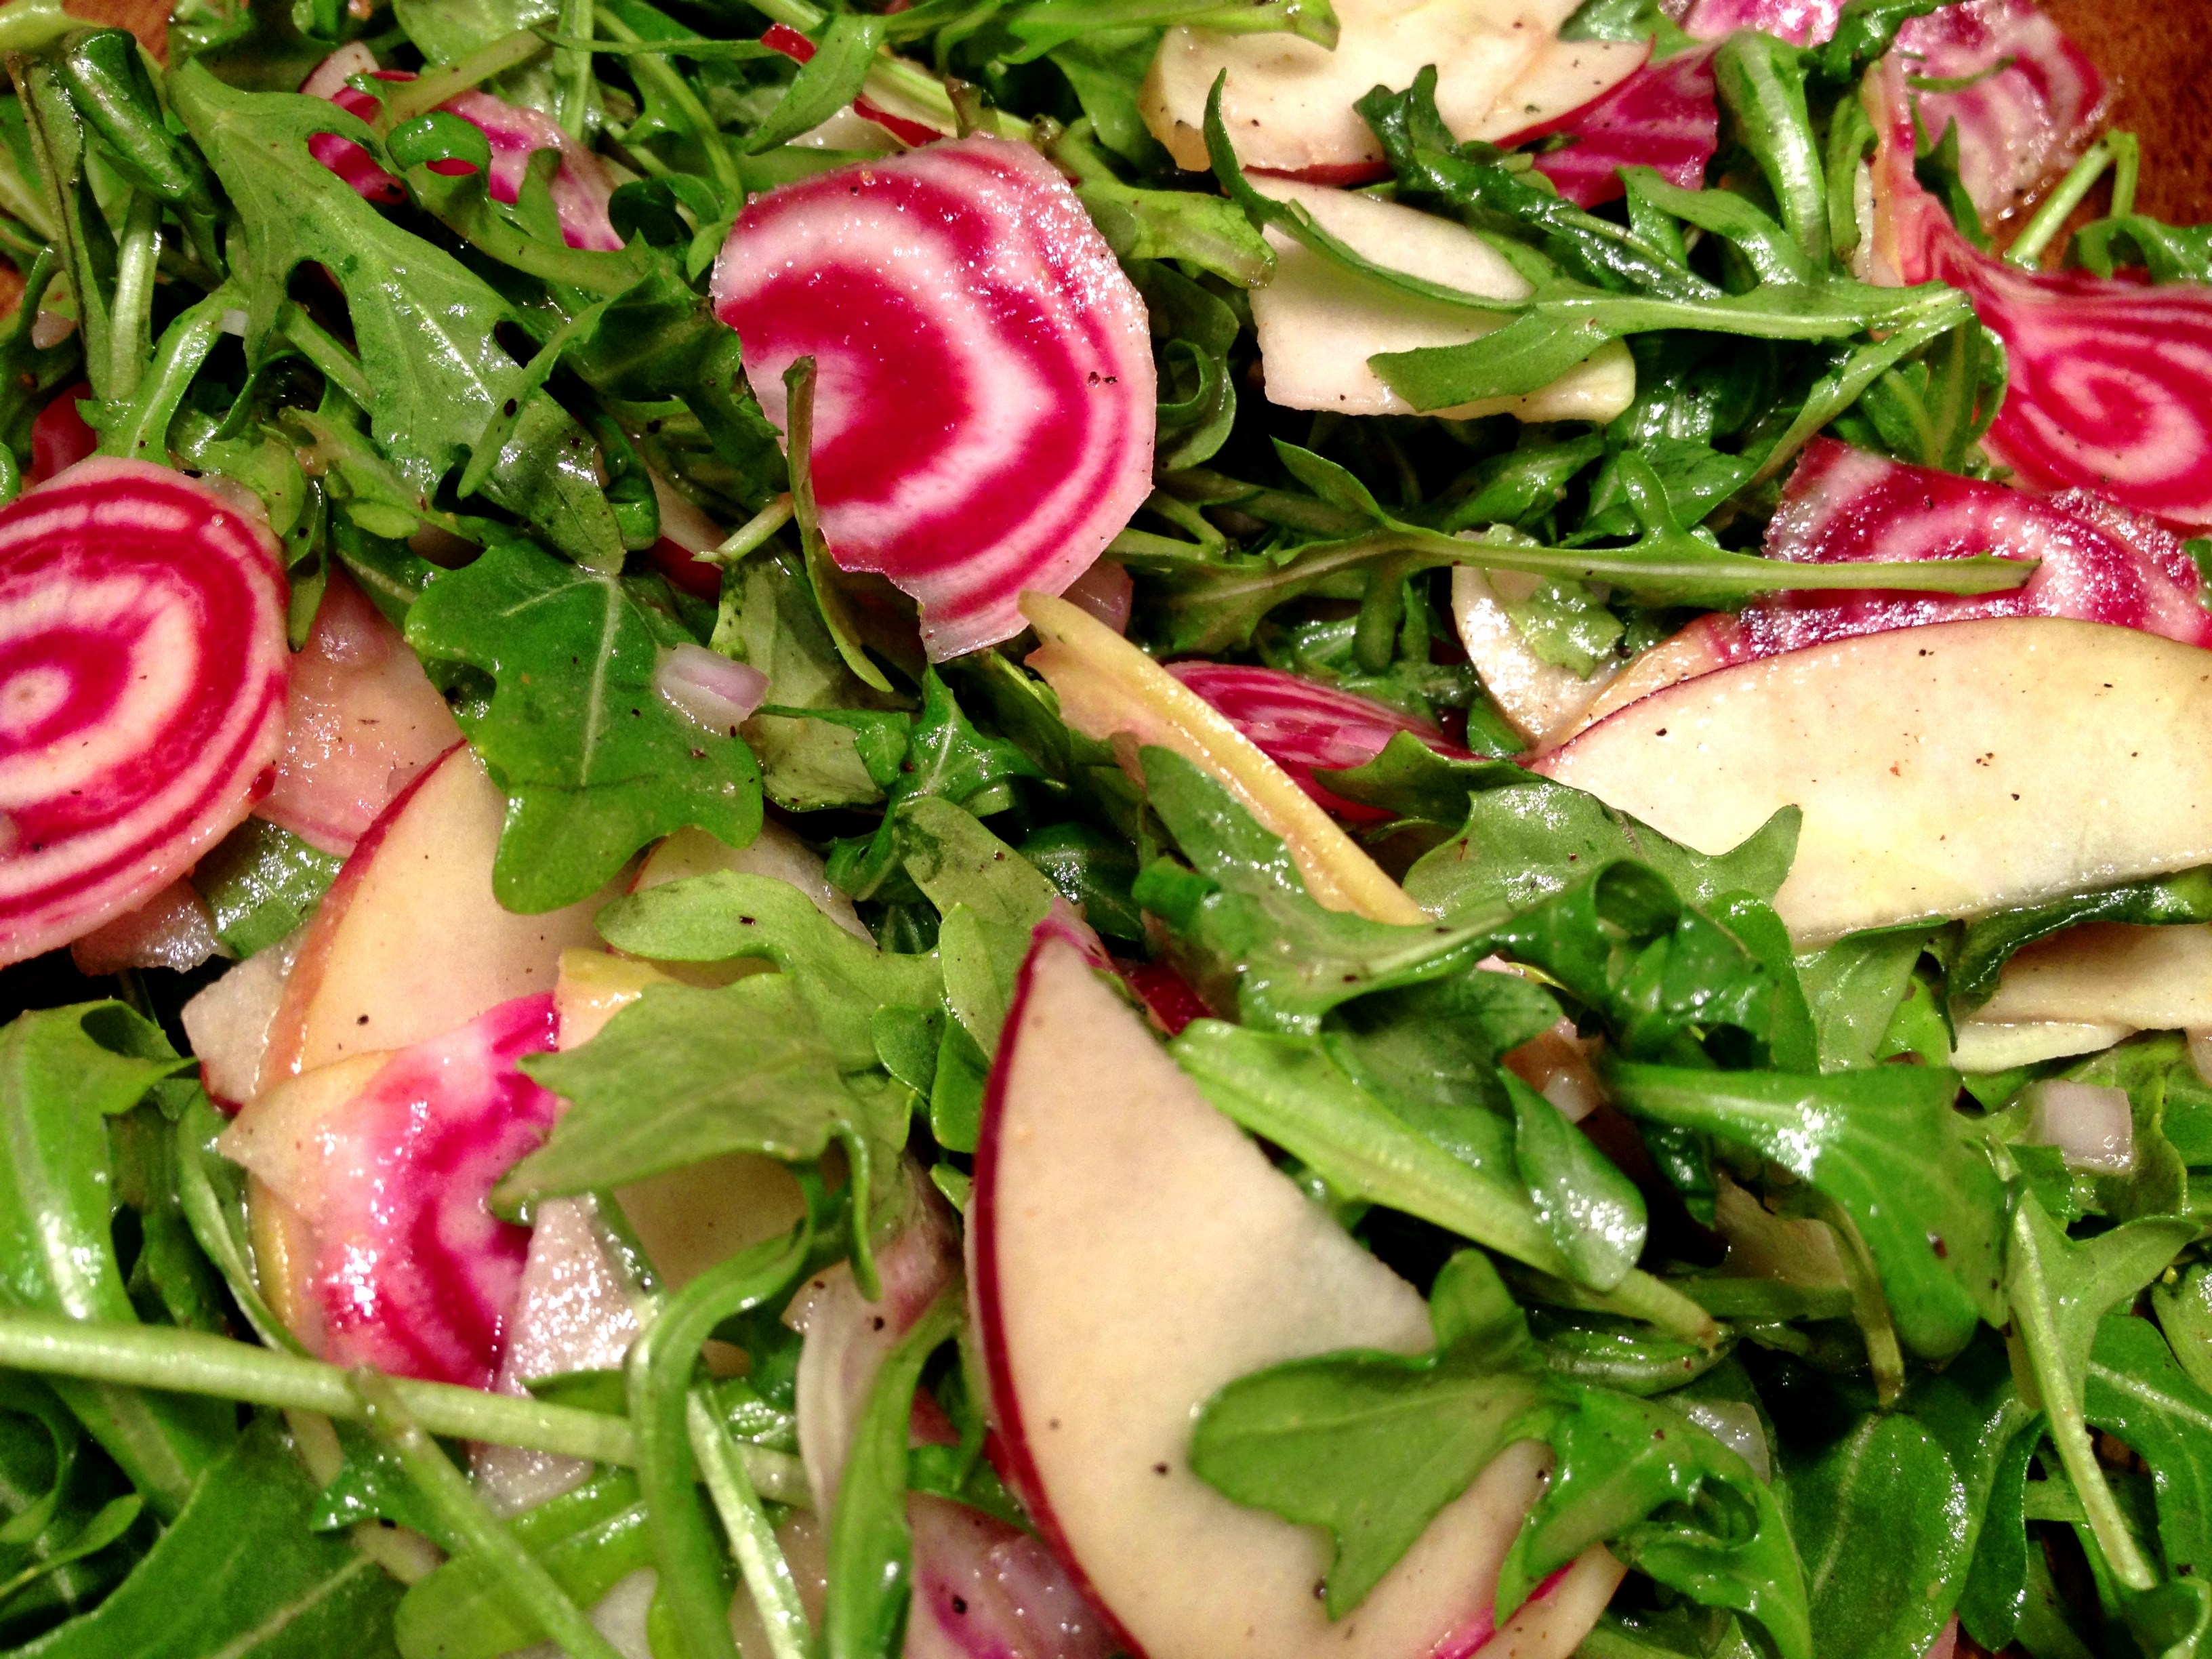
We had plans to have dinner delivered. But once I experienced the sharp little ice chunks pelting my face, I couldn’t imagine asking someone else to do so on a bike. Luckily, Brooklyn Victory Garden is halfway between our apartments. I scanned their well-curated selection of meats and immediately hit on roast chicken as the ideal meal for a blizzard. I also grabbed some Satur Farms wild arugula (so tasty) and a demi baguette. As she was ringing me up, the woman behind the counter asked if I had bought this chicken before, to which I replied no. “They’re great,” she said, “but you’ll want to remove the head and feet before roasting.” I thanked her for the advice and headed across the street for a lemon and some shallots.
By the time I got to my sister’s, the ice chips had given way to light, fluffy snow. Up on the 10th floor of her high rise, the flakes whirled in every direction, but mainly straight up–a remarkable effect that I could have watched for hours. But there was a baby to be entertained. We played bouncy. We built towers and knocked them down. We read books. We hammered balls into holes and sometimes just hammered people.
By 7:00, Hannah was nursing Wally to sleep and the chicken was in the oven. It was stuffed with shallot and lemon slices; coated in salt, pepper, and olive oil; and nestled in a bed of carrots and shallots. (I find it criminal not to allow some vegetables to cook in those delicious pan drippings.) I poured some wine and commenced to watch the snow. Around 8:00 we sat down to a dinner that included the roast chicken and carrots, arugula dressed with a shallot and balsamic vinaigrette, and the baguette, which I had crisped in the oven while the chicken rested. This was my first encounter with a Bo Bo chicken, but I can assure you it will not be my last. We sat at the table for quite some time picking at the bones, talking, and knocking back wine.
I had planned to depart before the worst of the storm, but the conversation (and, it is safe to assume, the wine) got the better of me. By the time I made it out to the street (chicken head, feet and bones tucked into my bag), Brooklyn was a winter wonderland and the streets were nearly deserted. It was breathtaking.

Today I am content to sit at home watching old movies, catching up on a long-forgotten knitting project, and simmering chicken stock.
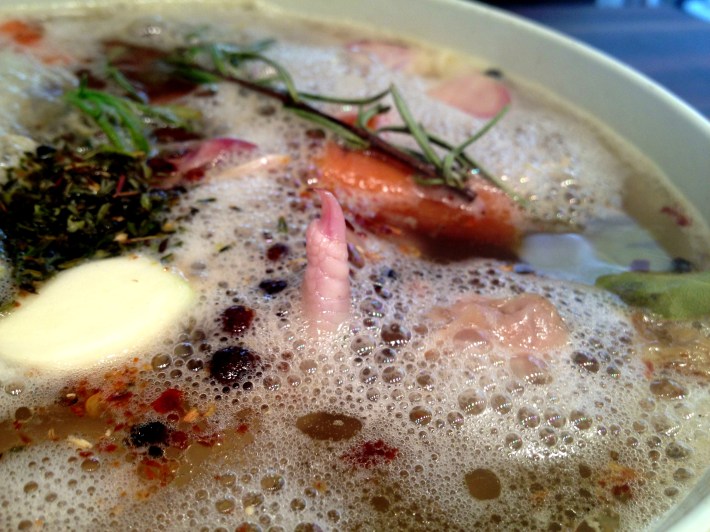
It is a wonder to me that anyone ever throws chicken bones away, as homemade stock is seriously easy, makes the whole house smell glorious, and adds that extra little something to just about any savory dish. At the most basic level, you toss a chicken carcass or parts thereof into a pot with just enough water to cover and simmer. But here are some tricks I’ve picked up over the years.
- If you don’t have enough bones yet, or are lacking the time for a proper slow cook, just toss the bones in a plastic bag in the freezer until you are ready.
- You can use raw or roasted chicken, or a combination of the two. Raw will yield a lighter, more refined stock while roasted will have a bolder, deeper flavor.
- Crack any bones that you can manage. (Note to self: must buy cleaver.) Stock is more about the bones than the meat. Cartilage and marrow are what give a good stock–and, ultimately, a good soup–that velvety mouth feel. Breaking the bones speeds this process. The best stock I ever made was, once it cooled, the consistency of Jell-o.
- Add some aromatics, vegetables, herbs and/or spices. Onions, garlic, carrots, celery, parsley, thyme, bay leaves, red pepper flakes, pepper, and allspice will give you a more complex flavor. You’re not limited to these ingredients, but they all provide a reasonably neutral base from which you can build. Fennel, parsnips, rosemary, and the like would be delicious, but may point your ultimate dish in a specific direction.
- Keep your stock at a low simmer. A full boil will emulsify the fat and yield cloudy stock.
- If scum appears at the top of the pot, skim it. This will also contribute to a clear stock.
- Cook your stock for as long as you can stand it and at least one hour. I had a roommate who would leave the pot on low overnight, which I found alarming from a safety perspective (though her stock was good). Four hours is great. Add water as needed to keep your ingredients submerged.
- If you’ve got limited storage space, let the stock cook down until it is concentrated.
- Don’t add a lot of salt. It is very easy to oversalt when you are cooking something down and you can always season at the end of the process and/or when making your final dish.
- Strain the stock through a fine mesh strainer, pressing hard on the solids to extract as much liquid as possible.
- Cool your stock, pop it in the fridge overnight, and then scrape off the layer of fat that forms on the top.
- Save the aforementioned fat in a container in the freezer and use it in place of or in addition to oil or butter for some extra flavor. I find that potatoes are particularly tasty. My grandma has fond memories of coming home from school to a piece of toast slathered in schmaltz, but I have yet to go there.
- If you’re not going to use the stock right away, pour it into ice cube trays, freeze them, and then drop them in a plastic baggie. You’d be amazed what a single cube of good quality chicken stock can do for a lackluster stir-fry or pasta sauce.
This technique works fine for turkey as well and has become my Black Friday ritual. But, as you can see, I ran into some problems when I tried to use Wally.