Time is galloping. My thesis is plodding.
I have two days left in which to spit it all out on paper–or, rather, onto the screen. This is an internal deadline, but one that is crucial to my mental health. I have promised myself that, if I can bang out a serviceable rough draft by the time I make my presentation on Tuesday, I can take a couple of days off to reconnect with the world before I buckle down and finish my damn degree.
I started this blog five years (minus six days) ago, when I had been admitted into the master’s degree program in Food Studies at NYU. I was giddy, impatient and somewhat terrified at the prospect of being back in the classroom after 16 years. Would I be the oldest one there? Did I remember how to write an academic paper? How would I find my classroom? Had my study skills miraculously improved over the past couple of decades? Did I need a new set of crayons and a protractor? Would I ever figure out the newfangled computer systems?
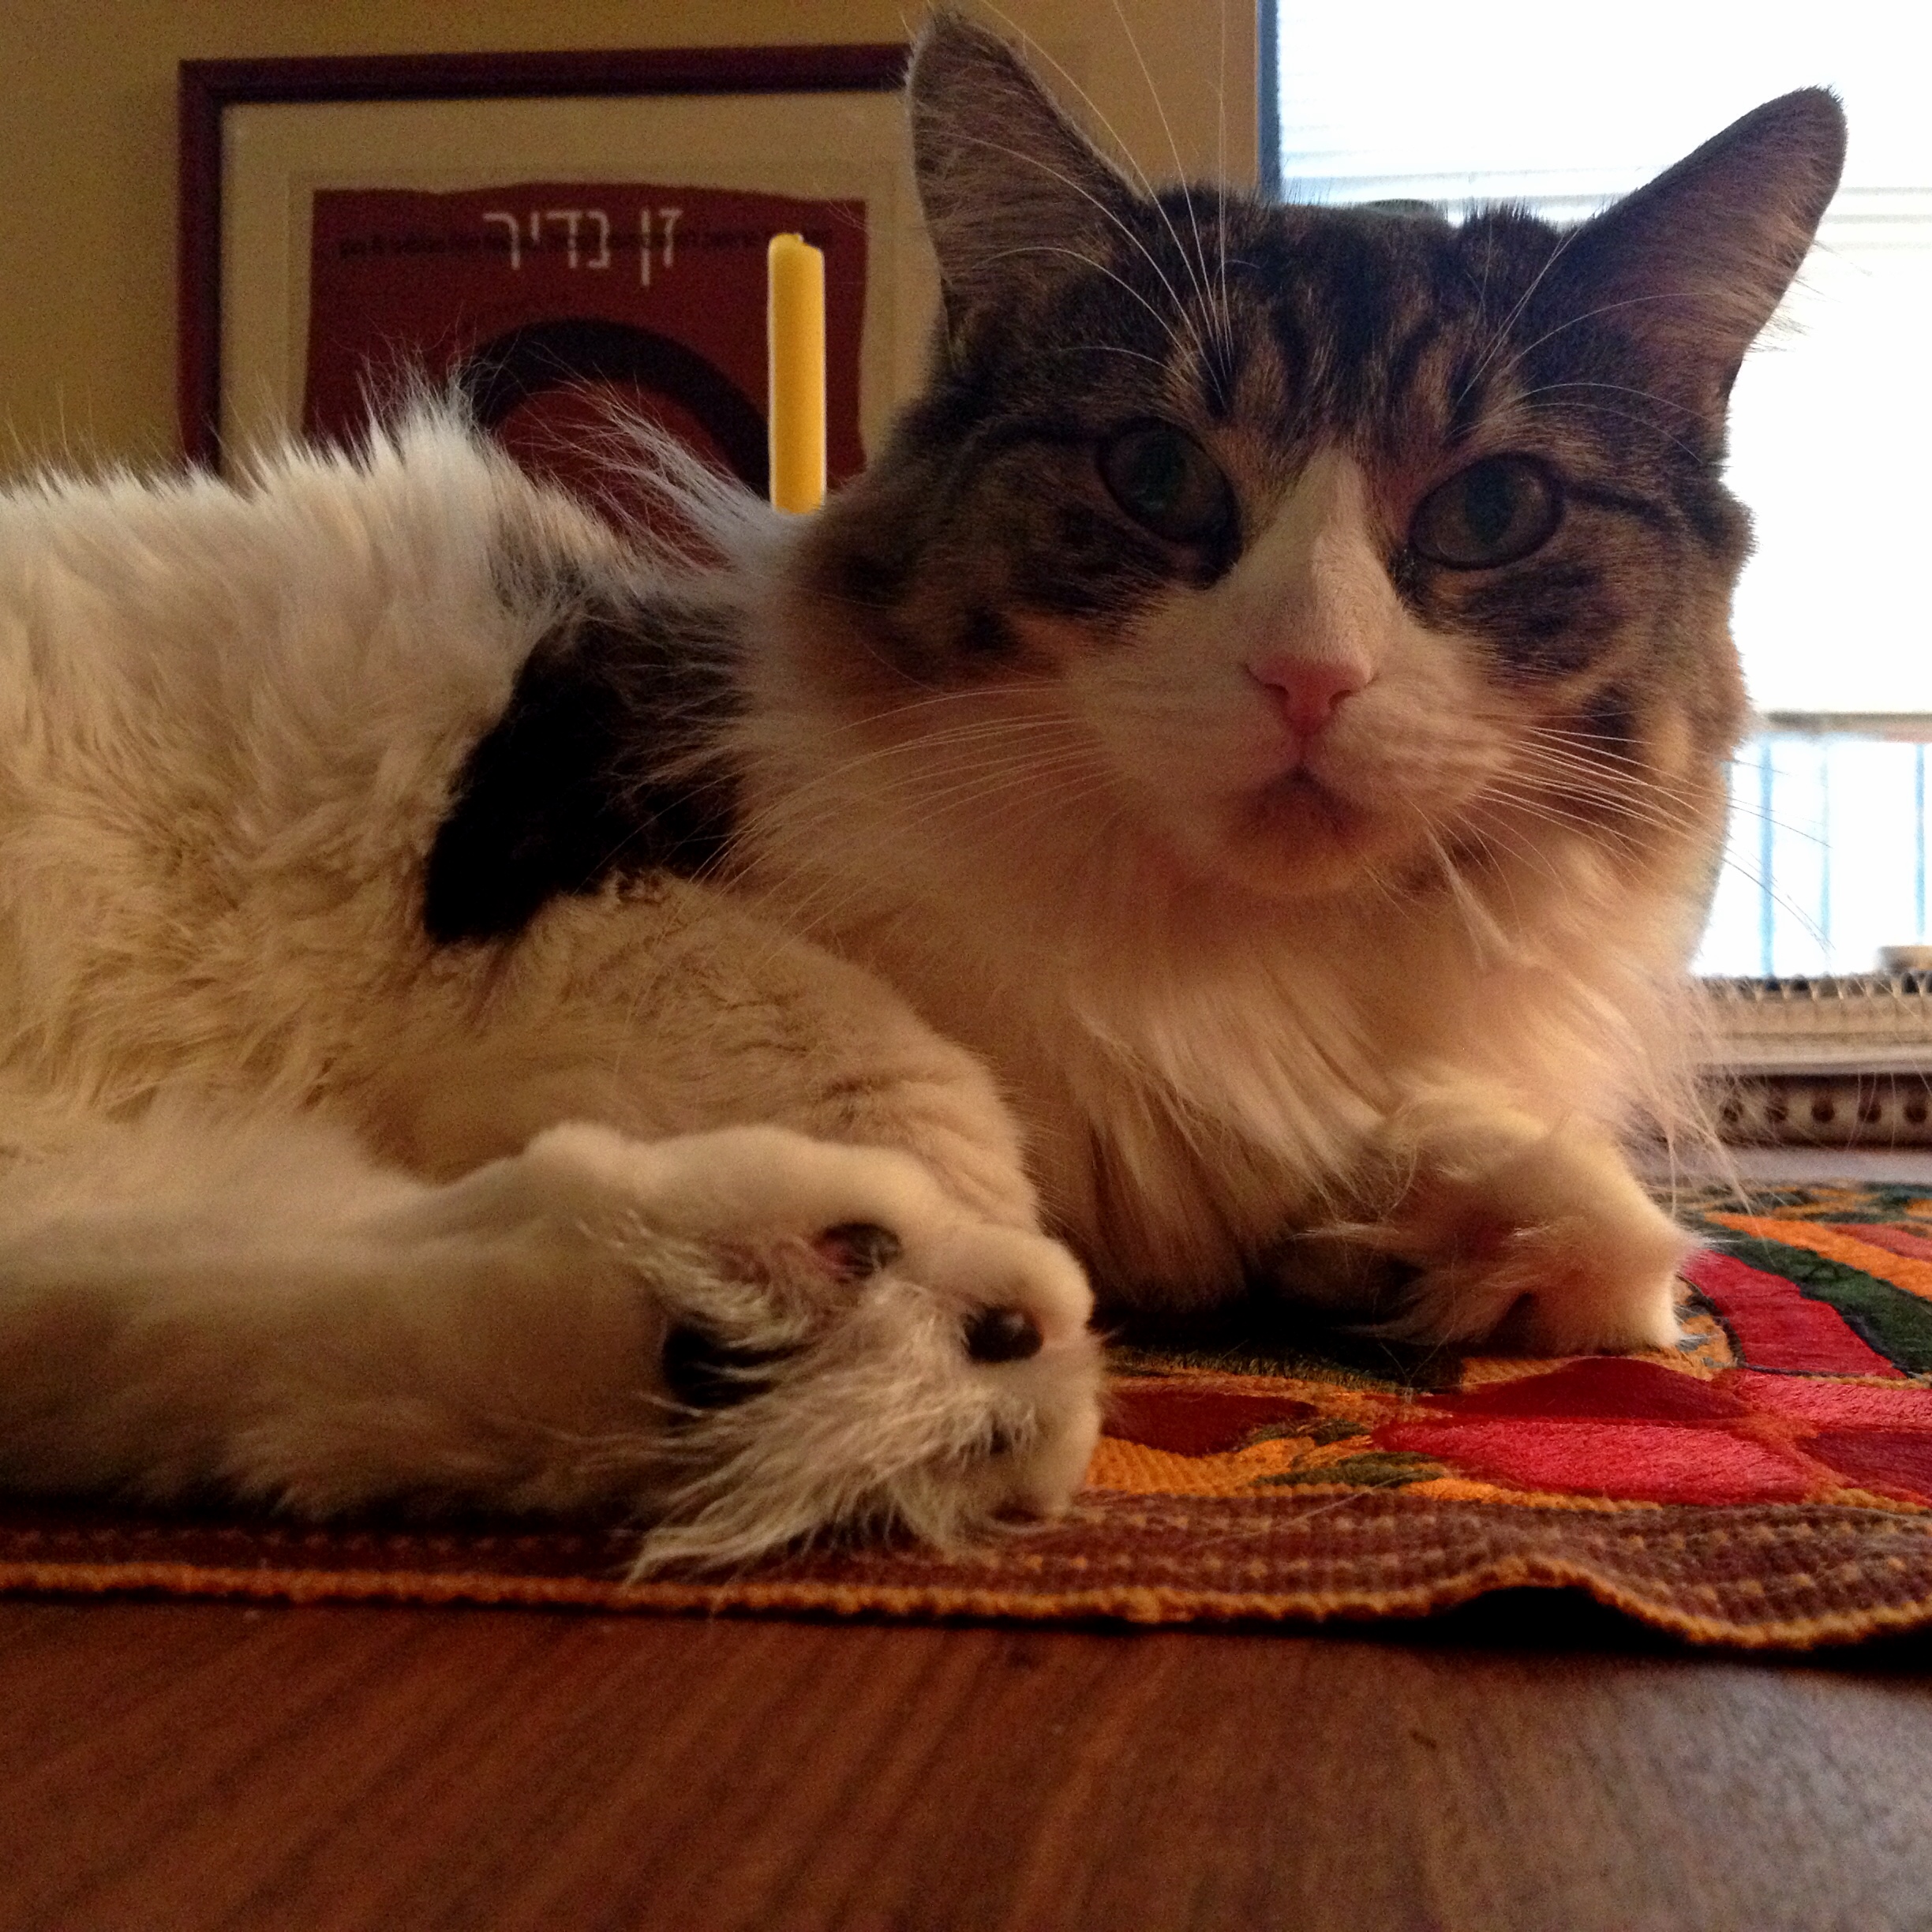
It’s strange to look back at those first entries and glimpse an earlier version of myself. A lot has happened in the intervening years. I passed 40 and kept right on aging. I left my job as Executive Director of one nonprofit organization in order to lead another. I left that organization and struck out on my own as a consultant and teacher. I lost the tiny and impossibly sweet cat that had been with me since my early years in New York City and gained a bolder, fluffier model. I wrote a lot of papers. I took an unexpected departure into art and performance. I chalked up more than my fair share of learning experiences on the romantic front. I overcame my fear of public speaking. I learned that I could, in fact, love a second nephew just as much as I love the first. I broke an ankle and an indeterminate number of toes. I raised upwards of five million dollars. I made lifelong friends who may actually be more food obsessed than I am. I read so many books that the wall nearest my dining table is an endlessly rotating literary staging area. I took a few epic trips–to Argentina, to Paris, to India, and to Nahunta, Georgia to see a man about a grill. I finally mastered the poached egg.
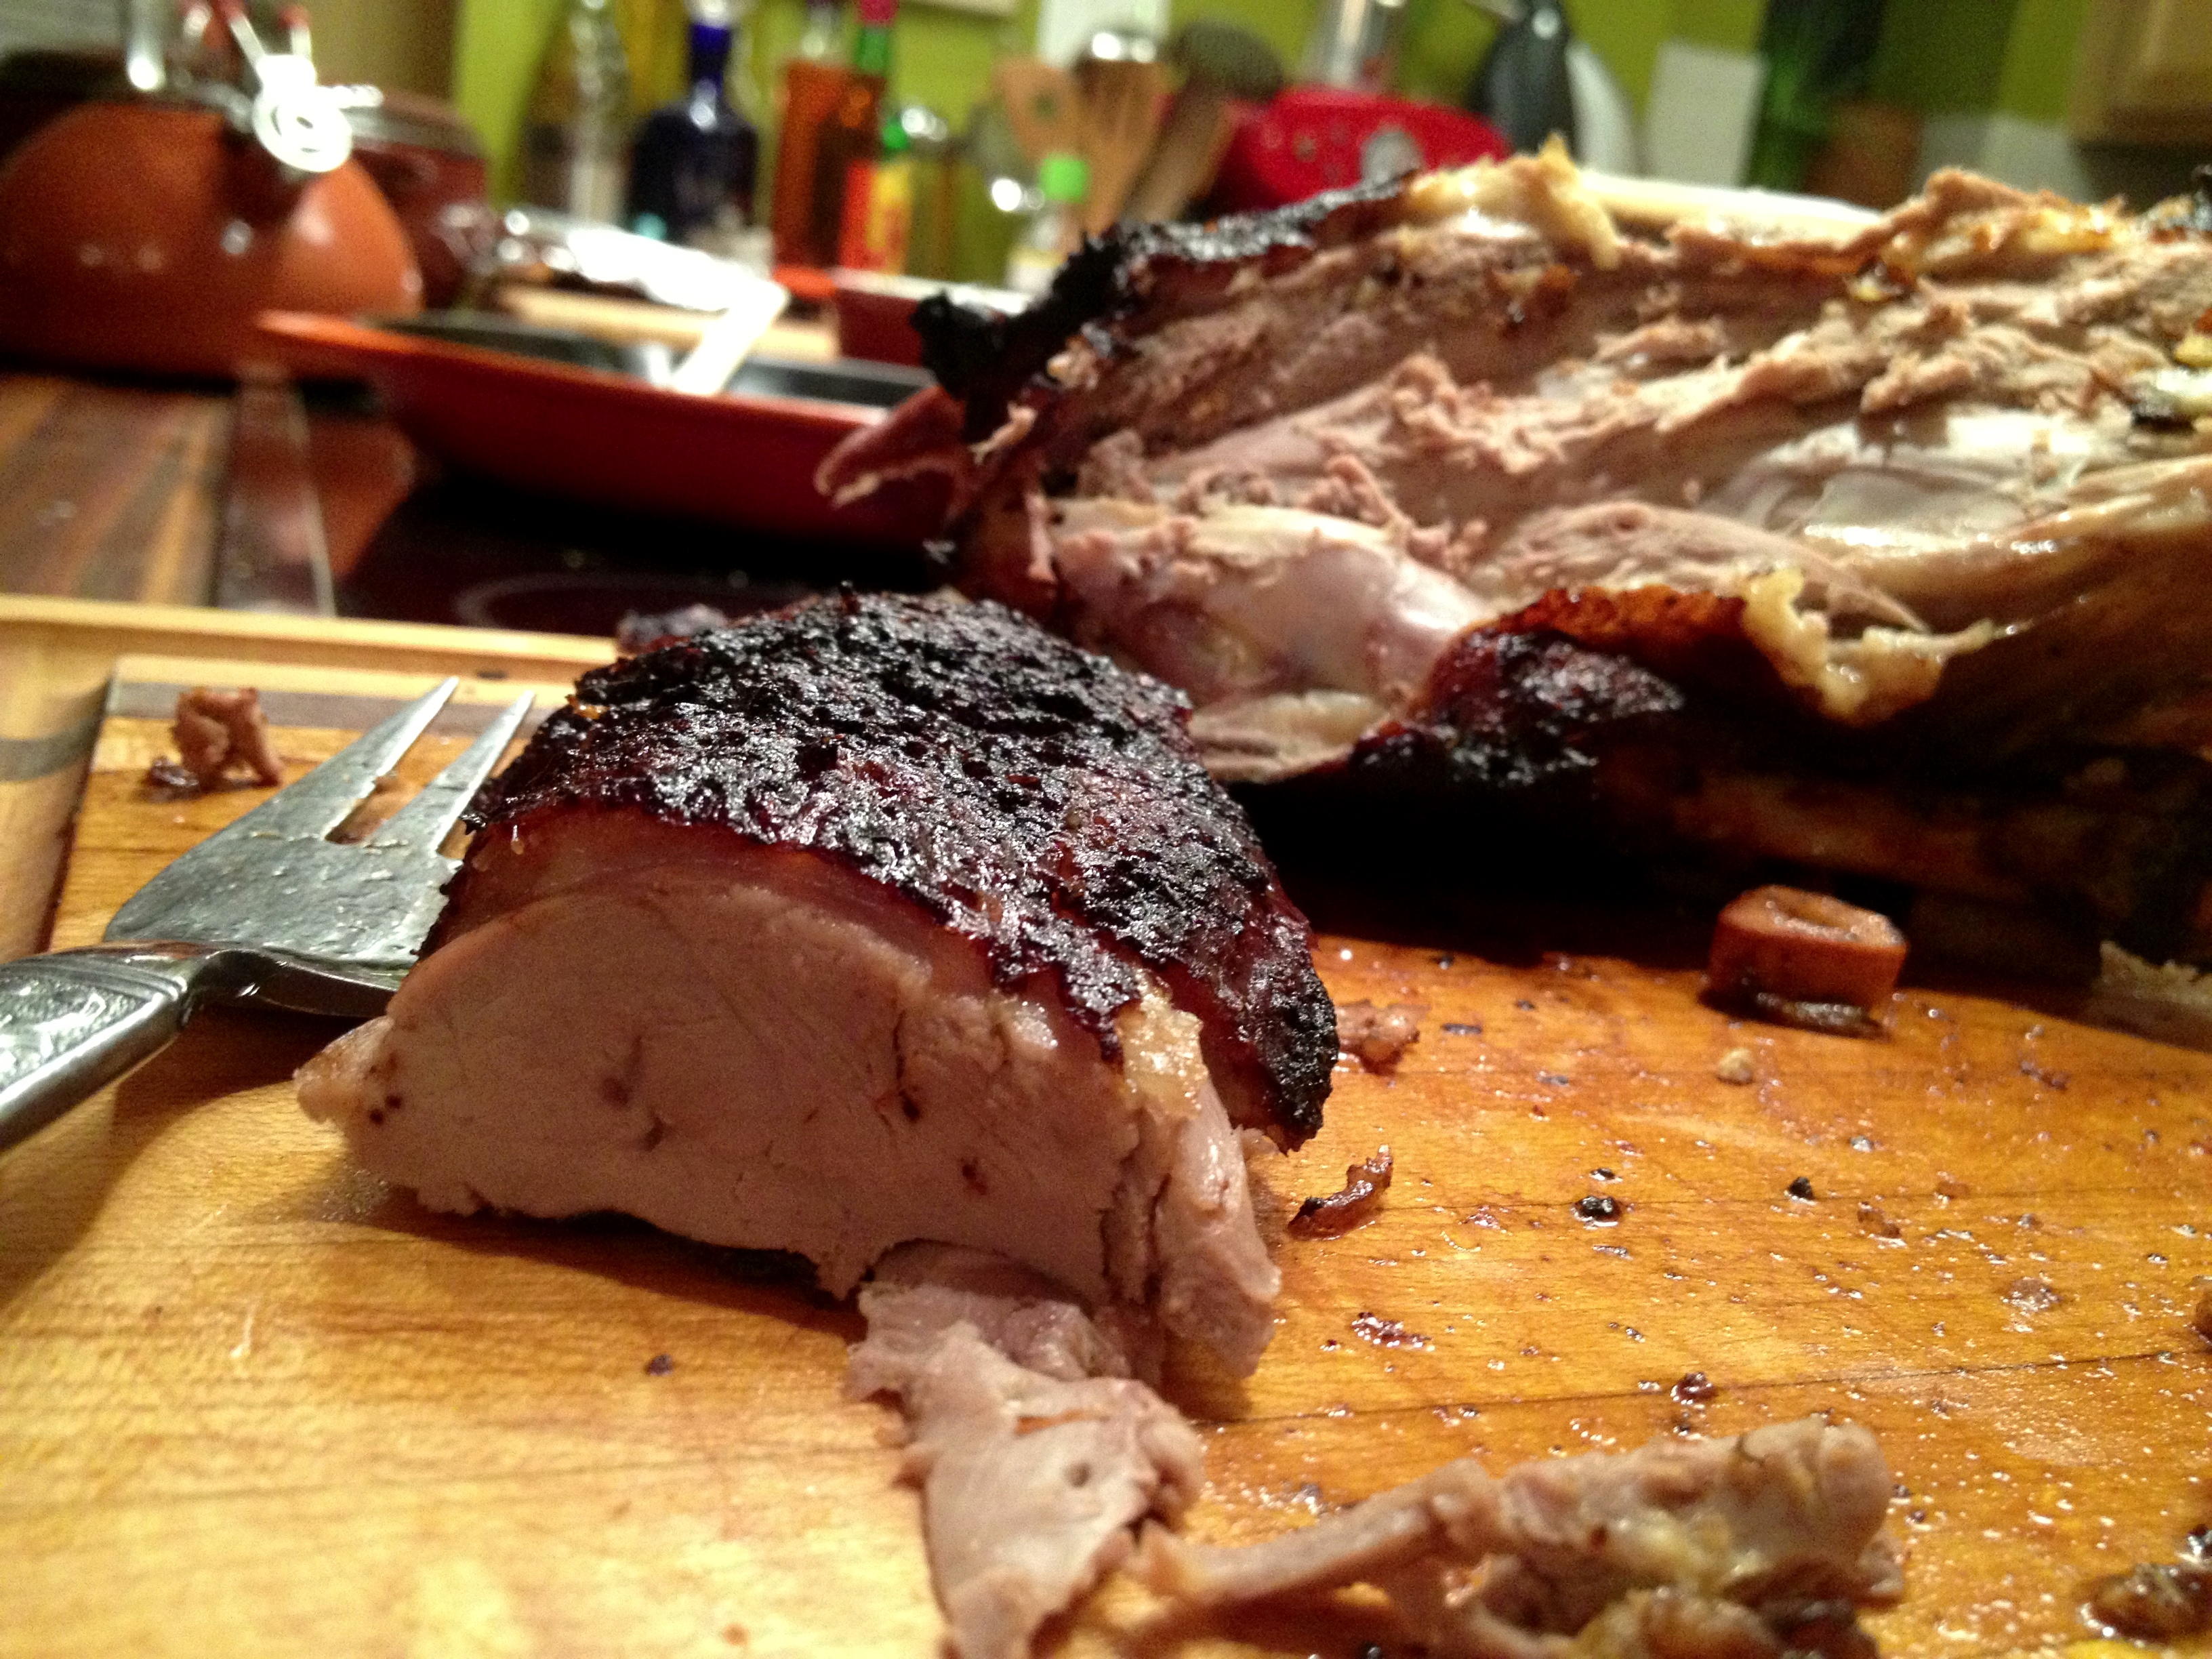
Tonight I declared the research phase of my thesis over and got serious about writing. But first, I made dinner.
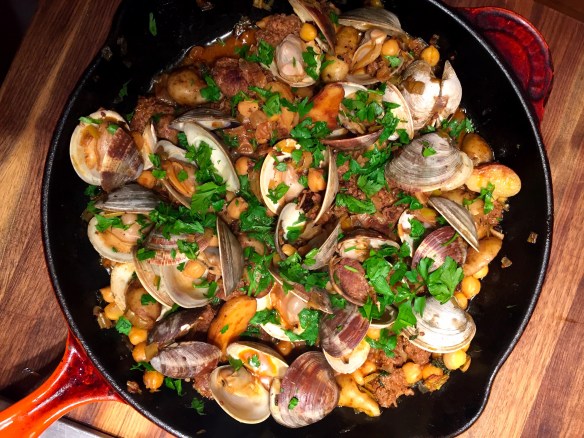
Chorizo, Chickpeas, Clams & Potatoes
- 24 small clams
- 12 new potatoes, halved lengthwise
- 1-2 tablespoons olive oil.
- 2 links fresh chorizo, uncased
- 1 large leek, rinsed and chopped
- four cloves garlic, sliced
- 1 teaspoon hot paprika
- 2 sprigs fresh thyme
- 1 cup cooked chickpeas (If you didn’t happen to reserve some chickpeas from the massive batch of hummus you made this afternoon, canned will suffice.)
- 1 cup white wine or rose
- 1 handful flat leaf parsley, roughly chopped
- salt and pepper (maybe)
- Sort through your clams, making sure that any that are open close back up when tapped. Give them a rinse and place in a bowl covered with cold water for at least 20 minutes. I added some cornmeal and a hefty dose of sea salt, but suspect neither is actually necessary to the purging process. The goal here is to get the clams to spit out any sand they may be harboring.
- Bring a small pot of salted water to a boil and toss the potatoes in. Cook just until tender and then drain.
- Bring a large cast iron skillet up to medium heat. Add a tablespoon of olive oil. Then add the chorizo, breaking it into chunks with a wooden spoon. Stir frequently. When the sausage has started to give up its fat, add the leek and continue to stir frequently. After a couple of minutes, add the garlic. If the pan gets dry, add some more olive oil. When the leeks have softened but aren’t yet brown, add the paprika, thyme and potatoes. Stir to combine, positioning as many of the potatoes as you can cut-side down. Cook without stirring until the potatoes start to brown. Stir in the chickpeas and wine.
- Rinse the clams under cold water, taking care not to stir up any of the sediment at the bottom of the bowl. Nestle the clams in the pan and cover. If you don’t have a lid that fits, foil will work just fine. Check them after five minutes, giving a quick stir to move any that haven’t opened toward the boiling spots. When all of the clams have opened (or you’ve given up and discarded that stubborn one), remove from the heat.
- Give it a taste and add salt and pepper if needed. Sprinkle with parsley and serve with some crusty bread to soak up the juices.