A Note on Chile Peppers

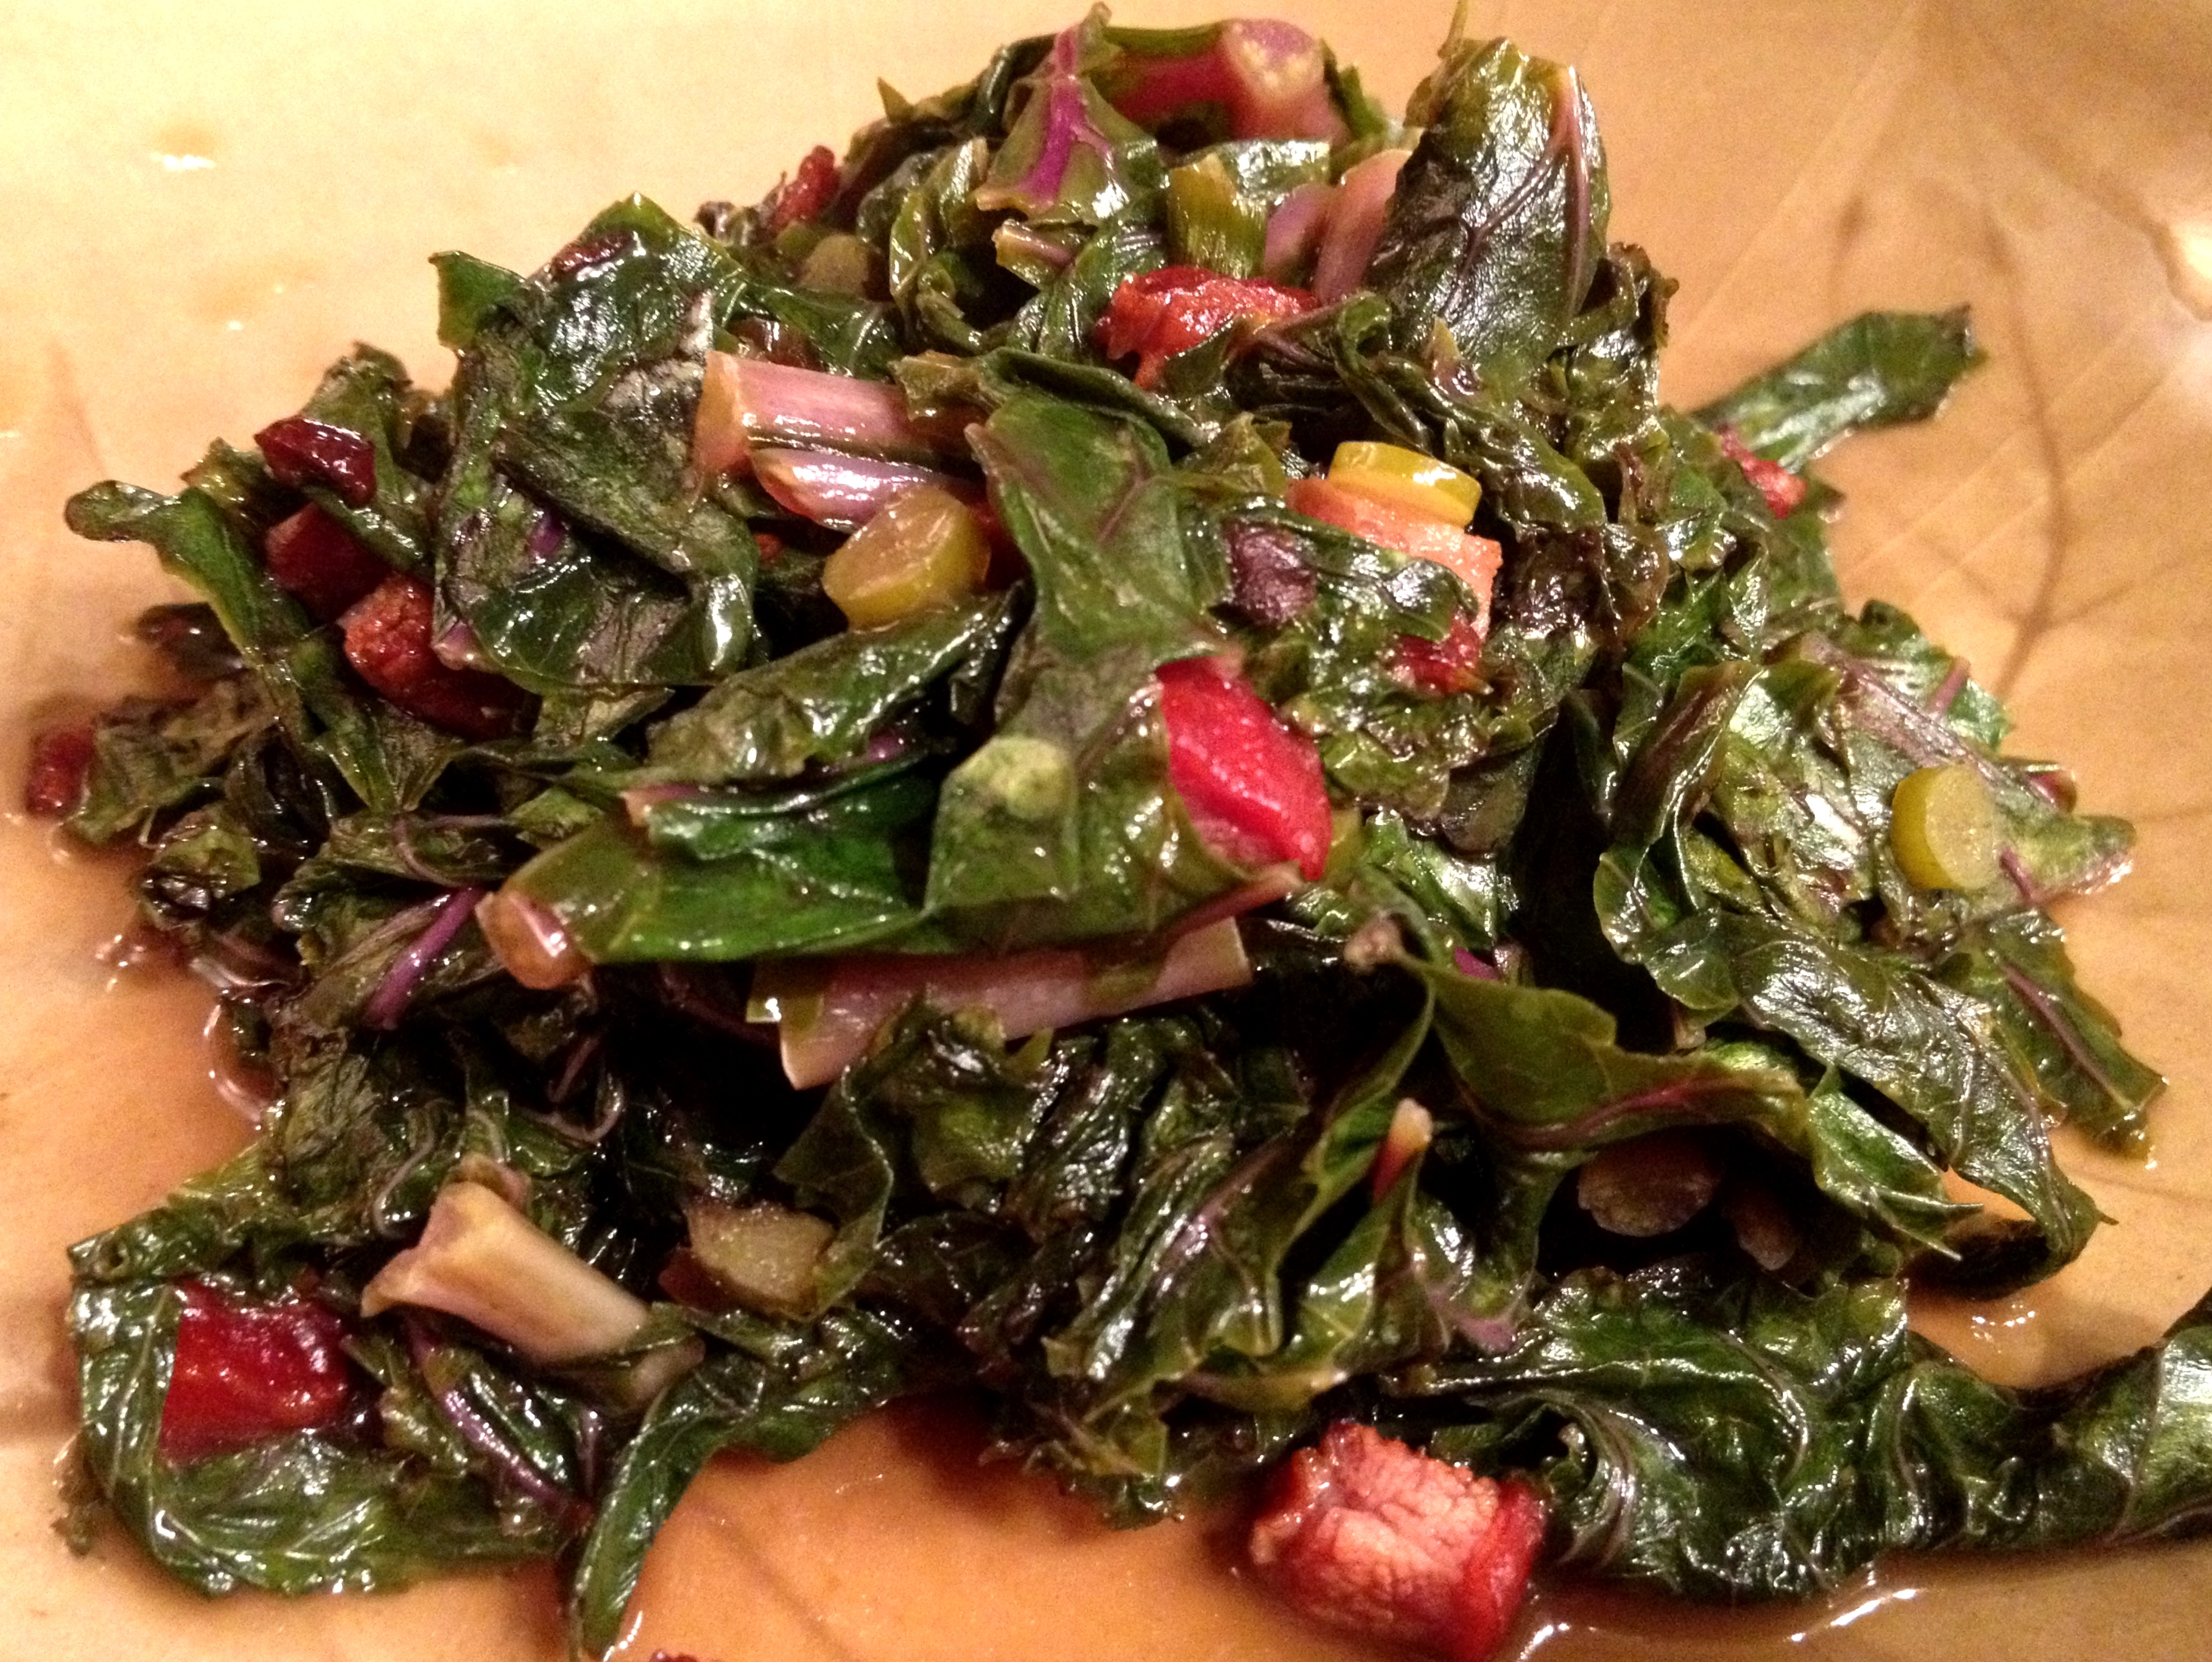
This week continues to be challenging. I didn’t make it home until around 9:00 last night, by which time I was ravenous. I keep corn tortillas on hand for just such a situation. A few tortillas, half a tablespoon of olive oil, a red onion, a sweet red pepper, a jalapeño, some feta and the less brown half of an abandoned avocado became my dinner in about 15 minutes.

Image

The tacos were tasty but, in my haste, I forgot a few key tips for working with chile peppers.

  1. Cut off the tip and taste to assess hotness. Each pepper is unique. I’ve had jalapeños as mild as a green bell pepper. I’ve had jalapeños that were scorching. Let’s just say that my lower lip is looking a little bee stung today.
  2. If the pepper is hot, minimize skin contact. When you cut a pepper, you release capsaicin, the chemical that creates that delicious hot feeling. The more you cut it, the more you release. Some folks recommend wearing plastic gloves. I used to think this was ridiculous–until I met some seriously hot habaneros while making black bean dip. My hands stung for about 24 hours and were tingly for a few days after that. I tried milk. I tried oil. I tried vinegar. I tried harsh detergents. Nothing but time worked. I have yet to buy gloves, but I do make an effort to only touch the outside of the pepper and let my knife do most of the work.
  3. If your hands do absorb the heat, BE VERY CAREFUL what you touch. You can generally gauge whether one of your fingers is tainted it by sucking on it a bit. You could also gauge this by removing your contacts or by touching some mucus membranes (think soft, fleshy pink parts), but I DO NOT recommend this technique.
  4. If you want to minimize the heat, remove the ribs (the white part on the inside) and the seeds. If you are in a hurry and do not bother with this, you may end up with some very zesty tacos. Obviously, if you really want to amp your dish up, go for the whole thing.
  5. Using multiple sources of heat will yield a more complex flavor. In the case of these quick weeknight tacos, I stuck to the jalapeño and some fresh-ground black pepper. But, when I’m making chili or some other slow-cooked dish with layers of flavor, I generally go with a combination of fresh and dried chiles, chile powder, and/or hot sauce.
  6. Use caution when cooking chile seeds. If you’ve got a soup or a stew or some kind of braise going on, no worries. If you’ve got a hot cast iron pan with minimal oil, you may end up burning the seeds. If you live in a small one-bedroom apartment with no cross ventilation, this could be rather unpleasant. Boys and girls, can you say “pepper spray”?

How to Cook Greens

Dark leafy greens are one of my diet mainstays. The darker, the better. They’re packed with nutrients, including vitamins A, C and K. They’re high in fiber. They provide a nice dose of calcium and iron. They keep well in the fridge. They’re delicious. And they can be your dinner in under 20 minutes…

Image

This is a basic technique that I’ve used with collard greens, kale, mustard greens, spinach, dandelion greens, chard, radish greens, turnip greens, broccoli rabe, beet greens, snow pea leaves and arugula. You should riff on it as you see fit based on your tastes and whatever ingredients you have on hand.

  1. Heat some fat in a pan. You don’t need much–a tablespoon or so for a whole mess of greens. You can use olive oil, vegetable oil or something from the pork family, preferably smoked. For the greens picture above, I used an ounce of very lean slab bacon, which I rendered with a couple of teaspoons of olive oil.
  2. Add aromatics. Now you want to flavor your oil with whatever aromatics you have on hand–onions, garlic, ginger, shallots, etc. I am partial to red onion and thinly sliced garlic. Here I used some garlic scapes. I also like to add a little hot dried pepper at this stage.
  3. Add greens. Make sure to rinse them well, as they tend to be gritty. But don’t bother to dry them; the water left on the leaves will help to steam them in the pan. You may want to slice them. If the stems are particularly tough, remove them or add them to the pan first so that they get a head start on cooking. Greens need more or less time to cook depending on their type, the time of year, how mature they are, how cooked you want them, etc. I am partial to greens that still require some serious chewing. Traditional Southern greens are cooked until they are silky and falling apart. If you want them more cooked, you can always add more liquid (water or chicken broth are nice) and even lid the pan.
  4. Finish with salt, pepper and a little acid. Lemon juice, tomatoes, apple cider vinegar and red wine vinegar all add a nice counterpoint to the lush mouthfeel of cooked greens. For the kale above, I used white wine vinegar and regular apple cider, which added a little sweetness to what were some very bitter greens. (A pinch of sugar would also do the trick.) You can also add some more heat and complexity at this point by deploying some hot sauce. You can cook for a bit longer to reduce the liquid if you like, but don’t cook it all away. Pot liquor is delicious!
  5. Make it a meal. Sometimes the greens alone are enough for dinner, particularly if I’ve used andouille or turkey sausage back in Step 1. Sometimes I add a fried egg. Sometimes I serve these up in corn tortillas with feta, salsa and avocado. Sometimes I use the greens as a sauce for whole wheat pasta. I ate this purple kale with some ricotta and a slightly sweet, buttery Vouvray.

Quick Springtime Lunch

Image

My local farmers market is really starting to pick up. Mindful of the excessive amount of kale still in my fridge, I limited myself to radishes, scallions, turnips, carrots and thyme. (More on those last three later.) Having hit the gym on the way home, I wanted a quick but virtuous lunch.

I started with half of a whole wheat flatbread. I am a big fan of these because they keep in the refrigerator pretty much forever and can be dolled up an infinite number of ways. I heated up my cast iron skillet and toasted the bread on both sides before applying a layer of ricotta cheese, which is a great source of quick protein that also keeps in the fridge. I added a layer of thinly sliced radishes. In a moment of inspiration, I decided to use the already-hot skillet to grill strips of scallion in a teaspoon or so of olive oil. Freshly ground pepper, fleur de sel and a light drizzle of truffle oil topped my springtime tartine.

It was fresh but lush, and it screamed out for a crisp white wine. Lo and behold, there was an open bottle of Gruner Veltliner on the top shelf of the refrigerator. OK, maybe lunch wasn’t all that virtuous.