Baltimore Brunch (with Figs!)

While passing through Baltimore on vacation, I met a couple of lovely artists, David Page and Lauren Schott. Over a dinner that featured two kinds of bone marrow and necessitated a trip to the basement to use power tools, it came out that Lauren and David had three fig trees in their backyard and more figs that they could handle. Fueled by marrow and a good bit of wine, I invited myself and my Baltimore hosts Beth and Don to a fig picking brunch.

Two days later, we arrived bearing a basket.

Lauren explained how to identify the figs that were ready for picking (they’ve started to split at what I like to think of as the belly button) and we got to work.

This is about two-thirds of what we picked. And Lauren assured us that there would be just as many the next day.

Fig picking completed, we retired to the front porch, which has a distinctly Baltimore feel to it.

Lauren poured a round of bloody marys that she made using tomato “seconds” from the farmers market. They hit the spot.

Lauren and David’s two giant dogs stuck close to her as she prepped for our first course on a Weber grill in the front yard.

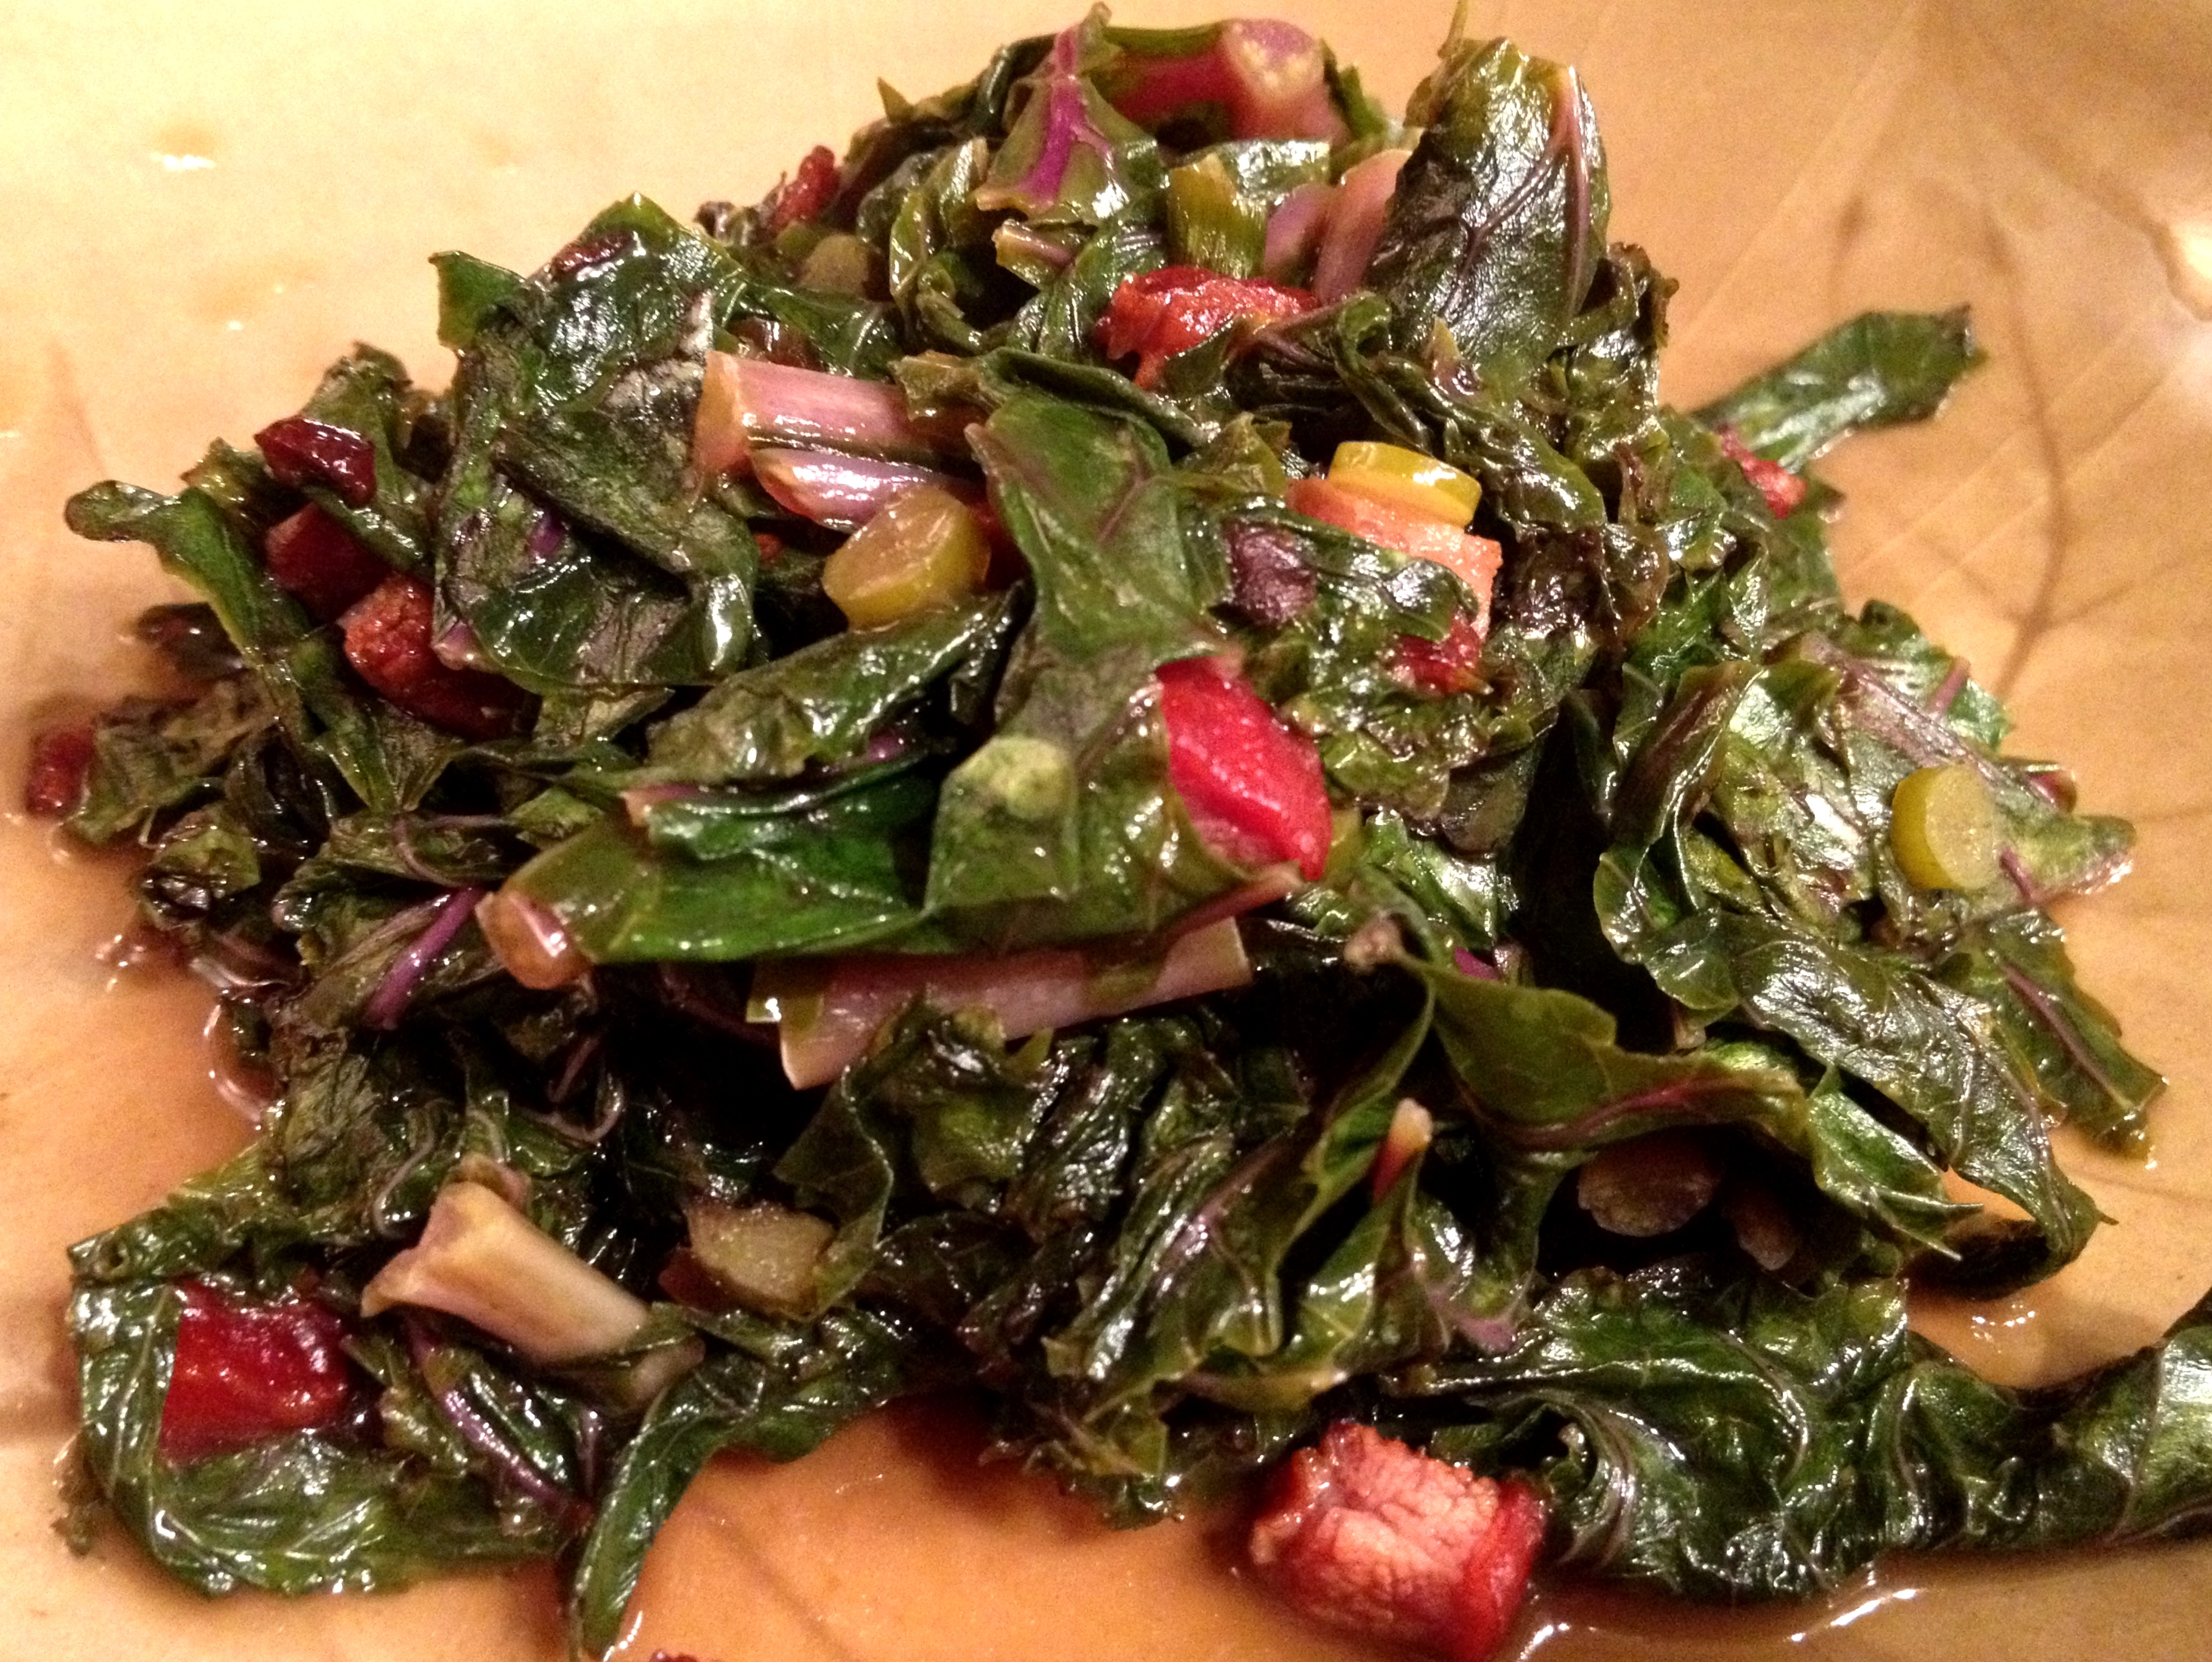
Grilled figs stuffed with blue cheese are good. A little freshly ground pepper makes them even better.

Eggs cooked inside of Canadian bacon cups and toasted peasant bread followed. Lauren did this all on the grill, using a cast iron muffin tin to cook the bacon and eggs. Cooking eggs for a crowd can be tough. (I frequently resort to a frittata or quiche, which can be prepared all at once and served hot or at room temperature.) I made a note of this technique.

When we had finished eating, David took me and Beth on a tour of his studio space and some of the pieces that he was working on for an upcoming show in Philadelphia. This mask is part of a head-to-toe suit that will be worn by a volunteer during the show. David was kind enough to humor us. It was dark in there.

I could have spent the rest of the day hanging out on Lauren and David’s front porch, but I imagine they had other things to do–and I had a train to catch–so off we went with our basket of figs.

Two weeks later, as I sat at my desk contemplating a mountain of work, a package arrived. Apparently Don had been busy. It contained jars of homemade fig pickles and fig barbecue sauce. The fig love continues.

Living Room Picnic

Last night I was supposed to meet friends in Prospect Park for a screening of The Muppet Movie. Mother Nature had other plans. I’d been prepping for a picnic, but a blanket over the coffee table would have to suffice. On the menu: a Pressed Picnic Sandwich, Quick-Pickled Kale and Beets, Potato Chips (lifted from Thursday’s Prospect Park Alliance fundraiser) and a boatload of rosé.

Pressed Picnic Sandwich

This isn’t so much a recipe as a concept. The idea here is to layer a bunch of tasty ingredients in a logical order and then to press the sandwich with a weight.

I started with a round, day-old olive loaf from BKLYN Larder, but imagine you could use any rustic loaf with a nice crust. I sliced the loaf in half horizontally and scooped out most of the soft stuff with my hand, leaving about 1/2 inch all the way around. I then slathered the inside, top and bottom with a homemade tapenade (oil-cured black olives, anchovies, basil, garlic scapes, almonds, balsamic vinegar, Dijon mustard, capers, and whatever else was lurking in my fridge.). You could use prepared tapenade or pesto or even some herbed mayonnaise. The key is that you need a layer with some fat in it to prevent the bread from getting soggy.

I then added a layer of browned onions followed by strips of grilled summer squash. (I like to do this in a hot cast iron pan and then sprinkle the vegetables with smoked sea salt to give them the depth that comes from outdoor grilling). Next up was an Italian cow’s milk cheese. I’m blanking on the name, but it was creamy and a little tart, which provided a nice counterpoint to the sweetness of the veggies. Then layers of hot sopresatta, prosciutto and peppadew peppers.

I wrapped the sandwich in a couple of layers of aluminum foil and placed a cast iron grill pan over the top. Periodically, I would flip the sandwich and apply pressure to the pan until the sandwich looked like a UFO. I would guess that you want this to sit for at least an hour. (Had we been successful in dining outdoors, I would have stuck the sandwich in the bottom of the picnic basket, allowing the weight of the other items to do the pressing.)

As you can see, it sliced beautifully.

Quick-Pickled Kale and Beets

  • ½ cup apple cider vinegar
  • 3 Tbsp sugar
  • 3 garlic cloves
  • 2-3 Tbsp combined of whole pickling spices (such as coriander, fennel, allspice, cloves, cumin, fennel, peppercorns, cinnamon stick, bay leaf, mustard seed, etc.)
  • 1 pinch red pepper flakes
  • 1 thinly sliced red onion
  • 4 large beets
  • Small bunch kale including stems, roughly chopped

Combine all but the last two ingredients along with ½ cup of water in a small saucepan, bring to a boil, reduce heat to low and let simmer for 20-30 minutes to give the spices a change to release their flavor into the brine. In a separate pot, add the beets, cover with water, bring to a boil and cook until they give when pierced with a fork (approximately 30 minutes). Pull the beets out and add the kale, starting with the stem pieces. Let this boil for a few minutes and then drain. When beets have cooled, peel and slice them. Combine beets, kale and brine in a jar or plastic container and let sit for at least one hour, making sure to stir if the brine doesn’t fully cover the vegetables.

The living room picnic continued with a trip to the wine shop for reinforcements, a Barbie styling session and fresh nectarines and rum over salted caramel ice cream. Regrettably, it did not conclude with any efforts to clean up.

How to Cook Greens

Dark leafy greens are one of my diet mainstays. The darker, the better. They’re packed with nutrients, including vitamins A, C and K. They’re high in fiber. They provide a nice dose of calcium and iron. They keep well in the fridge. They’re delicious. And they can be your dinner in under 20 minutes…

Image

This is a basic technique that I’ve used with collard greens, kale, mustard greens, spinach, dandelion greens, chard, radish greens, turnip greens, broccoli rabe, beet greens, snow pea leaves and arugula. You should riff on it as you see fit based on your tastes and whatever ingredients you have on hand.

  1. Heat some fat in a pan. You don’t need much–a tablespoon or so for a whole mess of greens. You can use olive oil, vegetable oil or something from the pork family, preferably smoked. For the greens picture above, I used an ounce of very lean slab bacon, which I rendered with a couple of teaspoons of olive oil.
  2. Add aromatics. Now you want to flavor your oil with whatever aromatics you have on hand–onions, garlic, ginger, shallots, etc. I am partial to red onion and thinly sliced garlic. Here I used some garlic scapes. I also like to add a little hot dried pepper at this stage.
  3. Add greens. Make sure to rinse them well, as they tend to be gritty. But don’t bother to dry them; the water left on the leaves will help to steam them in the pan. You may want to slice them. If the stems are particularly tough, remove them or add them to the pan first so that they get a head start on cooking. Greens need more or less time to cook depending on their type, the time of year, how mature they are, how cooked you want them, etc. I am partial to greens that still require some serious chewing. Traditional Southern greens are cooked until they are silky and falling apart. If you want them more cooked, you can always add more liquid (water or chicken broth are nice) and even lid the pan.
  4. Finish with salt, pepper and a little acid. Lemon juice, tomatoes, apple cider vinegar and red wine vinegar all add a nice counterpoint to the lush mouthfeel of cooked greens. For the kale above, I used white wine vinegar and regular apple cider, which added a little sweetness to what were some very bitter greens. (A pinch of sugar would also do the trick.) You can also add some more heat and complexity at this point by deploying some hot sauce. You can cook for a bit longer to reduce the liquid if you like, but don’t cook it all away. Pot liquor is delicious!
  5. Make it a meal. Sometimes the greens alone are enough for dinner, particularly if I’ve used andouille or turkey sausage back in Step 1. Sometimes I add a fried egg. Sometimes I serve these up in corn tortillas with feta, salsa and avocado. Sometimes I use the greens as a sauce for whole wheat pasta. I ate this purple kale with some ricotta and a slightly sweet, buttery Vouvray.

Gumbo in 10 (or So) Easy Steps

I made gumbo for the third time on Friday and was pleased to see that, once you have the basic concepts down, there are an endless number of ways to riff on this tasty one-pot dish. Pictured here is Friday’s creation, which featured bacon, smoked Louisiana sausage, Maine shrimp tails, okra and mustard greens (these first three ingredients being just a sampling of the proteins lurking in my cramped freezer). Some might consider the mustard greens to be heresy, but I thought that they made for some nice flavor and texture contrast.

What follows is a step-by-step documentation of my very first gumbo. By following these steps, you can make a delicious gumbo using whatever meats, seafood, stock and produce you have on hand. It’s a great way to clean out the freezer.

STEP 1  –  Gather a bunch of meat and brown it in batches in a nice big heavy-bottomed pot. In this case, we have duck breast, andouille sausage, kielbasa and smoked hog jowl.

STEP 2  –  While you’re browning the meat, dice your veggies. Celery, onion and green pepper (“the holy trinity” of Cajun cooking) are traditional. Carrot, red bell pepper and garlic are nice additions. You can also add jalapenos or other hot chile peppers, if you’re into that kind of thing.

STEP 3  –  Transfer browned meat to an even bigger heavy-bottomed pot, add liquid and begin to simmer. An odd beer, some leftover red wine, clam juice and homemade stock from last Thanksgiving’s turkey carcass are just fine. (In the case of the shrimp gumbo pictured above, I used the shrimp shells along with some garlic, celery, carrot, a bay leave and whole black peppercorns to make a quick stock. You could also use a ham hock, which is a great thing to keep stashed in the freezer for soup and stew emergencies.)

STEP 4  –  Now it’s time to make the roux. Add approximately as much flour as you have rendered fat from browning all of that meat and start whisking. If you’re low on fat, you can supplement with whatever hard fat you have on hand – butter, schmaltz, lard, vegetable shortening, etc. A cup of fat and a cup of flour will do you right for one large pot of gumbo.

STEP 5  –  Keep whisking. I recommend NPR podcasts to keep you company.

STEP 6 – Now would be a good time to crack open a beer. But don’t stop whisking. The key is not to let it burn.

STEP 7  –  When you can’t stand to whisk any more, you’ve got your roux. If you taste it, it will not be yummy. Do not be scared.

STEP 8  –  Add your chopped vegetables into the roux and stir frequently until they start to soften. Toss in some herbs. Fresh or dried thyme, oregano and basil are all welcome. Cayenne, paprika and other dried chiles can also be added. Then dump it all, plus some bay leaves into the really big pot with the simmering meat.

STEP 9  –  Let is simmer and simmer and simmer. At some point, you’ll want to pull any large hunks of meat out and shred them. Maybe turn the burner off, lid the pot and take a nice bike ride. While you’re out, pick up some really cheap french bread to serve with the finished product. It’s traditional.

STEP 10  –  Fire the burner back up and keep simmering. Taste and adjust seasoning with salt, pepper, whatever hot sauces you have in the fridge, maybe a little more wine, some vinegar, etc. Make a batch of Sazeracs. Make another batch. Make some long-grain white rice. Add some okra, some chopped up oysters, some parsley and anything else your heart desires. Have some more Sazeracs. Just don’t get so drunk that you forget to take a picture of the finished product. Oops.