Kale, Sausage & Potato Stew

This recipe was inspired by caldo verde, a traditional Portuguese soup of kale and potatoes garnished with spicy sausage. While caldo verde is usually served for celebrations, I was able to whip this up in under an hour with ingredients I had on hand, making it a fine midweek supper. The ingredients are simple and the recipe is straightforward, but the resulting dish is delightfully complex.

Kale, Sausage & Potato Stew

  • 2 tablespoons olive oil
  • 12 ounces fresh spicy sausage (I used some loose hot Italian turkey sausage from Di Paola Turkey Farms, which sells its wares at greenmarkets throughout New York City, but whatever you’ve got in the freezer is cool.)
  • 2 leeks, thinly sliced and rinsed
  • 2 cloves garlic, thinly sliced
  • 1 teaspoon crushed red pepper flakes
  • 1 tablespoon herbes de provence
  • 2 bunches kale, thinly sliced (I used lacinato, but pretty much any kind of kale or collards would work.)
  • 2 cups chicken broth (I used about six cubes of frozen contracted stock.)
  • six small yellow potatoes, halved and cut into quarter-inch slices
  • 1 tablespoon hot paprika
  • salt and pepper to taste
  1. Bring the oil up to medium heat in a large dutch oven. Add your sausage and stir until cooked through. Add the leeks and garlic and cook until limp. Stir in the herbes de provence and red pepper flakes.
  2. Add the kale in batches, stirring until there is room for more. Add the chicken stock and bring to a boil. Add the potatoes and enough water to cover. Stir in the paprika, a generous amount of fresh black pepper, and salt if needed
  3. Let simmer until the potatoes are tender, approximately 30 minutes. 

Kale, Sausage and Potato Stew

Corn & Seafood Chowder

Barbara and I met through our mutual support of the New York Abortion Access Fund (NYAAF). This past spring she invited me to be a guest on the Park Slope Food Coop cooking show that she hosts. We had a great time making shrimp and grits and discussing the critical role that abortion funds play. A couple of weeks ago we decided to reprise our cooking date–only this time (mercifully) the cameras were off.

Barbara emailed me a few days before our date asking what we should make. I mentally reviewed the various foodstuffs cluttering my fridge: corn, potatoes, and a wide variety of peppers. This could have gone any number of ways. Then I remembered that I had several corn cobs stripped of their kernels jammed into my freezer because I had read something about corn broth. Bingo!

Corn & Seafood Chowder

  • 8-12 cobs of corn
  • 3 ounces slab bacon, diced
  • 1 large onion, diced
  • 3 stalks celery, finely diced
  • 1 green pepper, diced
  • 1 cubanelle pepper, diced
  • 1 jalapeño pepper, minced
  • 3 cloves garlic, minced
  • 8 medium russet potatoes, cut into half-inch cubes
  • 1 pint lobster stock or 1 jar clam juice
  • 18-24 cherrystone or littleneck clams
  • 2 large filets of flounder (about 1 pound total)
  • 2 tablespoons butter
  • 1 bunch curly parsley, chopped
  • salt and pepper
  1.  Husk the corn and then strip off the kernels using a sharp knife. (I find that doing this over a shallow bowl keeps the kernels from rolling away and also allows me to capture any of the milky liquid that they exude.) Reserve about four cobs’ worth of kernels for your chowder and freeze the rest for succotash, cornbread or the like. Throw the denuded cobs into a large pot with enough water to cover, bring to a boil, reduce heat, and simmer for half an hour–or as long as it takes you to get through the next couple of steps.Corn Broth
  2. Dice your bacon, onions, celery, and green peppers. Mince the garlic and jalapeño. Chop the potatoes. Chat about anything and everything. Have a nosh if you like.Barbara Chopping
  3. Add the bacon to a large pan and bring up to medium-low heat. Once the fat has mostly rendered and the bacon pieces are just starting to firm up, add the onions. Saute until they are starting to soften and then add your celery and various peppers. Once these have started to soften, add the garlic and cook for a few minutes. The key is to soften everything up without allowing it to brown. Season with salt and pepper.Chowder Base
  4. Pull the corn cobs out of your soup pot using tongs and then dump your vegetable mixture into the pot along with the diced potatoes. Add the lobster stock or clam juice, bring to a boil, and then lower to a simmer. Put the clams in a bowl, cover with cold water, and add some black pepper or cornmeal. (This step, while not strictly necessary, will encourage the clams to spit out their sand, avoiding a certain amount of grit in the finished product.) Leave the pot to simmer for a half hour or more while you retire to the living room for some more chatting.
  5. Now is a good time to wake Barbara’s husband Chris up from his nap so that he can ready himself for chowder.
  6. Add the butter. Taste the broth and adjust the seasoning with salt and pepper. Add your clams and then lay the flounder in gently. Cook until the clams pop open (roughly 15 minutes), by which time your flounder should be white and opaque. Finish with the corn kernels and some fresh parsley.Corn and Seafood Chowder

We ate our chowder in Barbara’s rather perfect Fiestaware bowls, using hunks of bread to soak up the delicious broth. It made for a truly excellent early autumn lunch.

Corn and Seafood Chowder 2

Pork, Beans & Greens

I flew home last Tuesday from an intense two-week study trip to New Orleans. OK, there may have been a little fun thrown in there. But, since then, it’s been all about work and school. I spent most of the weekend reading and writing, but I did manage to carve out some time to cook those beautiful yellow eye beans from Cayuga Pure Organics that I picked up last month.

Dried beans may seem intimidating, but they are infinitely better than canned and it’s honestly hard to screw them up. They’re also cheap and a great source of nutrition. Ideally, you soak them overnight, after which they should look something like the photo below. But the quick-soak method is just fine. Add the beans along with enough water to cover them to a pot, bring to a boil over high heat for a few minutes, and then let soak for a couple of hours. Whichever method you choose, be sure to drain them.

Soaked Yellow Eyed Beans

Yellow Eye Bean Stew

  • 1 pound dried yellow eye beans, soaked overnight and drained
  • 6 ounces bacon, roughly cut
  • 3 medium onions, chopped
  • 4 carrots, chopped
  • 5 celery stalks, chopped
  • 4 garlic cloves, peeled and halved
  • dried, smoked chili peppers (to taste)
  • 1 pound smoked pork neck bones (A ham hock or even a smoked turkey wing or two would also do the trick.) 
  • 1 bay leaf
  • salt and pepper to taste
  1. Render the bacon in a large dutch oven over medium heat.
  2. Add the onions and cook until wilted but not yet browned.
  3. Add the celery and carrots and cook for a couple more minutes.
  4. Add the beans, garlic, dried chili peppers, neck bones, bay leaf, and enough water to cover.
  5. Bring to a boil and then let simmer until the beans are tender, about two hours. (If by chance you just tossed in a few peppers from your extensive and unlabeled collection, you might want to taste the broth midway through. If it has already reached that sinus-clearing point but is just shy of bringing tears to your eyes, it’s probably time to remove the chilis.)
  6. Remove the neck bones, strip off any remaining meat, chop roughly, and add back to the pot.
  7. Add salt and pepper to taste.

BeforePre-Cook

AfterYellow Eyed Beans with Pork

I love me some beans. And I love them even more when they’re served with greens. I cooked these up on Sunday night, took a nice helping over to my neighbors’ apartment, and have been eating the rest throughout the week along with some mustard greens that I had in the fridge.

Last night, I tossed the beans, raw mustard greens, and some cherry tomatoes with an apple cider and whole-grain mustard vinaigrette.

Yellow Eyed Bean and Mustard Green Salad

Tonight, I heated the beans up with some additional water, added the mustard greens, and simmered until they were lightly cooked. A few splashes of a vinegar-based hot sauce was the finishing touch.

Yellow Eyed Bean and Mustard Greens Soup

On Winter Storms and Chicken Stock

Winter storm Nemo passed over New York City last night, leaving us with somewhere around a foot of snow. Mayor Bloomberg encouraged everyone to stay home. But my brother-in-law was stranded in Los Angeles and my sister Hannah was going a bit nuts trapped inside with their teething one-year-old, Wally. So I donned my shearling-lined Bean boots (thanks, Mom!) and headed outside.

We had plans to have dinner delivered. But once I experienced the sharp little ice chunks pelting my face, I couldn’t imagine asking someone else to do so on a bike. Luckily, Brooklyn Victory Garden is halfway between our apartments. I scanned their well-curated selection of meats and immediately hit on roast chicken as the ideal meal for a blizzard. I also grabbed some Satur Farms wild arugula (so tasty) and a demi baguette. As she was ringing me up, the woman behind the counter asked if I had bought this chicken before, to which I replied no. “They’re great,” she said, “but you’ll want to remove the head and feet before roasting.” I thanked her for the advice and headed across the street for a lemon and some shallots.

By the time I got to my sister’s, the ice chips had given way to light, fluffy snow. Up on the 10th floor of her high rise, the flakes whirled in every direction, but mainly straight up–a remarkable effect that I could have watched for hours. But there was a baby to be entertained. We played bouncy. We built towers and knocked them down. We read books. We hammered balls into holes and sometimes just hammered people.

By 7:00, Hannah was nursing Wally to sleep and the chicken was in the oven. It was stuffed with shallot and lemon slices; coated in salt, pepper, and olive oil; and nestled in a bed of carrots and shallots. (I find it criminal not to allow some vegetables to cook in those delicious pan drippings.) I poured some wine and commenced to watch the snow. Around 8:00 we sat down to a dinner that included the roast chicken and carrots, arugula dressed with a shallot and balsamic vinaigrette, and the baguette, which I had crisped in the oven while the chicken rested. This was my first encounter with a Bo Bo chicken, but I can assure you it will not be my last. We sat at the table for quite some time picking at the bones, talking, and knocking back wine.

I had planned to depart before the worst of the storm, but the conversation (and, it is safe to assume, the wine) got the better of me. By the time I made it out to the street (chicken head, feet and bones tucked into my bag), Brooklyn was a winter wonderland and the streets were nearly deserted. It was breathtaking.

Image

Today I am content to sit at home watching old movies, catching up on a long-forgotten knitting project, and simmering chicken stock.

Image

It is a wonder to me that anyone ever throws chicken bones away, as homemade stock is seriously easy, makes the whole house smell glorious, and adds that extra little something to just about any savory dish. At the most basic level, you toss a chicken carcass or parts thereof into  a pot with just enough water to cover and simmer. But here are some tricks I’ve picked up over the years.

  1. If you don’t have enough bones yet, or are lacking the time for a proper slow cook, just toss the bones in a plastic bag in the freezer until you are ready.
  2. You can use raw or roasted chicken, or a combination of the two. Raw will yield a lighter, more refined stock while roasted will have a bolder, deeper flavor.
  3. Crack any bones that you can manage. (Note to self: must buy cleaver.) Stock is more about the bones than the meat. Cartilage and marrow are what give a good stock–and, ultimately, a good soup–that velvety mouth feel. Breaking the bones speeds this process. The best stock I ever made was, once it cooled, the consistency of Jell-o.
  4. Add some aromatics, vegetables, herbs and/or spices. Onions, garlic, carrots, celery, parsley, thyme, bay leaves, red pepper flakes, pepper, and allspice will give you a more complex flavor. You’re not limited to these ingredients, but they all provide a reasonably neutral base from which you can build. Fennel, parsnips, rosemary, and the like would be delicious, but may point your ultimate dish in a specific direction.
  5. Keep your stock at a low simmer. A full boil will emulsify the fat and yield cloudy stock.
  6. If scum appears at the top of the pot, skim it. This will also contribute to a clear stock.
  7. Cook your stock for as long as you can stand it and at least one hour. I had a roommate who would leave the pot on low overnight, which I found alarming from a safety perspective (though her stock was good). Four hours is great. Add water as needed to keep your ingredients submerged.
  8. If you’ve got limited storage space, let the stock cook down until it is concentrated.
  9. Don’t add a lot of salt. It is very easy to oversalt when you are cooking something down and you can always season at the end of the process and/or when making your final dish.
  10. Strain the stock through a fine mesh strainer, pressing hard on the solids to extract as much liquid as possible.
  11. Cool your stock, pop it in the fridge overnight, and then scrape off the layer of fat that forms on the top.
  12. Save the aforementioned fat in a container in the freezer and use it in place of or in addition to oil or butter for some extra flavor. I find that potatoes are particularly tasty. My grandma has fond memories of coming home from school to a piece of toast slathered in schmaltz, but I have yet to go there.
  13. If you’re not going to use the stock right away, pour it into ice cube trays, freeze them, and then drop them in a plastic baggie. You’d be amazed what a single cube of good quality chicken stock can do for a lackluster stir-fry or pasta sauce.

This technique works fine for turkey as well and has become my Black Friday ritual. But, as you can see, I ran into some problems when I tried to use Wally.

Image

A Hoppin’ New Year

I put the finishing touches on my first grad school research paper a little after 1:00am on December 20th, sacked out for five hours, worked a full day, and then attended my final class. I arrived home around 9:00pm, stuffed some food into my mouth and some clothes into a suitcase, and hit the road for the twelve-hour drive to Gatlinburg, Tennessee. Needless to say, I was not in great shape by the time we arrived. I spent the first couple of days mentally and physically recovering.

When I came to, I found myself in a lovely house nestled in the Smoky Mountains, surrounded by good friends who’d driven in from Nashville and from Athens, Georgia. There were two wood-burning fireplaces, a pool table, a (kinda) hot tub, and plenty of booze. I was the first person up each morning and spent the earliest hours of my day under a blanket on the couch in front of a picture window. I alternated between indulging in a juicy novel and watching the mountains disappear and reappear though the mist.

Smokey View

On December 23rd, we hit Dollywood, Dolly Parton’s amusement park in Pigeon Forge. I don’t go in much for heroes, but Dolly certainly is one of mine and I have wanted to visit Dollywood ever since I learned of its existence.

We managed to hit all four of the excellent roller coasters, twice. My favorite was the Wild Eagle, a triumph of engineering in which you are hanging in a seat with nothing above or below. After a delightfully unnerving initial drop, the sensation is one of soaring. Our fear was replaced by a feeling of weightlessness that left us giddy.

Dollywood Coasters

The Chasing Rainbows Museum offered a staggering array of photos of Dolly with celebrities (Grace Jones being my personal favorite), a look back at her childhood and early years in Nashville, and an impressive collection of fan art.

Dolly's Attic

Downstairs were case upon case of clothing from Dolly’s movies and tours. My closet suddenly seems so drab.

Dolly's Wardrobe

We also got to check out Dolly’s tour bus and one of her (in)famous wigs.

Dolly's Wig

The quirky guy leading the tour got a shot of our whole group.

Dolly's Bus

Our day at Dollywood concluded with a Christmas-themed light parade led by a zealous woman with a banjo.

Dollywood Light Show

The next day was Christmas Eve, our last night in Gatlinburg. After taking stock of our food reserves, I headed out do some final grocery shopping. (Miraculously, the booze supply had held.) I knew that I wanted to use the dried black-eyed peas that our Nashville friends had brought, so I was thinking Tex-Mex as I walked into the local Food City. But one look at the freestanding cooler full of collard greens and I had a new plan. These greens were glorious–and huge; one bunch would be plenty to feed all six of us. A few aisles later, I stumbled on a shockingly large display of smoked hog jowl. This store and I were clearly on the same wavelength.

The nice young man who checked me out took one look at my cart and said, “You’re a little early, aren’t you?” For those that don’t know, collards and black-eyed peas are both traditional New Year’s foods in the Southern United States. The peas offer luck and the greens symbolize wealth. Black-eyed peas, which are generally served with rice in a dish called Hoppin’ John, came over with West African slaves. Collard greens, which were considered weeds by many plantation owners, were a mainstay of the slave diet. The hog jowl and other less desirable cuts would have been more readily accessible to the slaves. This combination of ingredients is cheap, easy to cook, and can simmer away untended.

My version is a bit fancified, to be sure, but its spirit is true–as its ability to heal after a night of over imbibing.

Hoppin' John Stew

New Year’s Day Stew

  • 1 pound dried black-eyed peas
  • 1 tablespoon olive oil
  • 3-4 ounces smoke hog jowl (slab bacon would also be fine), cut into 1/4″ cubes
  • 2 medium yellow onions, diced
  • 8 cloves of garlic, sliced
  • 1/2 bottle of cheap red wine
  • 16 ounces of chicken stock
  • 2 bunches of collard greens, large stems removed and cut into thick ribbons
  • 2 large tomatoes or 1 can whole tomatoes, chopped
  • 8 ounces apple cider vinegar
  • hot sauce, salt and pepper to taste
  1. If you’ve got it more together than I do, soak the beans in cold water overnight. If not, no worries. Just add them to a pot with enough water to cover them by a few inches, bring to a boil, simmer for a few minutes, and then let stand for an hour or more. Either way, be sure to drain the water.
  2. Add olive oil to a large heavy-bottomed pot over medium heat. Add your pork and let render, stirring occasionally. Cook the onions for a few minutes and then add the garlic. Continue cooking until onions are translucent, lowering heat if they start to brown.
  3. Add the soaked and drained beans, some leftover red wine, the chicken stock, tomatoes and a good pinch of salt. If the beans aren’t covered, you can round this out with some water. Let simmer until you sense hunger. One hour is probably enough, but two hours will be even better. Add 1/4 cup of apple cider vinegar, some hot sauce and lots of black pepper.
  4. Keep simmering while you put a pot of long-grained white rice on to boil. After 10 minutes or so, stir in the collards. (You may have to work in batches, letting each cook down a bit before you can cram the rest into the pot.)
  5. When your rice is just about done, taste the stew and adjust the seasoning with additional salt, pepper, cider vinegar, and hot sauce. (I went with plenty more of all of these.) You can let this simmer or even turn off the heat for a while if you’re not ready. I tend to like my collards a little more al dente than is traditional, but I leave that up to you. Serve the stew ladled over the rice in low bowls and get ready for a glorious new year.

Christmas Dinner

Pretty in Pink Borscht

Last week’s CSA share included a handful of beets. I knew they would keep until this week, when I had a hunch I’d be getting some more. Sure enough, Tuesday brought another bunch–along with some of the crispest cucumbers I’ve ever tasted.

That very day, NPR reported that this is the hottest summer on record in the U.S. Roasting the beets was out of the question.

But cold borscht was not. I boiled my beets and eggs while preparing my morning coffee and a garlic, beet greens and egg scramble that I ate with a sliced fresh tomato–the first of the season! With the hot work completed early in the day, dinner preparation would really just be a matter of assembly.

Cold Borscht (serves about four)

  • 2 bunches beets (greens reserved for a nice sauté)
  • 2 Tbsp red wine vinegar
  • 4 garlic cloves
  • 1 large onion
  • 3 cloves
  • 2 whole allspice
  • 1 bay leaf
  • 1 tsp coriander seed
  • ½ tsp fennel seeds
  • 1 tsp pink peppercorns
  • 1 tsp green peppercorns
  • 1 tsp crushed red pepper flakes (or more if you like a little heat)
  • 1 Tbsp sugar
  • 2 tsp salt (and more to taste)
  • 2 Tbsp prepared horseradish (or to taste)

Clean the beets by soaking them in water and scraping off any lingering dirt. (I recommend using the edge of a teaspoon; three days and a few showers later, I am still trying to dig dirt our from underneath my thumbnail .) Trim the tops, bottoms and any rogue hairy stuff. Add these along with everything above except the horseradish to a large pot, cover with water and bring to a boil. Reduce to a simmer and cook until your beets give easily when pierced with a fork (somewhere between one and two hours). Remove beets and strain liquid into a bowl using a chinoise or other fine mesh sieve. Once beets have cooled, slip peels off with your hands. Add all but one of the beets, reserved liquid and horseradish to the work bowl of your food processor and purée until smooth. You may need to add more water to get the desired consistency. Pour mixture back into the bowl and refrigerate for at least a few hours. (A full day would be fine.)

  • ¼ cup crème fraiche, sour cream or plain yogurt
  • Black pepper
  • 1 cooked beet, diced
  • 4 hard-boiled eggs
  • 2 Tbsp minced dill plus more for garnish
  • 1 large cucumber, peeled, seeded and diced

Whisk minced dill and crème fraiche, sour cream or plain yogurt into soup and season to taste with fresh-ground black pepper, salt and/or vinegar. Ladle soup into bowls, garnishing with halved eggs, beet and cucumber cubes and sprigs of dill.

It turned out that these were Chioggia beets, which were breathtakingly beautiful, though the dramatic stripes faded a bit during cooking and, ultimately, made for a borscht the color of Molly Ringwald’s prom dress at the end of Pretty in Pink. (Am I alone in having found that dress rather disappointing after all of the buildup?)

Still, it was damn tasty. I served it with a kale, sugar snap pea and pickled red onion salad and toasted pumpernickel bread topped with a crème fraiche spread and some killer smoked salmon that I’d picked up from Josephson’s Smokehouse in Astoria, Oregon. (Astoria is the town where Goonies was filmed, which makes for two ’80s movie references in a single blog post.)

An earthy rosé rounded out our feast, though I suppose that vodka would have been more traditional.


Absinthe Soup

Image

I’ve been battling a cold for the past couple of weeks. Tonight I made the difficult decision to skip a show to which I already had tickets. Instead, I came home and continued to work my way through the frozen soup collection I’ve been amassing.

On those winter days when it’s too cold to think about going out, I spend my time cooking up large batches of soup using whatever I have on hand. I eat it for as many meals as I can stand and freeze the rest. The plastic pint containers that you get when ordering takeout or buying olives are perfect for a single serving. The key here is to be diligent about labeling each container with the date and the contents.

Tonight’s freezer exploration turned up a particularly tasty soup that I made back in January. I had hosted a cocktail party at which I served bagna cauda, a dip of butter and/or olive oil with garlic and anchovies. I like to add some red pepper flakes and parsley. You serve it warm (hence the translation: “hot bath”) with raw winter vegetables and hunks of bread for dunking. The bagna cauda paired brilliantly with both the Prosecco and the Negronis.

The next morning found me with a headache, sticky counters, and a bunch of leftover fennel, endive and cauliflower. The vegetables were beginning to brown where I had cut them. Delicate spinach intended for a salad was also begging to be consumed.

There are a few basic formulas for making soup. This one involves sweating the aromatics, adding the vegetables, gently simmering them in broth, and then pureeing the mixture. That’s it.

The absinthe was a last-minute addition that took the soup to a new level. Tonight it almost made me forget that I am missing Beth Ditto’s performance. Hopefully a cough syrup nightcap will finish the job.

Absinthe Soup

  • 3 tbsp butter
  • 2 tbsp olive oil
  • 1 red onion, diced
  • 1 fennel bulb, diced
  • 4 cloves garlic, pressed
  • 2 tsp fennel seed
  • pinch cayenne
  • pinch powdered ginger
  • pinch nutmeg
  • 2 cups chicken stock, 2 cups water
  • ⅛ cup absinthe
  • ½ head cauliflower
  • 2 bunches spinach
  • 1 head endive
  • salt
  • pepper
  • sherry vinegar
  • lemon juice
  • garnish with plain yogurt, fennel fronds, fennel pollen
  1. Melt the butter with the olive oil over medium-low heat. Add the red onion and fennel and cook stirring frequently so that they do not brown.
  2. When the onion and fennel are soft and becoming translucent, add the garlic, fennel seed, cayenne, ginger and nutmeg. Cook stirring constantly for a minute or two.
  3. Add the chicken stock, water, endive and cauliflower and simmer gently until the cauliflower is soft. Add the spinach and absinthe and simmer for another 10 minutes – or maybe less. (You want the spinach to retain its bright green color.) Puree using an immersion blender or in batches in a food processor or traditional blender.
  4. Taste and adjust the seasoning as desired with salt, pepper, sherry vinegar and/or lemon juice. Ladle each serving into a bowl and garnish with plain yogurt, fennel pollen and the fennel fronds.

Gumbo in 10 (or So) Easy Steps

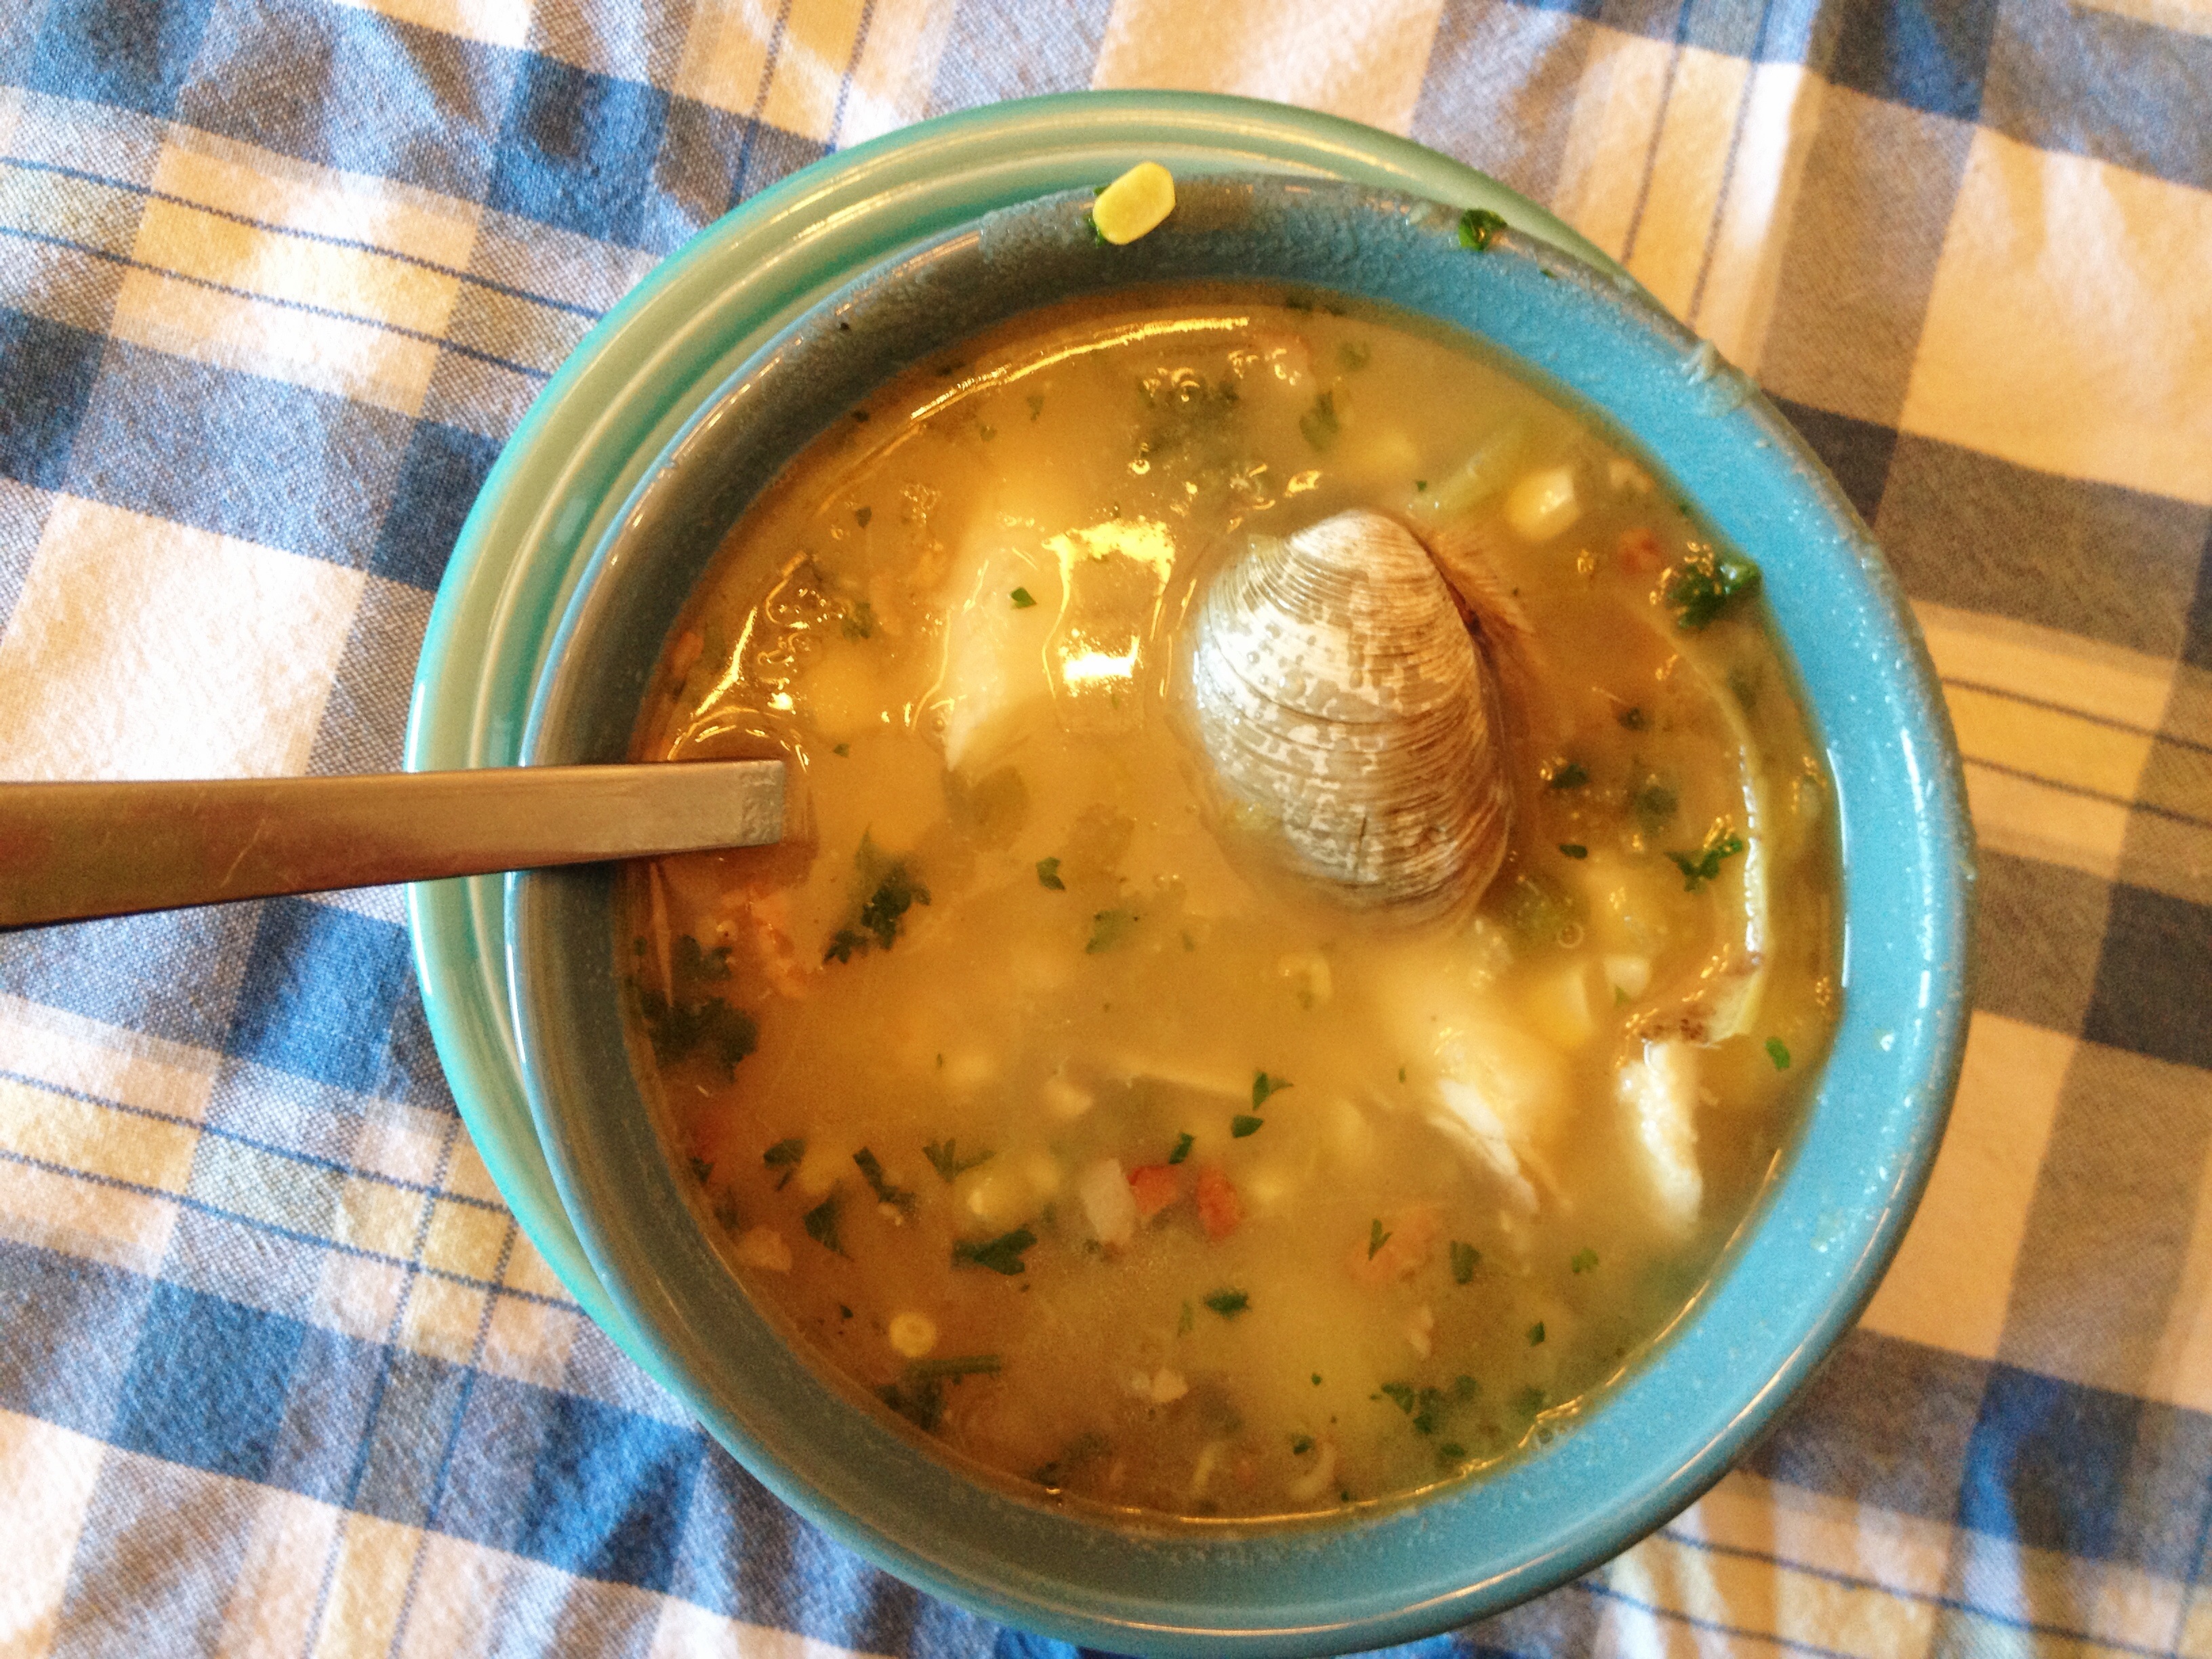
I made gumbo for the third time on Friday and was pleased to see that, once you have the basic concepts down, there are an endless number of ways to riff on this tasty one-pot dish. Pictured here is Friday’s creation, which featured bacon, smoked Louisiana sausage, Maine shrimp tails, okra and mustard greens (these first three ingredients being just a sampling of the proteins lurking in my cramped freezer). Some might consider the mustard greens to be heresy, but I thought that they made for some nice flavor and texture contrast.

What follows is a step-by-step documentation of my very first gumbo. By following these steps, you can make a delicious gumbo using whatever meats, seafood, stock and produce you have on hand. It’s a great way to clean out the freezer.

STEP 1  –  Gather a bunch of meat and brown it in batches in a nice big heavy-bottomed pot. In this case, we have duck breast, andouille sausage, kielbasa and smoked hog jowl.

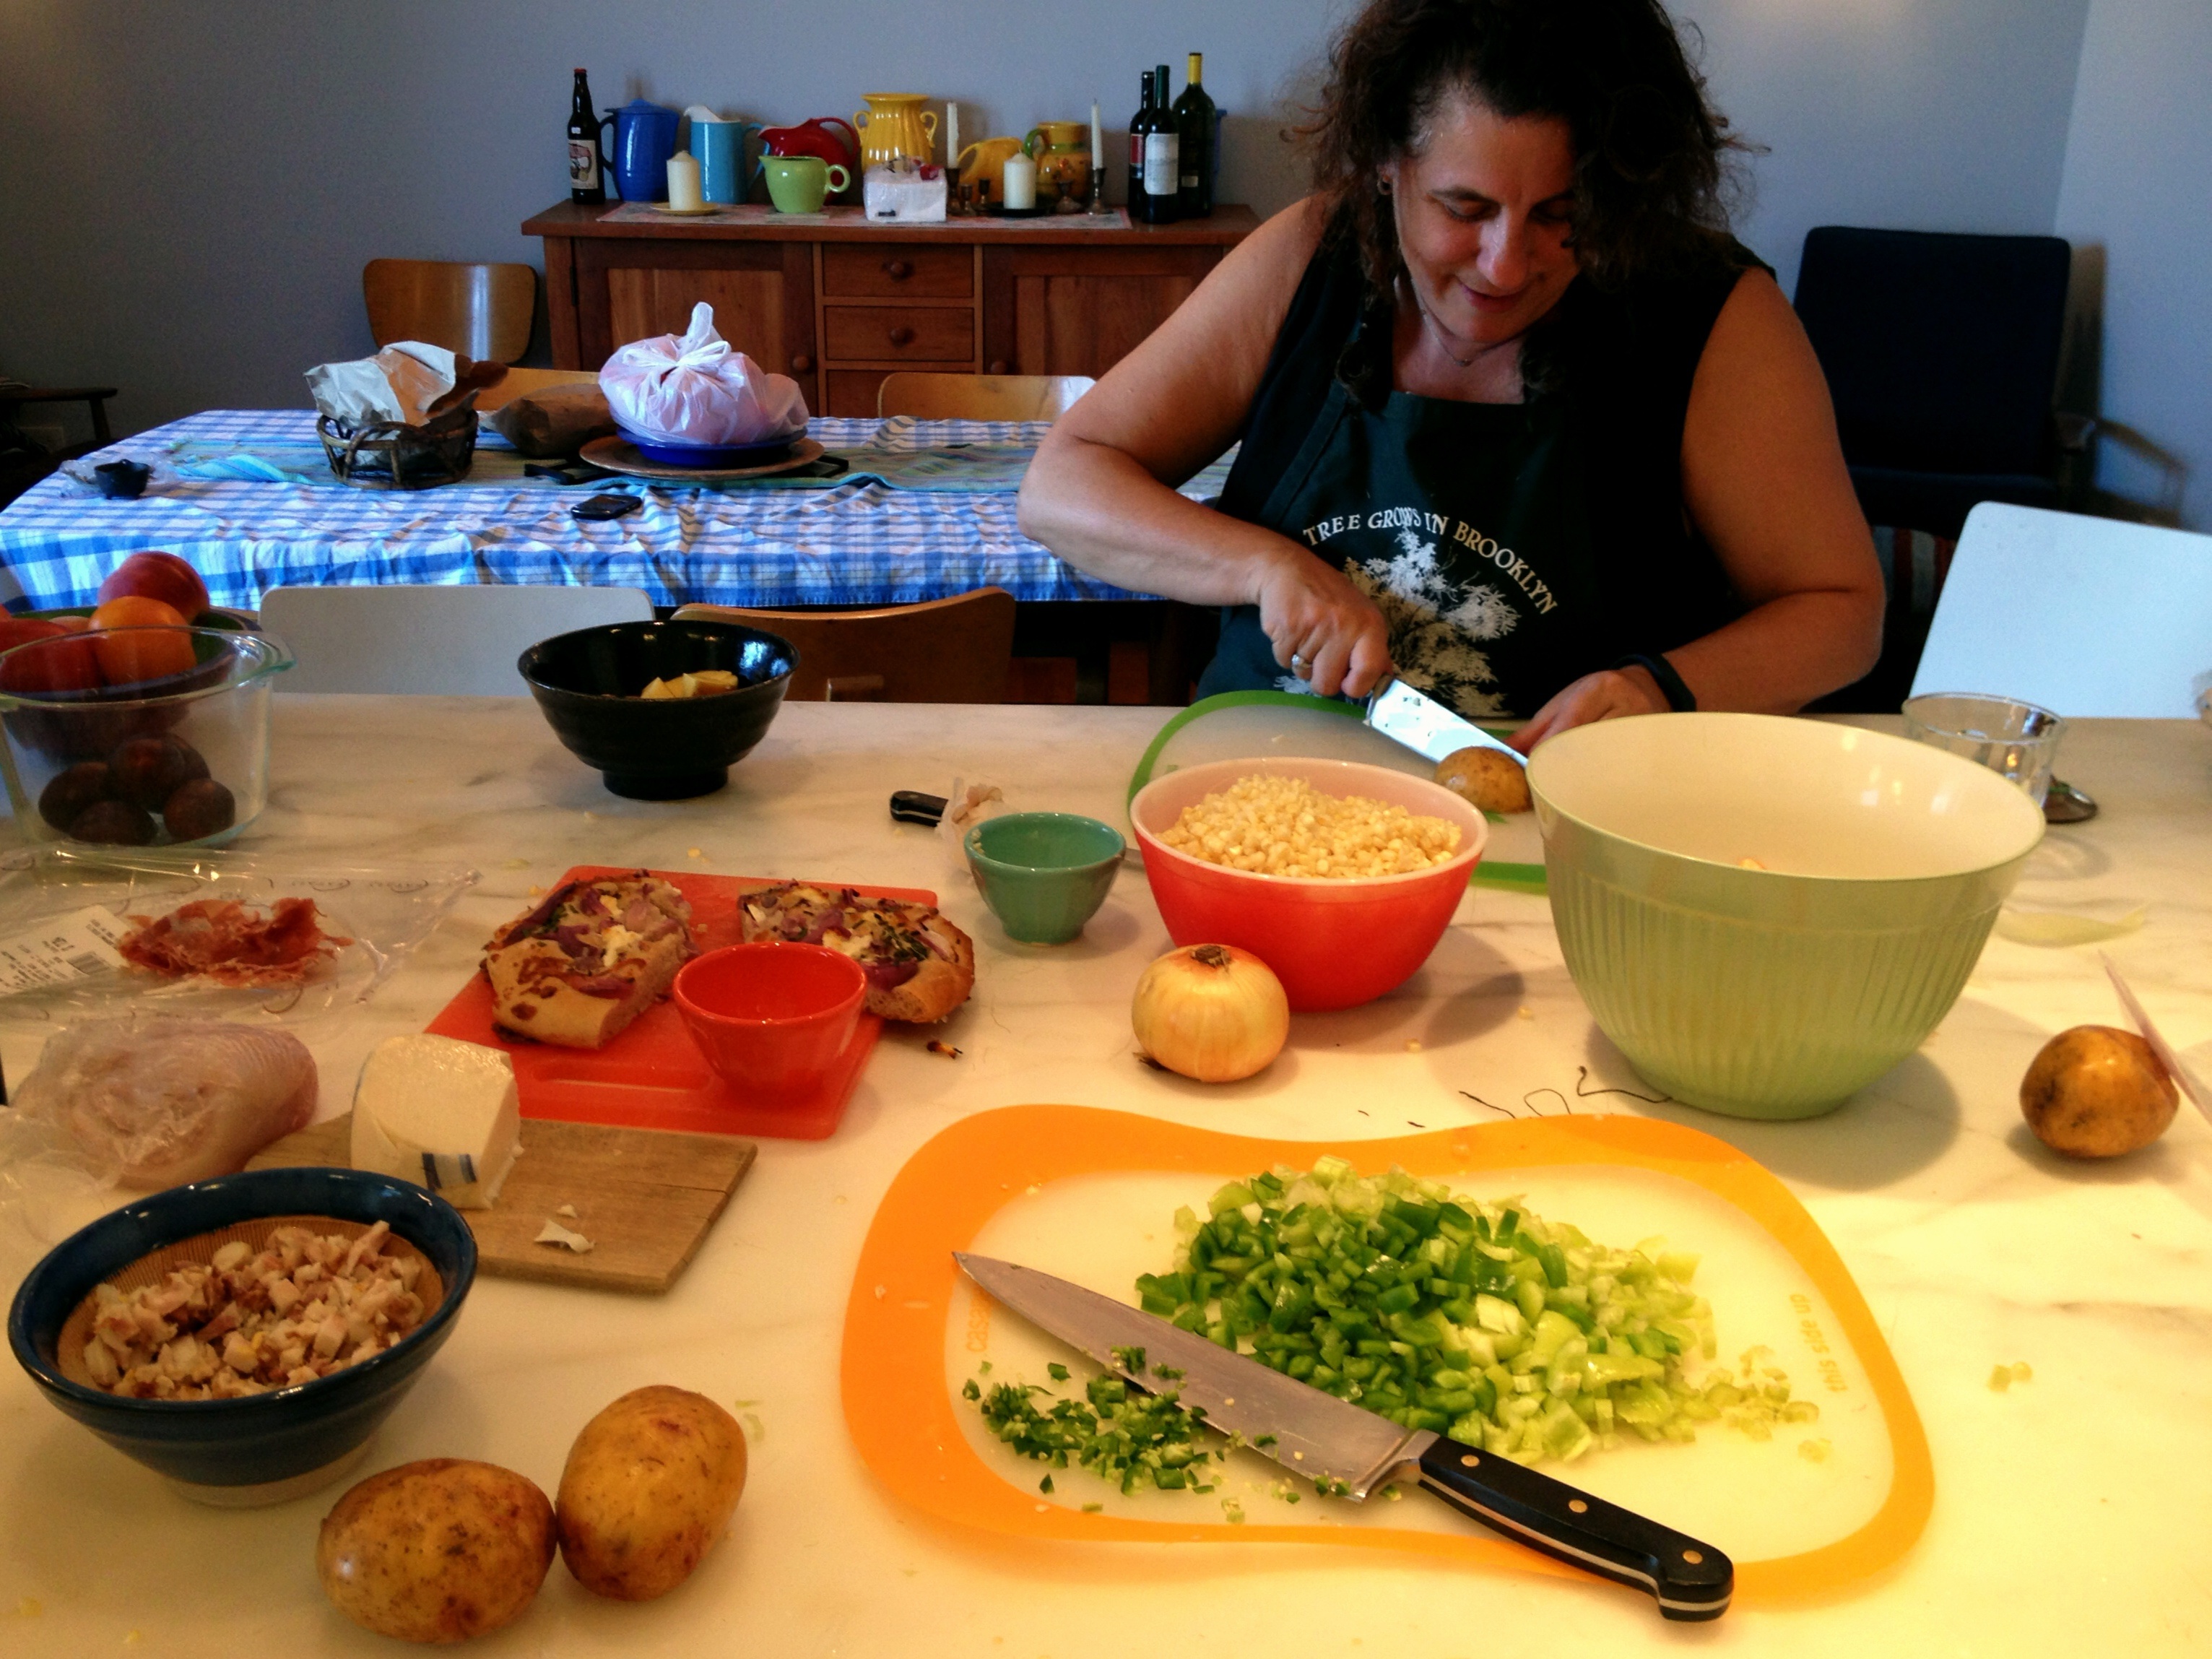
STEP 2  –  While you’re browning the meat, dice your veggies. Celery, onion and green pepper (“the holy trinity” of Cajun cooking) are traditional. Carrot, red bell pepper and garlic are nice additions. You can also add jalapenos or other hot chile peppers, if you’re into that kind of thing.

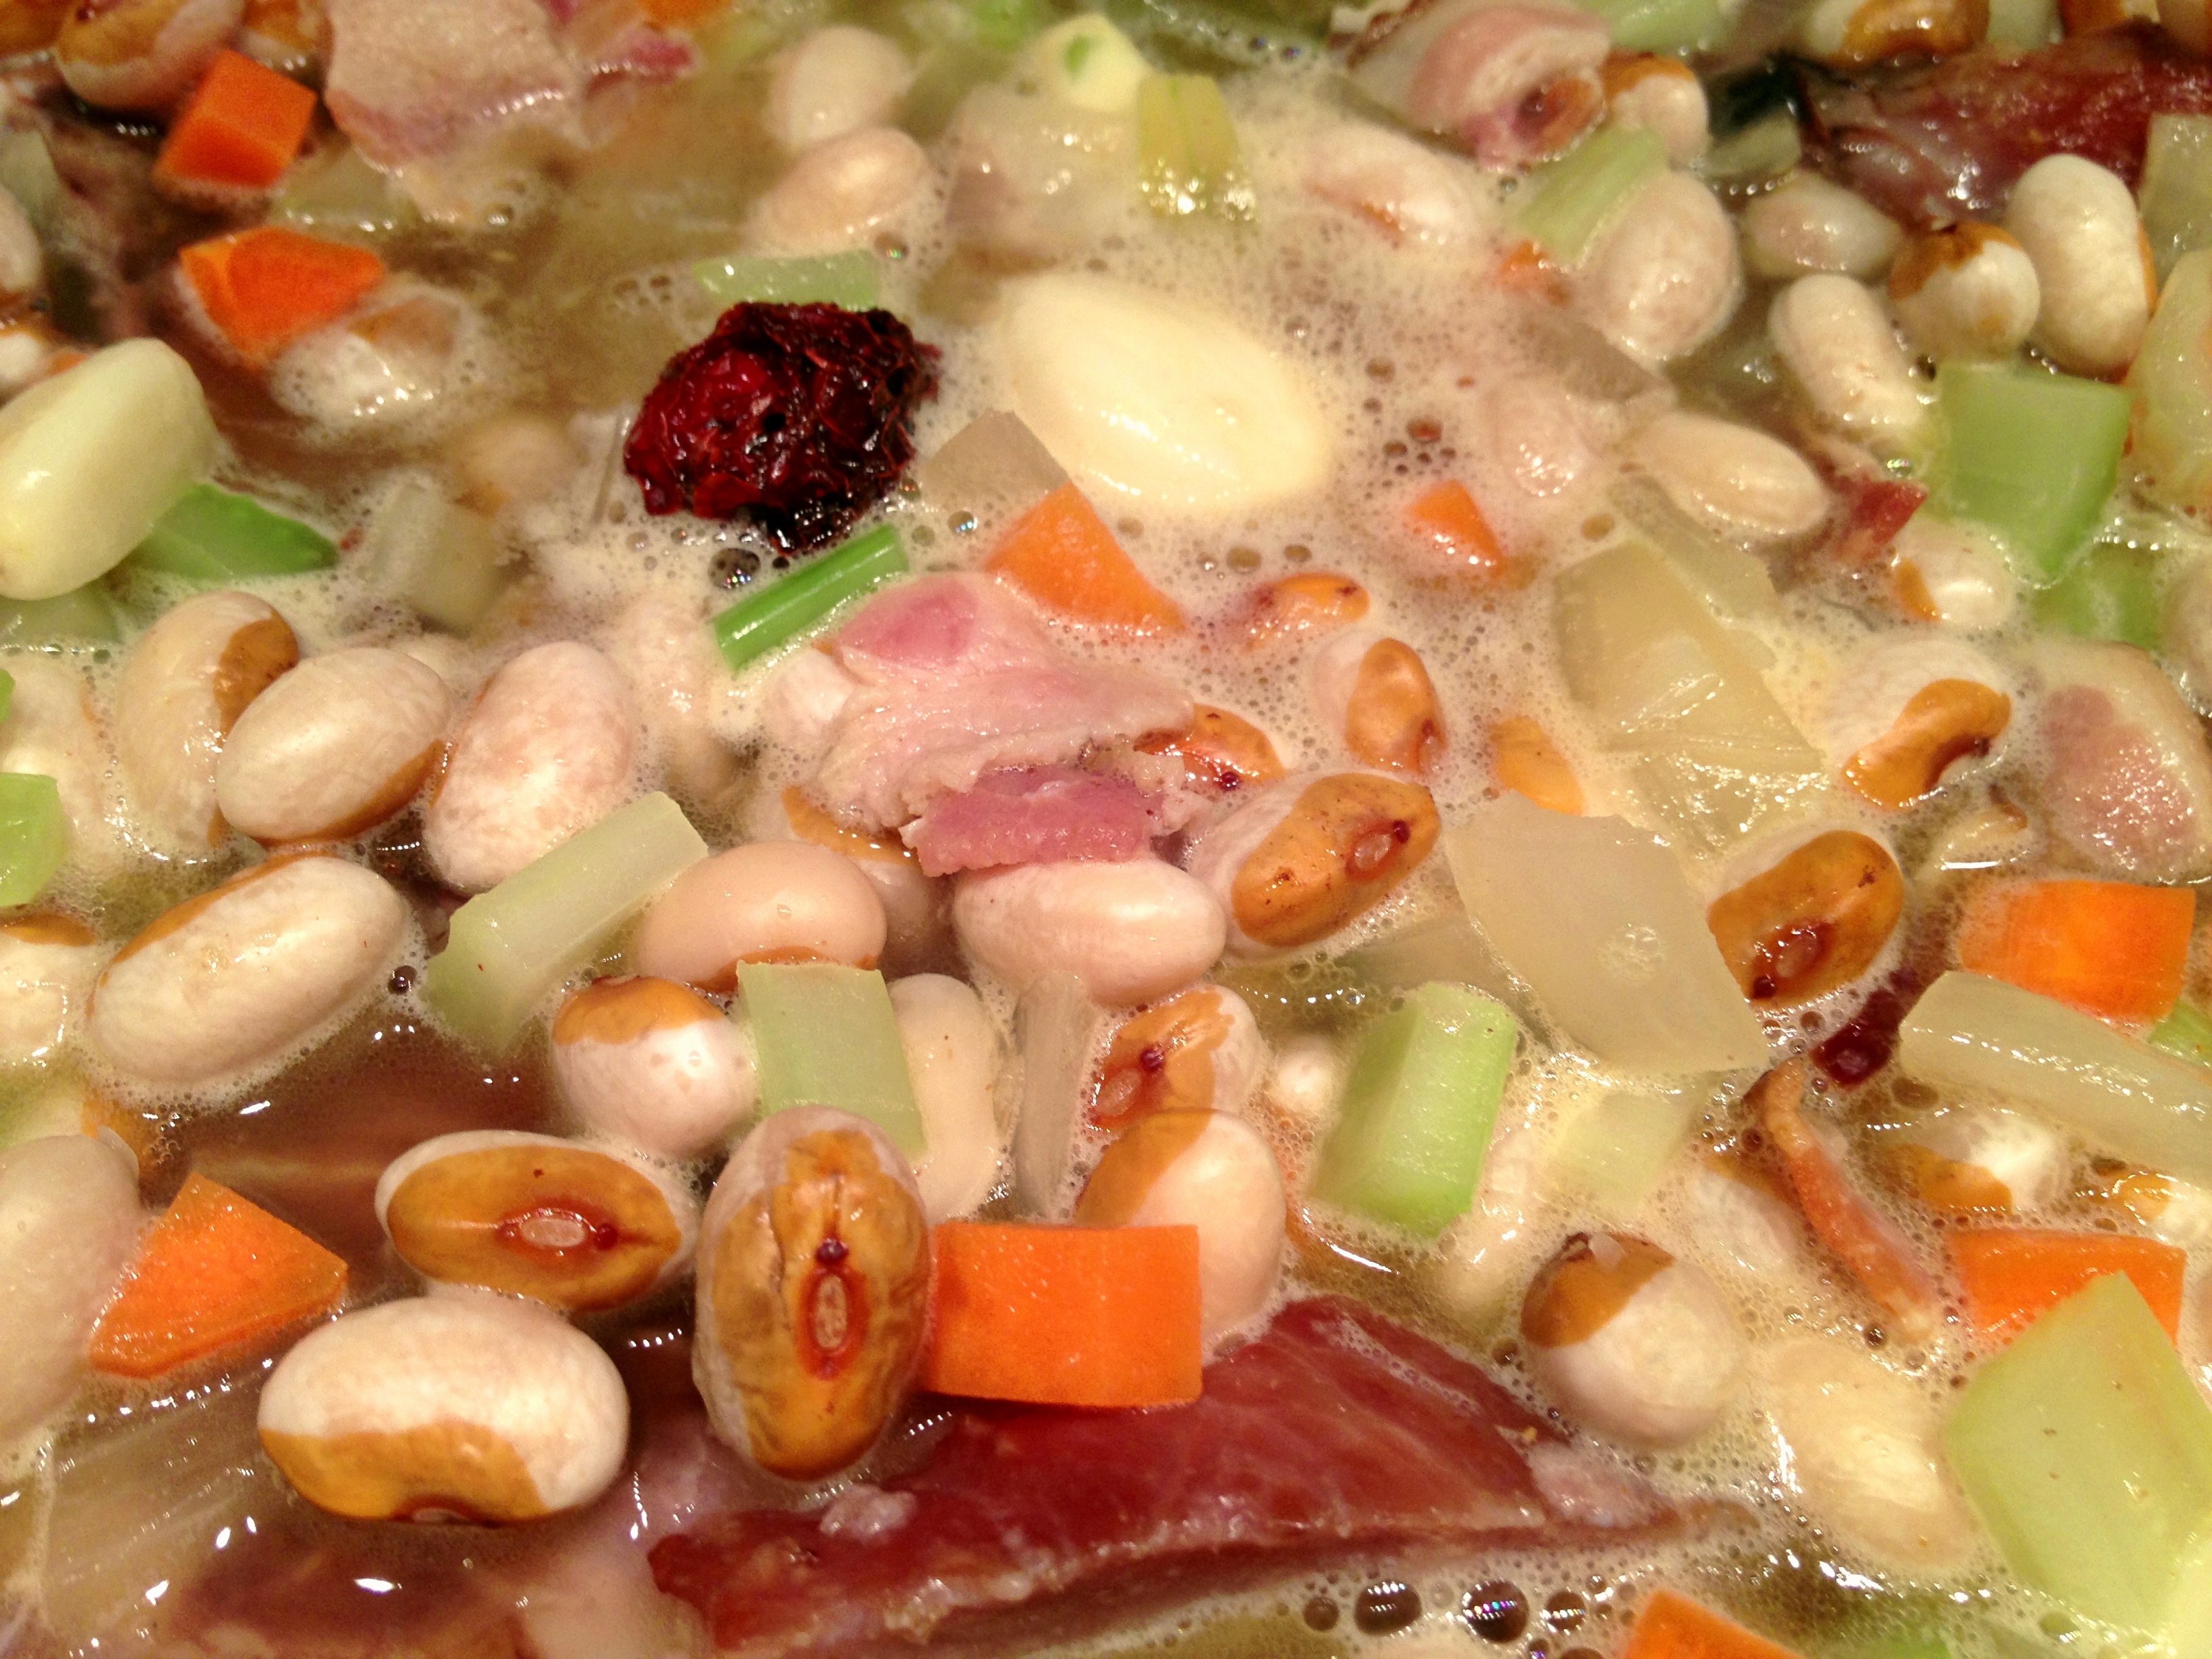
STEP 3  –  Transfer browned meat to an even bigger heavy-bottomed pot, add liquid and begin to simmer. An odd beer, some leftover red wine, clam juice and homemade stock from last Thanksgiving’s turkey carcass are just fine. (In the case of the shrimp gumbo pictured above, I used the shrimp shells along with some garlic, celery, carrot, a bay leave and whole black peppercorns to make a quick stock. You could also use a ham hock, which is a great thing to keep stashed in the freezer for soup and stew emergencies.)

STEP 4  –  Now it’s time to make the roux. Add approximately as much flour as you have rendered fat from browning all of that meat and start whisking. If you’re low on fat, you can supplement with whatever hard fat you have on hand – butter, schmaltz, lard, vegetable shortening, etc. A cup of fat and a cup of flour will do you right for one large pot of gumbo.

STEP 5  –  Keep whisking. I recommend NPR podcasts to keep you company.

STEP 6 – Now would be a good time to crack open a beer. But don’t stop whisking. The key is not to let it burn.

STEP 7  –  When you can’t stand to whisk any more, you’ve got your roux. If you taste it, it will not be yummy. Do not be scared.

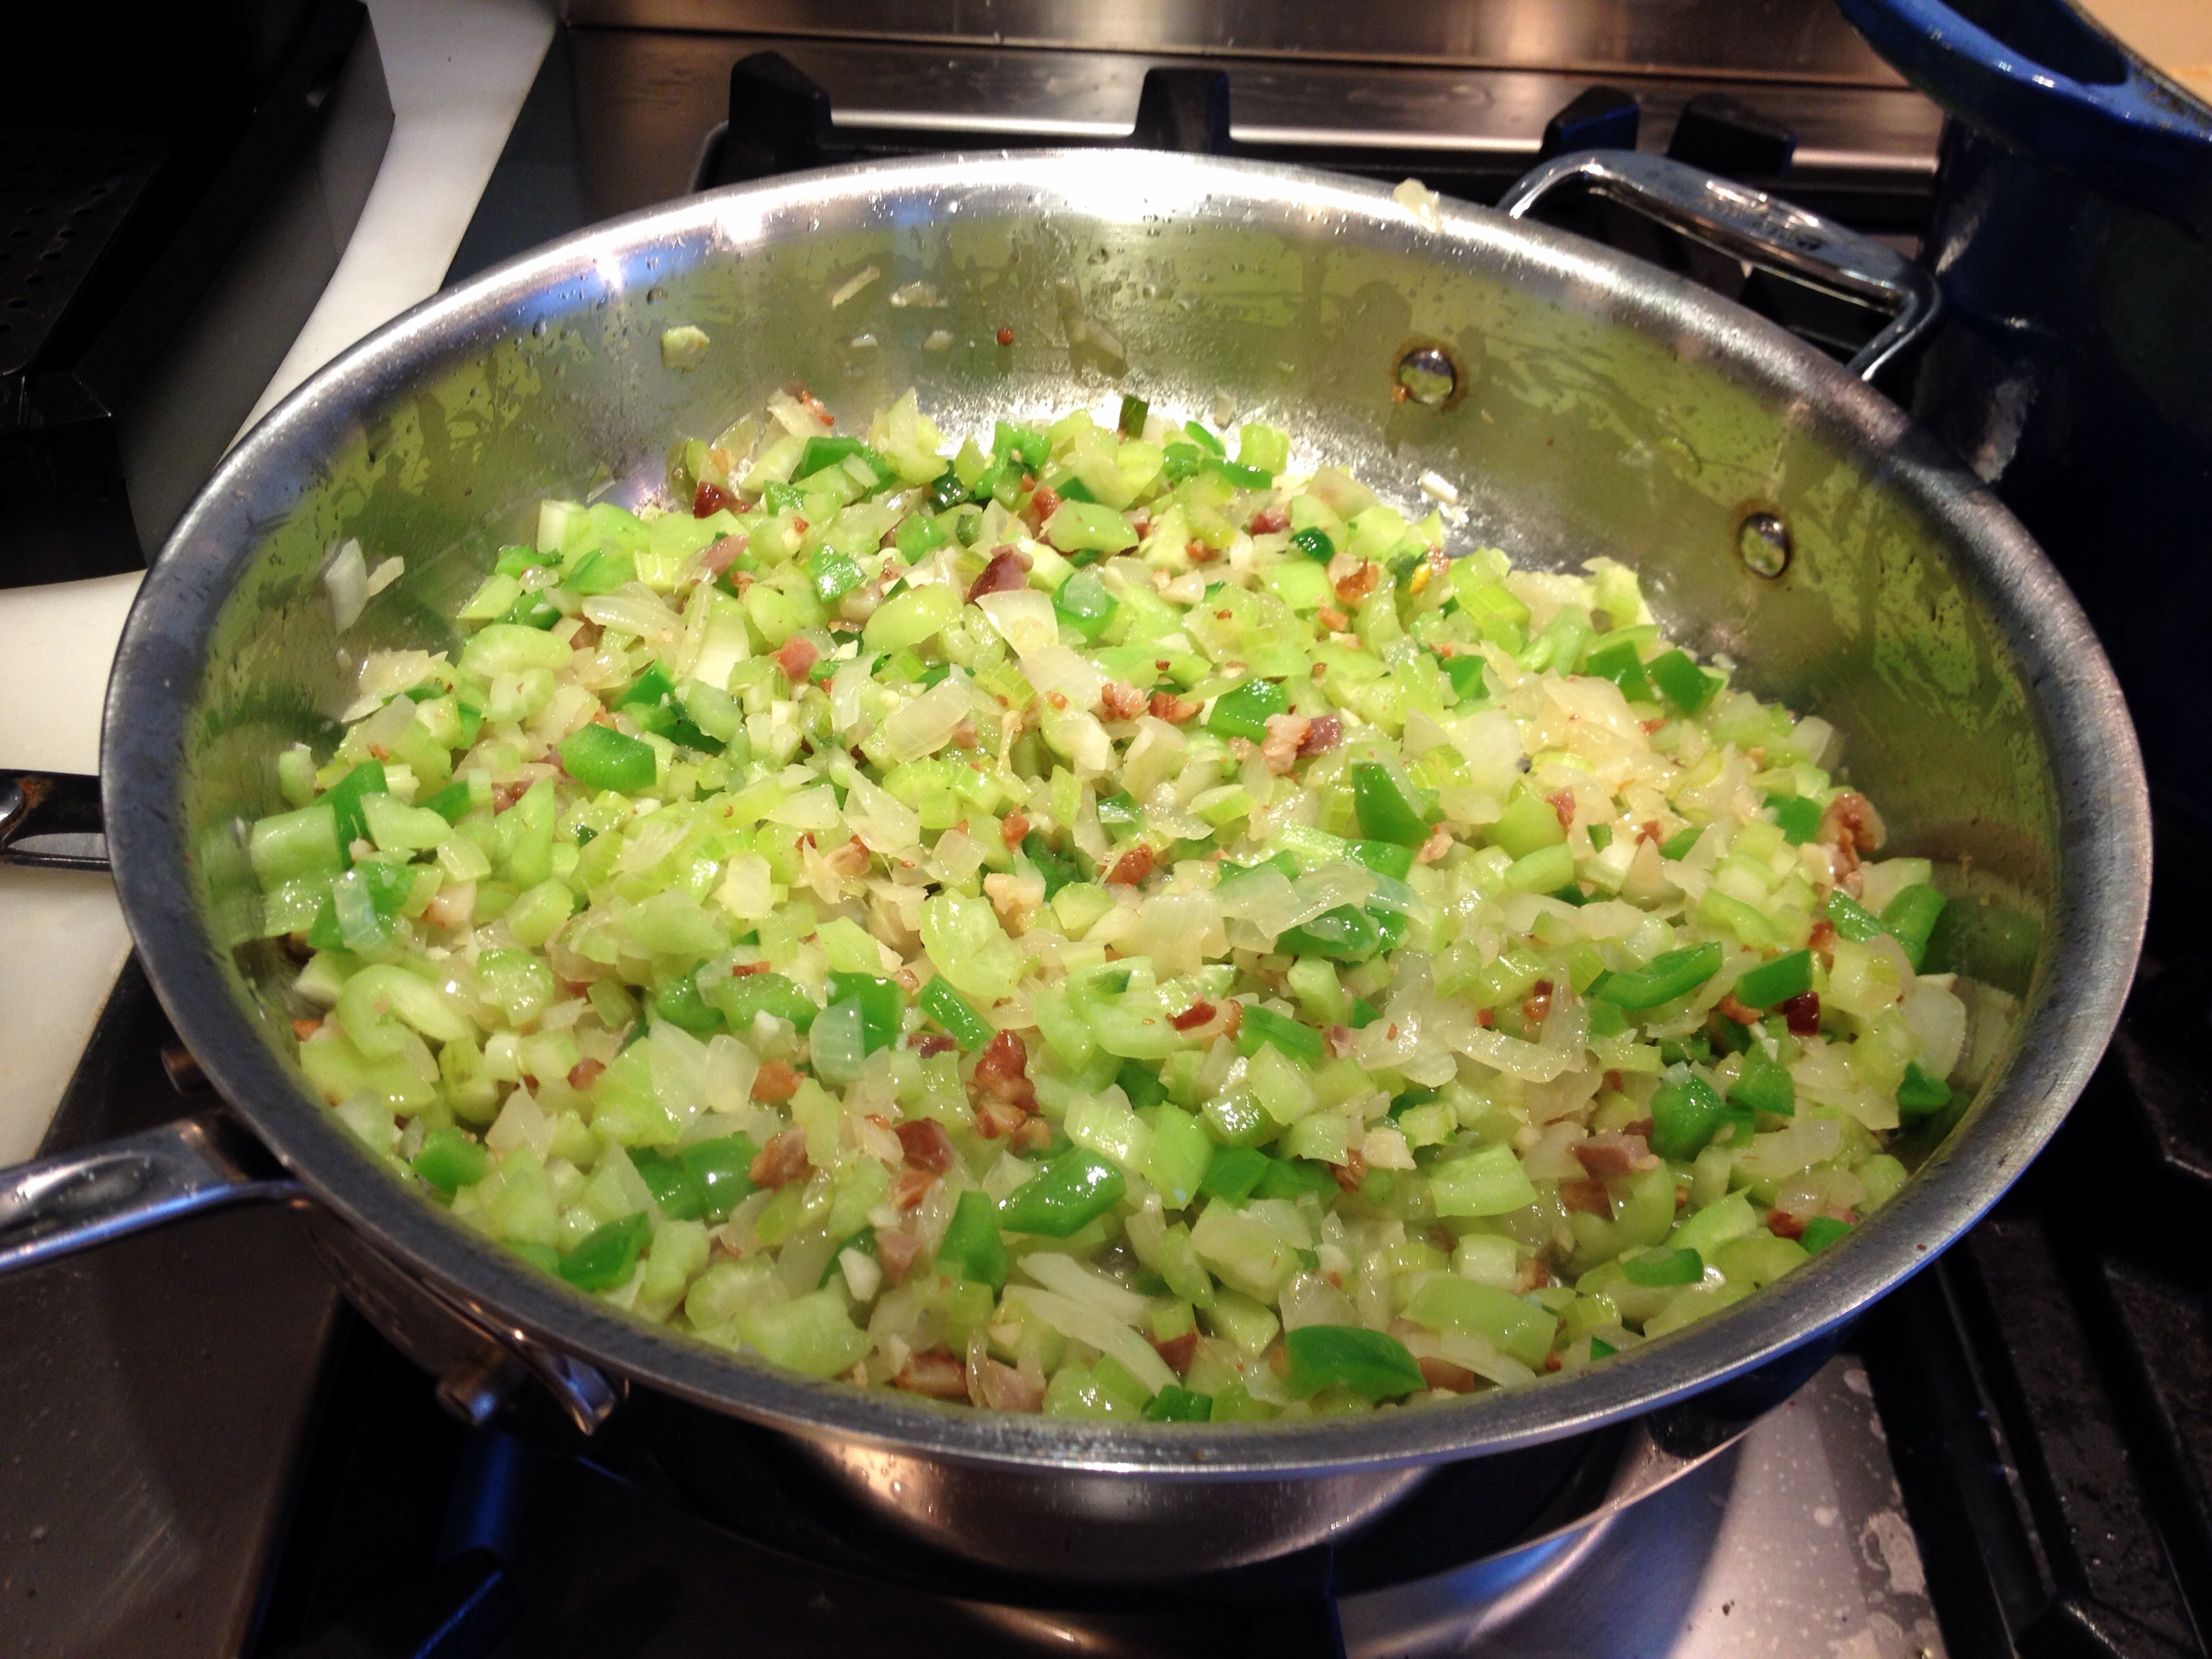
STEP 8  –  Add your chopped vegetables into the roux and stir frequently until they start to soften. Toss in some herbs. Fresh or dried thyme, oregano and basil are all welcome. Cayenne, paprika and other dried chiles can also be added. Then dump it all, plus some bay leaves into the really big pot with the simmering meat.

STEP 9  –  Let is simmer and simmer and simmer. At some point, you’ll want to pull any large hunks of meat out and shred them. Maybe turn the burner off, lid the pot and take a nice bike ride. While you’re out, pick up some really cheap french bread to serve with the finished product. It’s traditional.

STEP 10  –  Fire the burner back up and keep simmering. Taste and adjust seasoning with salt, pepper, whatever hot sauces you have in the fridge, maybe a little more wine, some vinegar, etc. Make a batch of Sazeracs. Make another batch. Make some long-grain white rice. Add some okra, some chopped up oysters, some parsley and anything else your heart desires. Have some more Sazeracs. Just don’t get so drunk that you forget to take a picture of the finished product. Oops.