Sweet Potato Turkey Bisque with Collards

I am still working my way through the last of this season’s CSA share. Olive oil, habanero powder, salt and pepper are the only things in this dairy-free bisque that didn’t come directly from Windflower Farm or a nearby meat purveyor. This came out crazy tasty, which is a good thing since I will be eating it all week.

Sweet Potato Turkey Bisque with Collards

  • 2 pounds sweet potatoes
  • 4 tablespoons olive oil
  • 1 large red onion
  • 4-6 garlic cloves
  • 1/2 teaspoon habanero powder (cayenne would also work)
  • 1 pound ground turkey
  • 1 small sprig fresh rosemary (or 1/2 teaspoon dried)
  • six cups chicken stock (I used eight cubes of my frozen concentrated stock plus a couple of cups of water.)
  • 1 cup apple cider
  • 1 bunch collard greens
  • salt and pepper
  1. Preheat oven to 425. Peel the sweet potatoes and cut them into large hunks of roughly the same size. Place on a cookie sheet and mix with 2 tablespoons olive oil plus some salt and pepper. Pop these in the oven and cook until soft and starting to brown, approximately 15 minutes.
  2. Bring two tablespoons of olive oil up to medium heat in a large, heavy-bottomed pot. Chop the onion, add to the pot and sauté until soft. Press and add the garlic along with the habanero powder, adding more if you like things really spicy. (I used a heaping teaspoon and mine came out pretty damn hot.) Stir constantly for one minute. Then add the ground turkey. Cook, stirring occasionally, until all pink is gone. Season with salt and pepper.
  3. Puree the sweet potatoes, using water as needed to loosen the mixture. Add the purée plus the chicken stock, water and apple cider to your turkey mixture and bring to a boil. Lower heat and simmer for 30 minutes or so. Taste and adjust seasoning with salt and pepper.
  4. Strip the stems from your collards, roll them like a cigar and thinly slice into strips. Add these to the pot and simmer for another 10-15 minutes.

Sweet Potato Turkey Bisque with Collards

Hoppin’ John is Health Food

It is with a heavy heart that I announce that Windflower Farm‘s CSA season has come to a close. The winter season starts in a couple of weeks, so you can look forward to reports on root vegetables, hard squashes, and dark leafy greens.

In preparation for the slow and low cooking that these vegetables imply, I took the opportunity to place one last order for meat from Lewis Waite Farm, which partnered with my CSA for the first time this year. I worked from home this morning so that I could meet an unmarked van full of meat on a street corner near my house. Given that I already had a serious stockpile from my Carnivore Share, I may have gone a bit overboard.

Freezer Full of Meat

I took the afternoon off to catch up on some reading for school. I’m taking Contemporary Issues in Food Studies this semester and spent most of the weekend writing a paper on Taste, Culture and the Production of Cool. This week, we are shifting gears to examine the systems that create and perpetuate global hunger.

And so I find myself reading about the impact of The Green Revolution–which increased crop yields but came with a serious consequences in terms of individual health, the environment, economic equality and overall food security–while simmering a large pot of Hoppin’John chock full of whole grains, humane meat, organic legumes and locally-sourced vegetables.

It’s enough to make your head spin.

Hoppin’ John with Brown Rice and Kale

  • 1 pound dried black-eyed peas
  • 1 smoked ham hock or pork shank
  • 1 bay leaf
  • 4 whole garlic cloves
  • 2 tablespoons olive oil
  • 1 leek, sliced and rinsed (or an onion)
  • 1-2 jalapeño peppers (depending on their heat and your tolerance for heat), minced
  • 2 bell peppers, chopped
  • 1 teaspoon dried thyme (or a sprig of fresh if you have it)
  • 2 bunches lacinato kale or other dark leafy green, roughly chopped
  • 1 bunch parsley, chopped (optional)
  • apple cider vinegar or vinegar-based hot sauce
  • salt and pepper
  1. Dump the beans into a bowl, add enough water to cover by a few inches, and soak overnight, or for at least six hours.
  2. Cover the hock or shank with water in a large dutch oven. Add bay leaves and garlic and cook at a slow boil for one hour.
  3. Strain and rinse the black-eyed peas, add them to the pot along with a big pinch of salt and continue your slow boil for another 45-75 minutes until the peas are tender but not mushy.
  4. Transfer the pork shank to a cutting board and dispose of the bay leaves. Dump the peas into a bowl, put your pot back over medium heat and add the olive oil. Add your leeks and peppers. Stir occasionally while the vegetables soften, adding thyme after a few minutes. Meanwhile, pull the meat off of the pork bones, chop it up, and add it back to the pot. 
  5. Add a cup of long-grain brown rice, plenty of freshly ground pepper, two cups of the bean liquid, and two cups of water. Taste the broth and add salt if needed. Bring to a boil, then lower the heat, put a lid on it, and simmer for 40 minutes or until your rice is tender. 
  6. Stir in the kale, cover and let simmer for an additional 5 minutes. (I like my kale toothsome but, if you prefer more tender greens, add them a little earlier in the cooking process.)
  7. Mix in the parsley and the black-eyed peas, along with enough of their cooking liquid to give the dish a loose consistency. Add more salt and pepper as needed. I like to round out the flavor with a couple of tablespoons of vinegar. If your peppers aren’t as spicy as you might have liked, you can also use a vinegar-based hot sauce to get that tang.

Healthy Hoppin' John

For a little Hoppin’ John history, another tasty recipe featuring black-eyed peas and greens, and a glimpse at my Dollywood pilgrimage, check out A Hoppin’ New Year.

Sweet & Sour Curried Chickpeas with Spinach

Sometimes just making it to Friday night seems like a Herculean feat. I came home bruised, battered, and hungry. While I had just about made my way through the Homemade Hummus from last weekend’s chickpea extravaganza, I still had a pint and a half of whole chickpeas left to consume. Today was bitterly cold and I found myself craving something warm and spicy.

Sweet & Sour Curried Chickpeas with Spinach

  • 1 tablespoon cumin seeds
  • 1 tablespoon whole coriander
  • 1/2 tablespoon black peppercorns
  • 1/2 tablespoon whole fenugreek
  • 1 tablespoon coconut oil (Ghee or some sort of vegetable oil would be fine.)
  • 1 medium onion, finely chopped
  • 1 knob (large gumball sized) ginger, minced 
  • 1 jalapeño pepper, minced
  • 4 cloves garlic, minced
  • 1 tablespoon turmeric
  • 1/2 tablespoon garam masala
  • 1/2 pound dried chickpeas, cooked, with liquid (You could use a couple of cans in a pinch, but the texture will suffer.)
  • 2 tablespoons dried tamarind (If my crappy grocery store has it, yours will too.)
  • 1 tablespoon sugar
  • salt
  • 2 bunches fresh spinach, roughly chopped
  1. Bring the oil up to medium heat in a medium-sized heavy-bottom pot. Add the onion and sauté stirring frequently. After a few minutes, add the ginger and jalapeño. 
  2. Meanwhile, toast the cumin, coriander, fenugreek and peppercorns in a dry cast iron skillet, shaking frequently, until they begin to pop and release their smell. Grind these using a mortar and pestle or an electric grinder.
  3. Add the garlic to your onion mixture. Stir constantly for about one minute. Then add your ground toasted spices plus the turmeric and garam masala and continue stirring for one minute, allowing the spices to hydrate in the oil. 
  4. Add the chickpeas with their liquid, the tamarind, the sugar and a nice pinch of salt. (There is probably some dentist-approved way to handle the tamarind, but I just tore it into small pieces with my hands and then fished out whatever seeds I could spot as the fruit disintegrated into the sauce. I recommend doing a better job than I did, though I managed to avert a trip to Dr. Czarnik.) Bring to a boil and then reduce the heat and let simmer for a while, adding water as needed.
  5. This is a good time to put some rice on. (While basmati would be traditional, I used some brown Jasmine rice, because that’s what I had, and added turmeric and salt.) When your rice is just about done, taste your chickpeas and adjust the seasoning with salt and sugar as needed. Then add the spinach in batches, stirring to speed the wilting process, and cook until the leaves are just tender.

The resulting meal was a delightful mashup of my favorite Indian takeout dishes. But, with no dairy and just a tablespoon of oil for about four servings, it was much lighter–which is a good thing when you need to buckle down and write a paper at the end of a very long week.

Sweet and Sour Curried Chickpeas with Spinach

Homemade Hummus

As previously reported, I spent six months studying in Jerusalem while in college. This was back in my vegetarian days, and Israel is a great place to be a vegetarian. While the majority of the Jewish population is secular, kosher tradition holds, meaning that most restaurants are either meat or dairy. On top of that, Middle Eastern food embraces legumes and vegetables.

Being the child of hippies, I’d already consumed a lifetime worth of chickpeas. But the hummus in Israel was a revelation–creamy, rich and flavorful–and I indulged with abandon. This came with a price; back in the States, I couldn’t bring myself to eat the lazily mashed canned chickpeas that my college cafeteria tried to pass off as hummus. Even in New York City, where I eventually settled, truly delicious hummus proved elusive.

At some point, hummus started popping up in Korean delis and the fancier cheese sections of grocery stores. I tested them all. Some were as bad as the salad bar glop of my coed days. Some were serviceable. But none were inspirational and, after a tub or two, I always reverted to making my own.

About ten years ago, by sheer accident, I found it: hummus like I remembered. It was a tiny shop just south of Washington Square Park and up half a flight of stairs. A couple of weeks later, over drinks, I announced to my buddy Alex that I had discovered Jerusalem-quality hummus right in the middle of Greenwich Village. Alex interrupted me to announce that he had, in fact, recently found the best hummus in New York City in the East Village. Already a couple of drinks into the evening, we proceeded to argue for the superiority of our individual hummus spots for what must have seemed an eternity to the people seated around us.

It turns out that we were arguing over the same hummus. Ori Apple, an Israeli who bemoaned the lack of good hummus in New York City, had opened the first two locations of Hummus Place just months apart. I am happy to report that, since then, a number of good hummus restaurants have opened around the city.

But I still enjoy making my own. While I don’t really have a fixed recipe, I have learned a few things over the past 20 years. First, and this is truly important, don’t use canned chickpeas. The texture and flavor will be off. Trust. Second, use good quality tahini. (I suspect that this may be the secret to Hummus Place’s magical concoction.) Third, use plenty of liquid. Finally, let the food processor run for longer than you think reasonable.

Here’s what I whipped up this afternoon, but feel free to make it your own. So long as you cook the chickpeas enough, it’s honestly hard to screw up hummus. Just keep tasting and tweaking.

Chickpeas

Jasmine’s Hummus

  • 1 pound dried chickpeas (or, if you are a sensible person, half that)
  • 6 cloves garlic
  • 3/4 cup tahini
  • pinch red pepper flakes
  • 1 bunch curly parsley
  • 1 teaspoon sweet paprika
  • 1 teaspoon hot paprika
  • juice of 1 lemon (or a tablespoon or so of white wine vinegar in a pinch)
  • salt and black pepper
  • 1 tablespoon sumac (optional)
  1. Before going to bed, dump the chickpeas into a bowl and add enough water to come at least a few inches above the beans. (You could look them over for rocks or odd-looking beans, but it’s late. You’re sure to spot anything amiss tomorrow when you are better rested.)
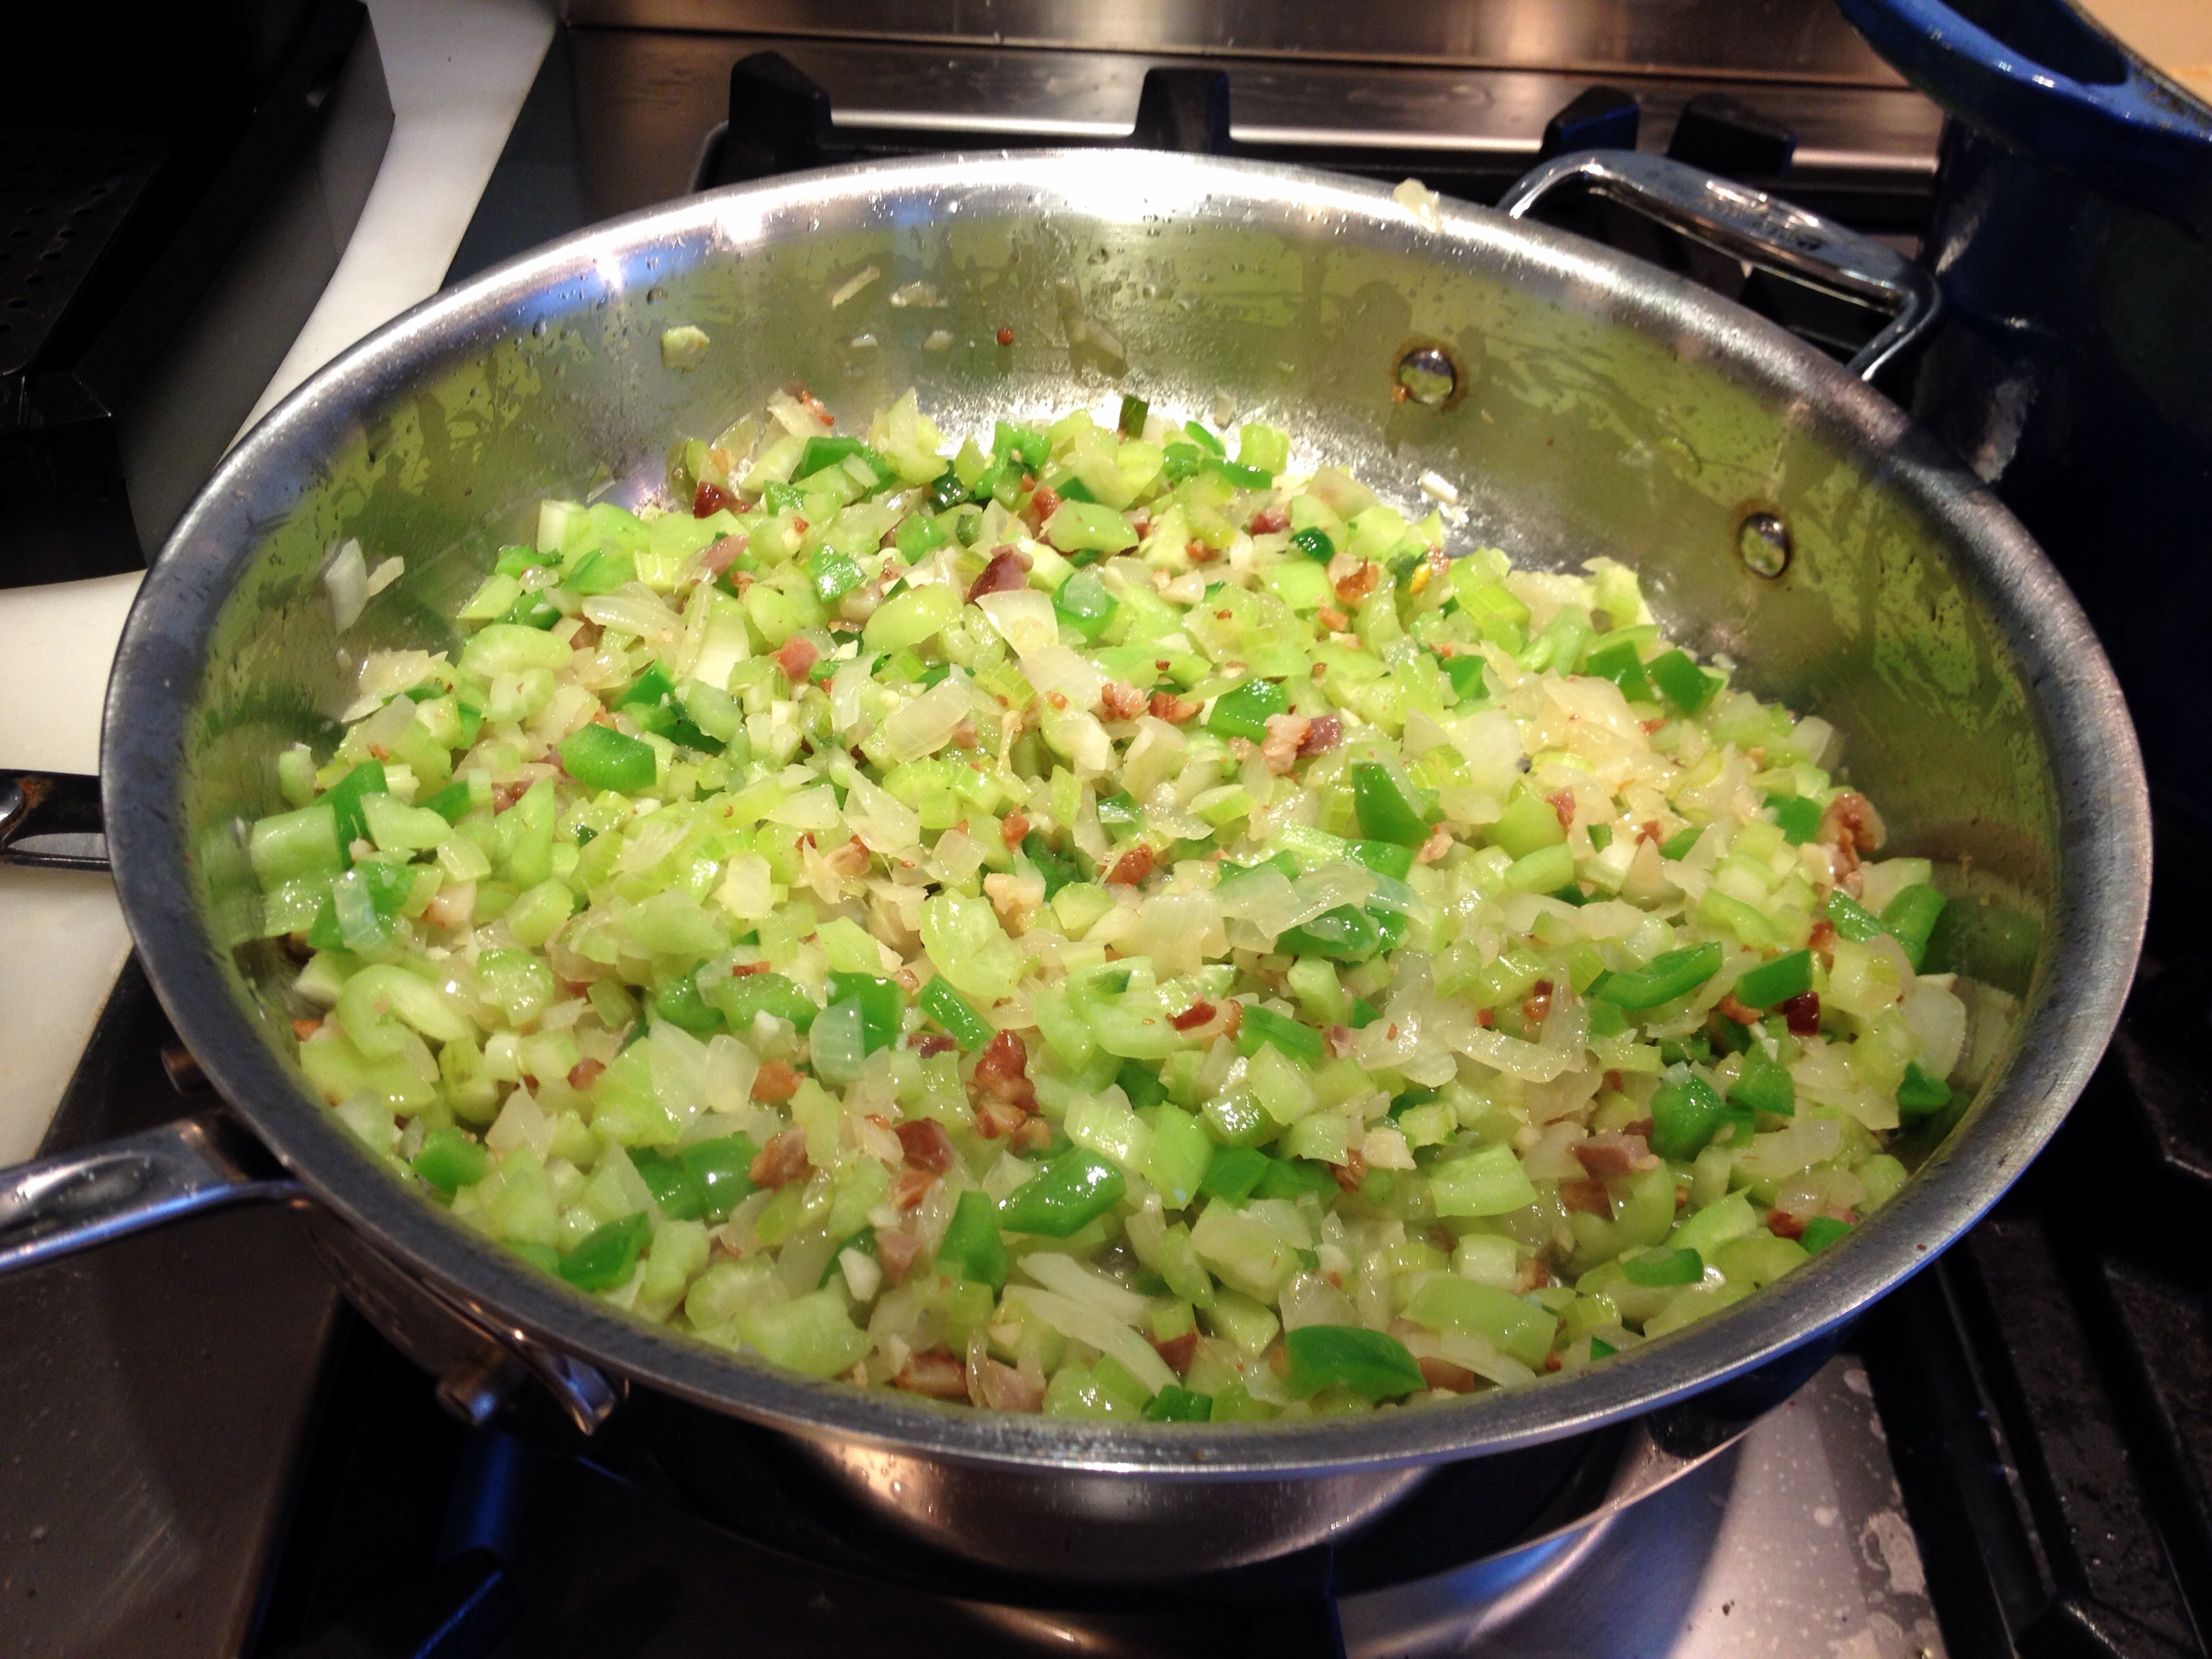
  2. In the morning–or whenever you are good and ready for a little procrastination–drain and rinse the beans. Add them to a large pot, top with plenty of water, toss in the peeled garlic and the red pepper flakes. Bring to a boil and then reduce to a simmer. Let this go for an hour or so while you get back to whatever duties you have been shirking.
  3. Test the chickpeas. If they are tender, add a tablespoon or so of salt and then let them simmer for another 15 minutes. The water should taste fairly salty.
  4. Realize that you are in danger of making a truly obscene amount of hummus. Scoop half of the chickpeas and some of the liquid out. Refrigerate or freeze for future use (in a soup, stir-fry, curry, etc.).
  5. Dump the cooked garlic and the remaining chickpeas into your food processor, making sure to reserve the cooking liquid. Add the tahini, sweet and hot paprika, lemon juice, sumac (if you have some), plenty of black pepper, and whatever else your heart desires. Pour about half a cup of the cooking liquid in and process away. Let it run for five minutes or so, adding more liquid as needed to achieve a loose but not soupy consistency. Taste and adjust seasoning as desired.

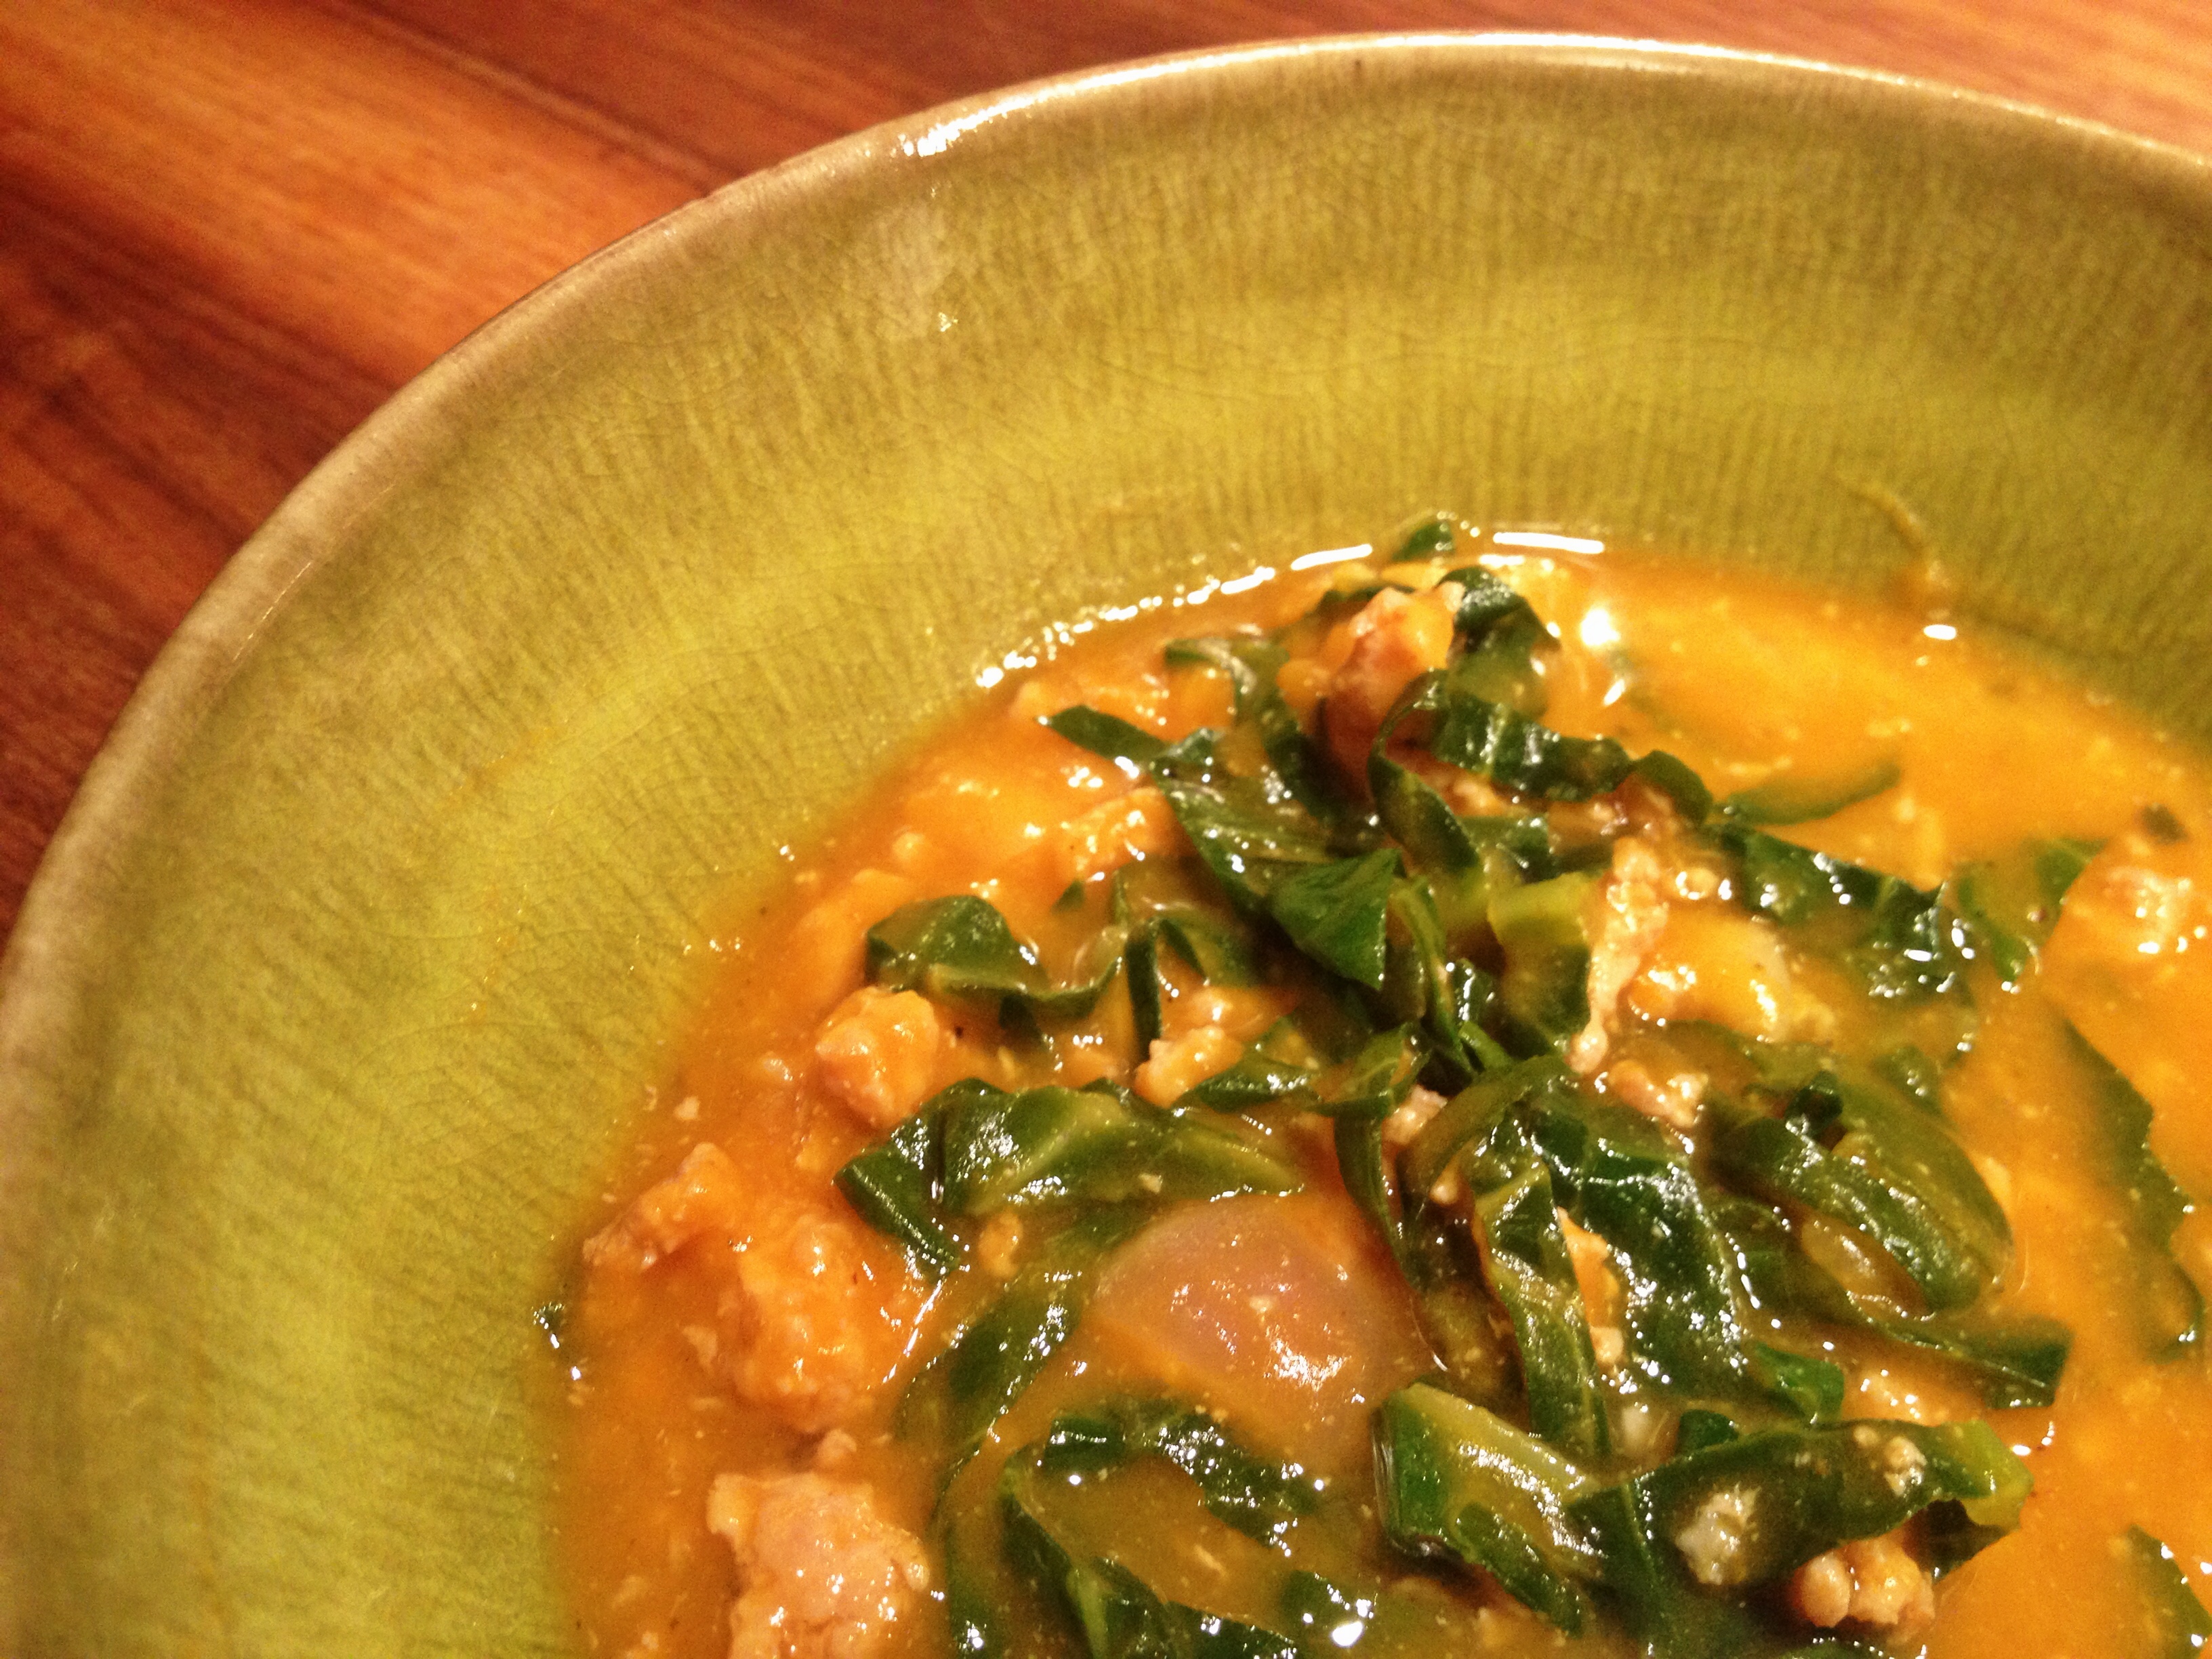
I ate this for dinner tonight, topped with a tangle of roasted broccoli rabe. Good stuff.

Hummus and Broccoli Rabe

Guest Post: Boiled (Yes, Boiled) Chicken

Alex and I met during our junior year of college when we were both studying in Jerusalem. Inspired by the local bounty, we were just starting to hone our cooking skills and we delighted in exploring food together. In particular, I recall a dinner party in Alex’s dorm room that centered around a canister of Kraft Grated Parmesan that his parents had smuggled into the country. (What can I say? We were young and it tasted like home.)

When We Were Young

At the end of the semester, we headed back to the States to finish school. Alex returned to Northern California and I to Upstate New York, but we kept in touch. I would visit him in Berkeley, where we would host lavish (by broke twenty something standards) dinner parties and tool around the Marin Hills. Alex would come to New York City for long walks and down and dirty Chinese food. For a few glorious years, Alex moved to Brooklyn, but the Bay Area called him back for a PhD in Urban Planning.

After a stint in Paris, Alex recently began working as a Lecturer in Geography at Leeds University. Somewhere in the eighteen years since we first met, it seems that we became adults. Fretting over the health of his students, Alex asked whether he might contribute a post or two. The recipes that he offers below are as suitable for starving college students in England as they are for an overworked New Yorker who finds herself suddenly pushing 40.

The Boiled-Chicken Method – Courtesy of Dr. Alex Schafran

Now that the Drunken Fig is required reading for my first year tutees (the Jewish grandmother in me worries that they aren’t eating well), it seems time to contribute some of my favorite tricks for brilliant eating on the simple. This is a super technique for the harried life, very friendly for finicky children/housemates/lovers. It also makes multiple meals at once or a classy two-course.
  1. Remove your hard-as-a-rock frozen chicken parts from freezer. Works with all types of frozen bits–light, dark and turkey too.
  2. Place in decent size pot – big enough that you can cover with water thoroughly and boil the hell out of it. I like to add a little salt at this stage, and sometimes a of bay leaf or some oregano, depending on what I am doing with it (see below).
  3. Boil. Yes, get over your fear of boiled meat and just do it. As it begins to soften up, you can start inserting a sharp knife to make the process quicker, but don’t cut it up too much. This should take about 30 minutes for deeply frozen breasts, longer if they are frozen together into an Übermass of poultry. (If you want to poke at your chicken, press down on it with a spatula rather than cutting into it. If it gives in easily, chances are it is cooked.)
  4. When your chicken is fully cooked, turn off the heat, and use tongs to remove the chicken pieces. Place them on a wooden cutting board or something that can take the heat. 
  5. When the chicken is cool enough to work with, take a fork in one hand and the tongs in another. Hold the chicken bits with the tongs, and press down and to one side with the fork to shred the chicken. The longer you cook it, the easier it will shred. But the meat will also be a little drier and less flavorful. This takes a bit of getting used to, but you will get the hang of it.
  6. Place your shredded chicken in a bowl. Now you have two awesome ingredients: a ton of shredded chicken and some fresh chicken broth.

So what do I do with my poultry bonanza?

  1. Tacos now, soup later option: Mix some olive oil, a touch of salt and pepper, plenty of oregano and a bit of chili powder into the chicken. You can do garlic instead of chili, or both if you like. Heat up tortillas, sprinkle on some cheese (or not, if you want to be traditional), a touch of cilantro and onions and voilà. Freeze broth.
  2. Dinner tonight, tomorrow’s dinner cooking while you eat: Use the chicken how you will. (Last night it was with garlic spinach over brown basmati rice.) Before you sit down, chop up a bunch of veggies. If you can stand waiting a bit for dinner, a light sauté is generally recommended for the veggies, but it’s not essential. Let the soup simmer while you eat. By the time you are finished, the soup will be ready for pureeing – if that is your way of doing things. Now tomorrow’s dinner is done, save for the hard-crusted bread.
  3. Soup and chicken together option: Take a can of black beans, and purée it in the chicken broth with some garlic, a touch of cumin and some oregano. Serve with heaping amounts of chicken, a dollop of sour cream for sluttiness and a touch of cilantro, unless you hate it. Works with other beans and pretty much any leftover veggies you have.
  4. The simple two-course option: Shredded chicken takes almost any sauce and any cuisine well. I have done Japanese style over noodles and then added a touch of miso into the broth for a new take on miso soup. Sautéed vegetables and chicken over couscous with a vegetable soup is also excellent. Quinoa and chicken with a broccoli soup. Ad nauseam.
  5. The top class Mexican meal: Since this method is inspired by Mexican and Salvadoran cuisine, they get the top class version: Chicken enchiladas with a roasted corn and tomato soup. Actually pretty easy, especially if you cheat and buy enchilada sauce.

After admitting that I have yet to get over this past weekend’s head cold, I came home early today with comfort food on the brain. Alex’s recipes had been sitting in my email inbox for a couple of weeks and there was a three-pound chicken in my freezer. It took about five minutes to get to this stage. (I added onions, garlic, some wilted carrots and a couple of bay leaves.)

Boiling ChickenAn hour later (though, in hindsight, 45 minutes would have been sufficient), I was shredding the meat. I threw the bones and skin back in to simmer while I did some work. After another half hour, I strained the broth, put it back on the heat, and added turnips, shredded collard greens, carrots, dried porcini mushrooms, pearled barley, red pepper flakes, salt and pepper. Half an hour later, I mixed in some of the shredded meat and dinner was served.

Thanks, Alex, for taking care of me across the many miles.

Chicken Barley Soup

Kale, Sausage & Potato Stew

This recipe was inspired by caldo verde, a traditional Portuguese soup of kale and potatoes garnished with spicy sausage. While caldo verde is usually served for celebrations, I was able to whip this up in under an hour with ingredients I had on hand, making it a fine midweek supper. The ingredients are simple and the recipe is straightforward, but the resulting dish is delightfully complex.

Kale, Sausage & Potato Stew

  • 2 tablespoons olive oil
  • 12 ounces fresh spicy sausage (I used some loose hot Italian turkey sausage from Di Paola Turkey Farms, which sells its wares at greenmarkets throughout New York City, but whatever you’ve got in the freezer is cool.)
  • 2 leeks, thinly sliced and rinsed
  • 2 cloves garlic, thinly sliced
  • 1 teaspoon crushed red pepper flakes
  • 1 tablespoon herbes de provence
  • 2 bunches kale, thinly sliced (I used lacinato, but pretty much any kind of kale or collards would work.)
  • 2 cups chicken broth (I used about six cubes of frozen contracted stock.)
  • six small yellow potatoes, halved and cut into quarter-inch slices
  • 1 tablespoon hot paprika
  • salt and pepper to taste
  1. Bring the oil up to medium heat in a large dutch oven. Add your sausage and stir until cooked through. Add the leeks and garlic and cook until limp. Stir in the herbes de provence and red pepper flakes.
  2. Add the kale in batches, stirring until there is room for more. Add the chicken stock and bring to a boil. Add the potatoes and enough water to cover. Stir in the paprika, a generous amount of fresh black pepper, and salt if needed
  3. Let simmer until the potatoes are tender, approximately 30 minutes. 

Kale, Sausage and Potato Stew

Corn & Seafood Chowder

Barbara and I met through our mutual support of the New York Abortion Access Fund (NYAAF). This past spring she invited me to be a guest on the Park Slope Food Coop cooking show that she hosts. We had a great time making shrimp and grits and discussing the critical role that abortion funds play. A couple of weeks ago we decided to reprise our cooking date–only this time (mercifully) the cameras were off.

Barbara emailed me a few days before our date asking what we should make. I mentally reviewed the various foodstuffs cluttering my fridge: corn, potatoes, and a wide variety of peppers. This could have gone any number of ways. Then I remembered that I had several corn cobs stripped of their kernels jammed into my freezer because I had read something about corn broth. Bingo!

Corn & Seafood Chowder

  • 8-12 cobs of corn
  • 3 ounces slab bacon, diced
  • 1 large onion, diced
  • 3 stalks celery, finely diced
  • 1 green pepper, diced
  • 1 cubanelle pepper, diced
  • 1 jalapeño pepper, minced
  • 3 cloves garlic, minced
  • 8 medium russet potatoes, cut into half-inch cubes
  • 1 pint lobster stock or 1 jar clam juice
  • 18-24 cherrystone or littleneck clams
  • 2 large filets of flounder (about 1 pound total)
  • 2 tablespoons butter
  • 1 bunch curly parsley, chopped
  • salt and pepper
  1.  Husk the corn and then strip off the kernels using a sharp knife. (I find that doing this over a shallow bowl keeps the kernels from rolling away and also allows me to capture any of the milky liquid that they exude.) Reserve about four cobs’ worth of kernels for your chowder and freeze the rest for succotash, cornbread or the like. Throw the denuded cobs into a large pot with enough water to cover, bring to a boil, reduce heat, and simmer for half an hour–or as long as it takes you to get through the next couple of steps.Corn Broth
  2. Dice your bacon, onions, celery, and green peppers. Mince the garlic and jalapeño. Chop the potatoes. Chat about anything and everything. Have a nosh if you like.Barbara Chopping
  3. Add the bacon to a large pan and bring up to medium-low heat. Once the fat has mostly rendered and the bacon pieces are just starting to firm up, add the onions. Saute until they are starting to soften and then add your celery and various peppers. Once these have started to soften, add the garlic and cook for a few minutes. The key is to soften everything up without allowing it to brown. Season with salt and pepper.Chowder Base
  4. Pull the corn cobs out of your soup pot using tongs and then dump your vegetable mixture into the pot along with the diced potatoes. Add the lobster stock or clam juice, bring to a boil, and then lower to a simmer. Put the clams in a bowl, cover with cold water, and add some black pepper or cornmeal. (This step, while not strictly necessary, will encourage the clams to spit out their sand, avoiding a certain amount of grit in the finished product.) Leave the pot to simmer for a half hour or more while you retire to the living room for some more chatting.
  5. Now is a good time to wake Barbara’s husband Chris up from his nap so that he can ready himself for chowder.
  6. Add the butter. Taste the broth and adjust the seasoning with salt and pepper. Add your clams and then lay the flounder in gently. Cook until the clams pop open (roughly 15 minutes), by which time your flounder should be white and opaque. Finish with the corn kernels and some fresh parsley.Corn and Seafood Chowder

We ate our chowder in Barbara’s rather perfect Fiestaware bowls, using hunks of bread to soak up the delicious broth. It made for a truly excellent early autumn lunch.

Corn and Seafood Chowder 2

My 15 (or 25) Minutes of Fame

I recently had the opportunity to tape a television show discussing two things I am passionate about: home cooking and abortion access. The Park Slope Food Coop produces The Coop Cooks, a show that airs on Brooklyn Cable Access Television and is now available online. The host, Barbara Kass, invited me on to talk about the New York Abortion Access Fund (NYAAF), a cause that is close to both of our hearts. In fact, Barbara and I first met at NYAAF’s annual bowl-a-thon. The National Abortion Access Bowl-a-Thon is an amazing example of grassroots fundraising–and a whole lot of fun. Sometimes as little as $25 separates an individual from accessing abortion services. NYAAF and a network of funds across the country bridge this gap, ensuring that choice is a reality for everyone.

To see me talking shrimp, grits and abortion access, click on the image below.

Coop Cooks Still