What the Duck?

On Saturday I took a break from schoolwork to meet up with a friend for brunch (shakshuka for me, a tuna melt for my date) followed by manicures and pedicures (swimming pool blue and fire engine red for me, sunset orange for her).

Afterwards, we swung by the Fort Greene Park Greenmarket where I thought I might pick up something for dinner. I had a guest due at 8:00 and a mountain of reading to get through, so I was looking for a dish that could cook in the oven without much tending. On a whim, I bought a 4.5-pound whole Moulard duck from Hudson Valley Duck Farm.

I arrived home to find my neighbor Chris planting daffodils and pansies in the planters outside our apartment buildings. As we chatted, I set down my heavy tote bag and mentioned the duck inside. Chris, who is no slouch in the cooking department (he had made Momfuku’s Korean pork for a work potluck just the day before), wished me luck, noting that he had never cooked a whole duck. Come to think of it, neither had I.

Back in my apartment, none of the cookbooks included recipes for a whole duck. I flipped through some online recipes, each with more elaborate preparations than the last. It seemed that I should have started preparing my duck a couple of days ago. Then I remembered that the woman working the stand had encouraged me to check out Melissa Clark’s video on The New York Times website. Three and a half minutes later, I was good to go. Clark provides a simple, straightforward technique that you can riff on in an endless number of ways–the ideal recipe, in my book.

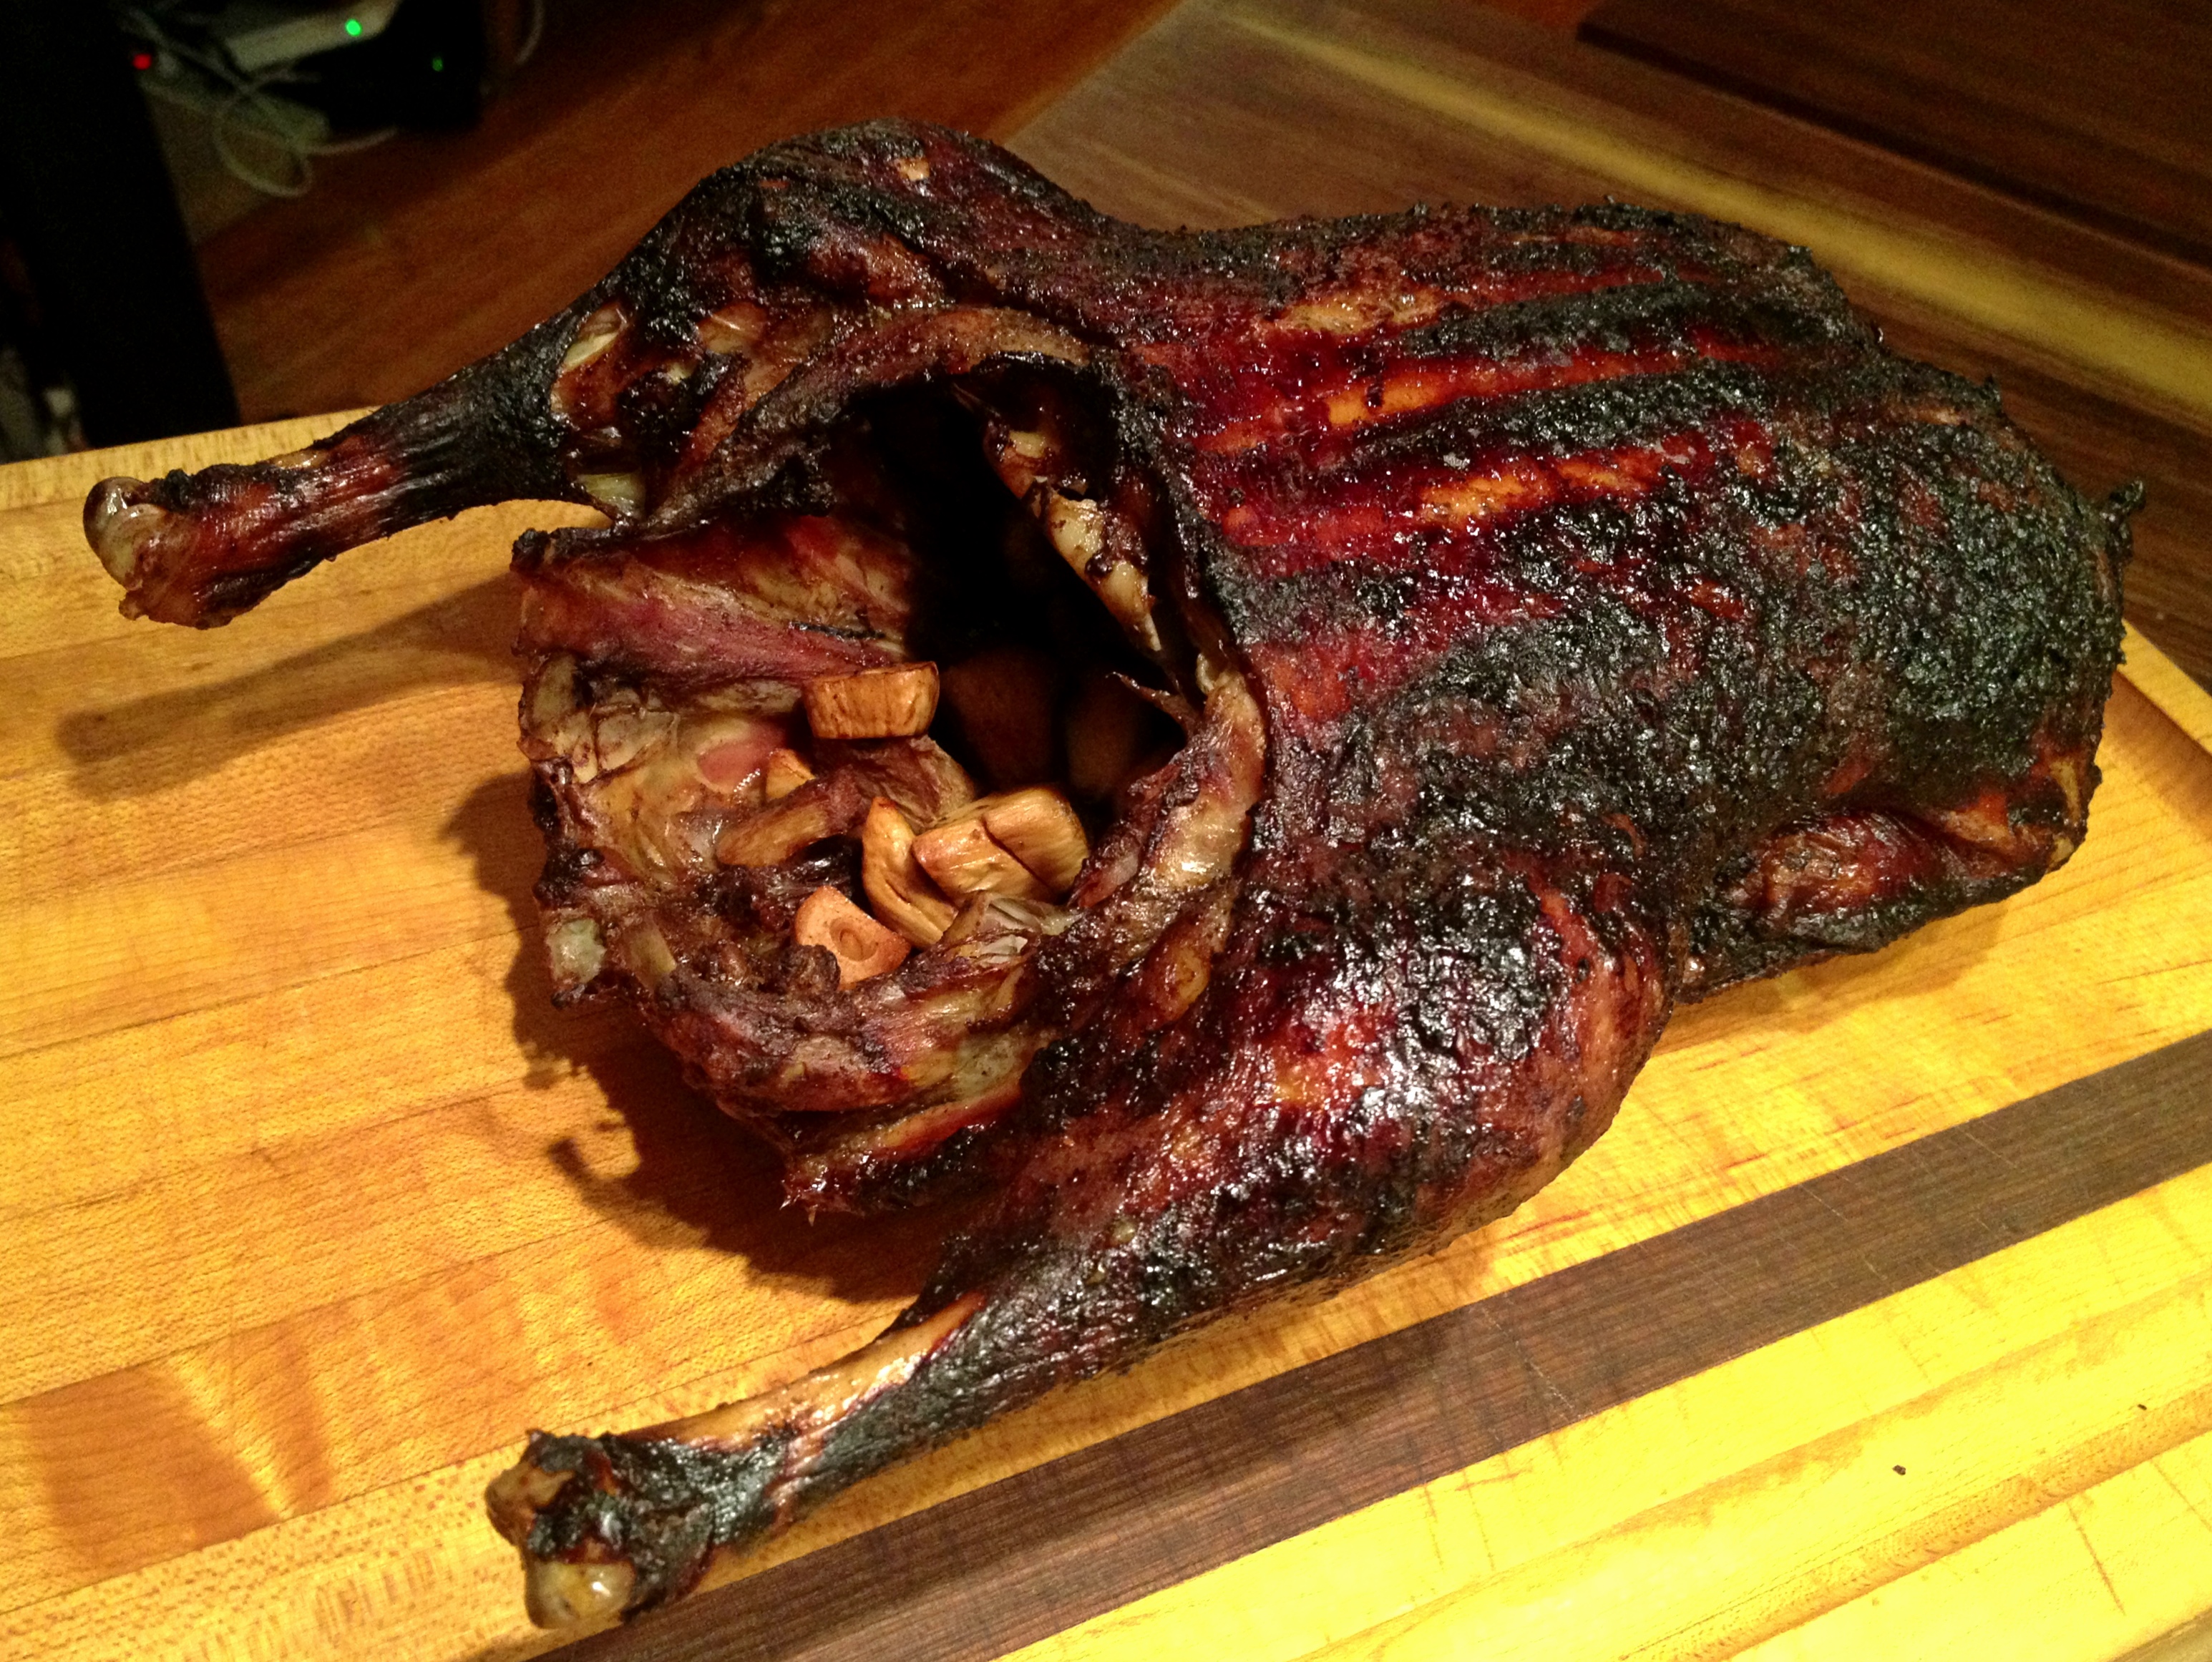
I rinsed the bird, hacked off the neck, made small incisions all over the skin (taking care not to nick the flesh), and rubbed it down with salt, pepper, cayenne powder, and some Chinese five-spice powder that I had on hand. Then I set it in the refrigerator uncovered and got down to my reading.Rubbed Duck

A few hours later, I removed the duck and let it come to room temperature while I preheated the oven. I stuffed the bird with large hunks of fresh ginger and garlic and half a lemon left over from a previous meal. At the last minute, I decided to drizzle the duck with a bit of soy sauce and honey.

Aside from some temperature adjustments and one flip, the duck took care of itself for the next couple of hours. As the heady scent filled my apartment, I realized that none of the wines I had in the house would hold up to the bold flavors, so I ran to the wine shop four blocks away. The shopkeeper could smell the duck and spices on me and, after some consideration, we settled on a Riesling and an Old Vine Zinfandel.

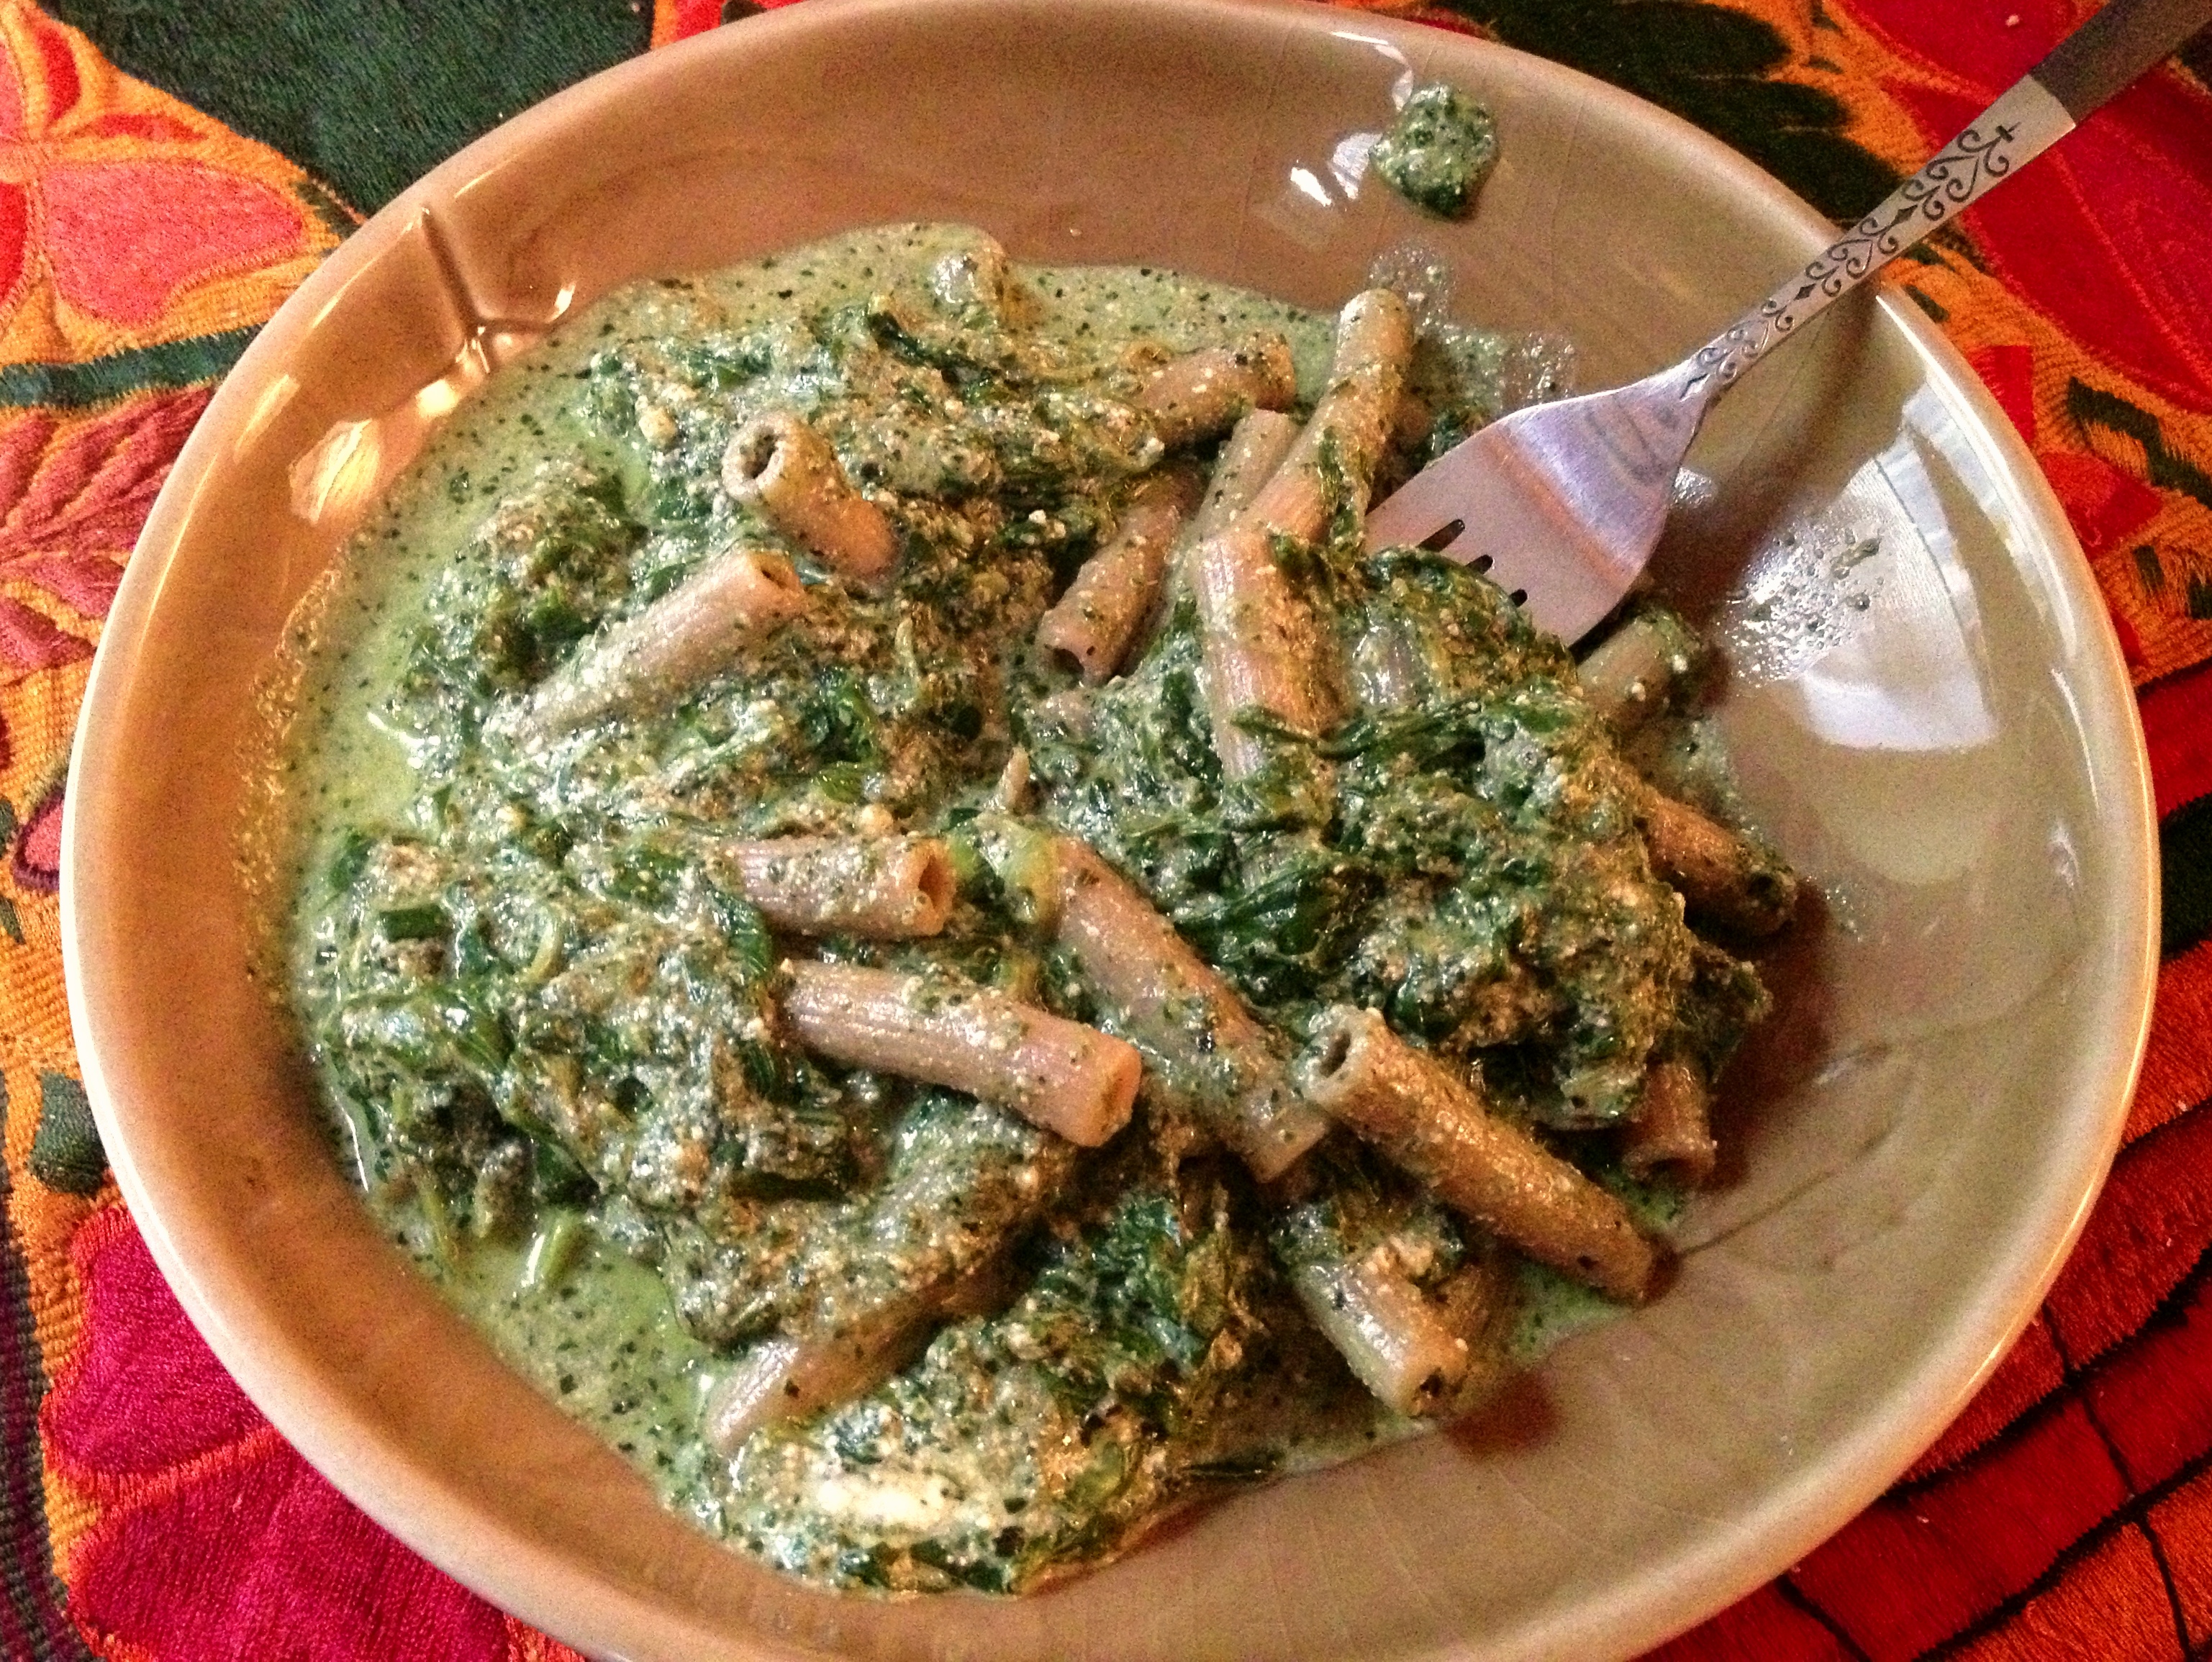
The duck rested draped lightly in tinfoil while I prepared rice and purple kale with leeks, soy sauce and rice wine vinegar.

Five-Spice Duck

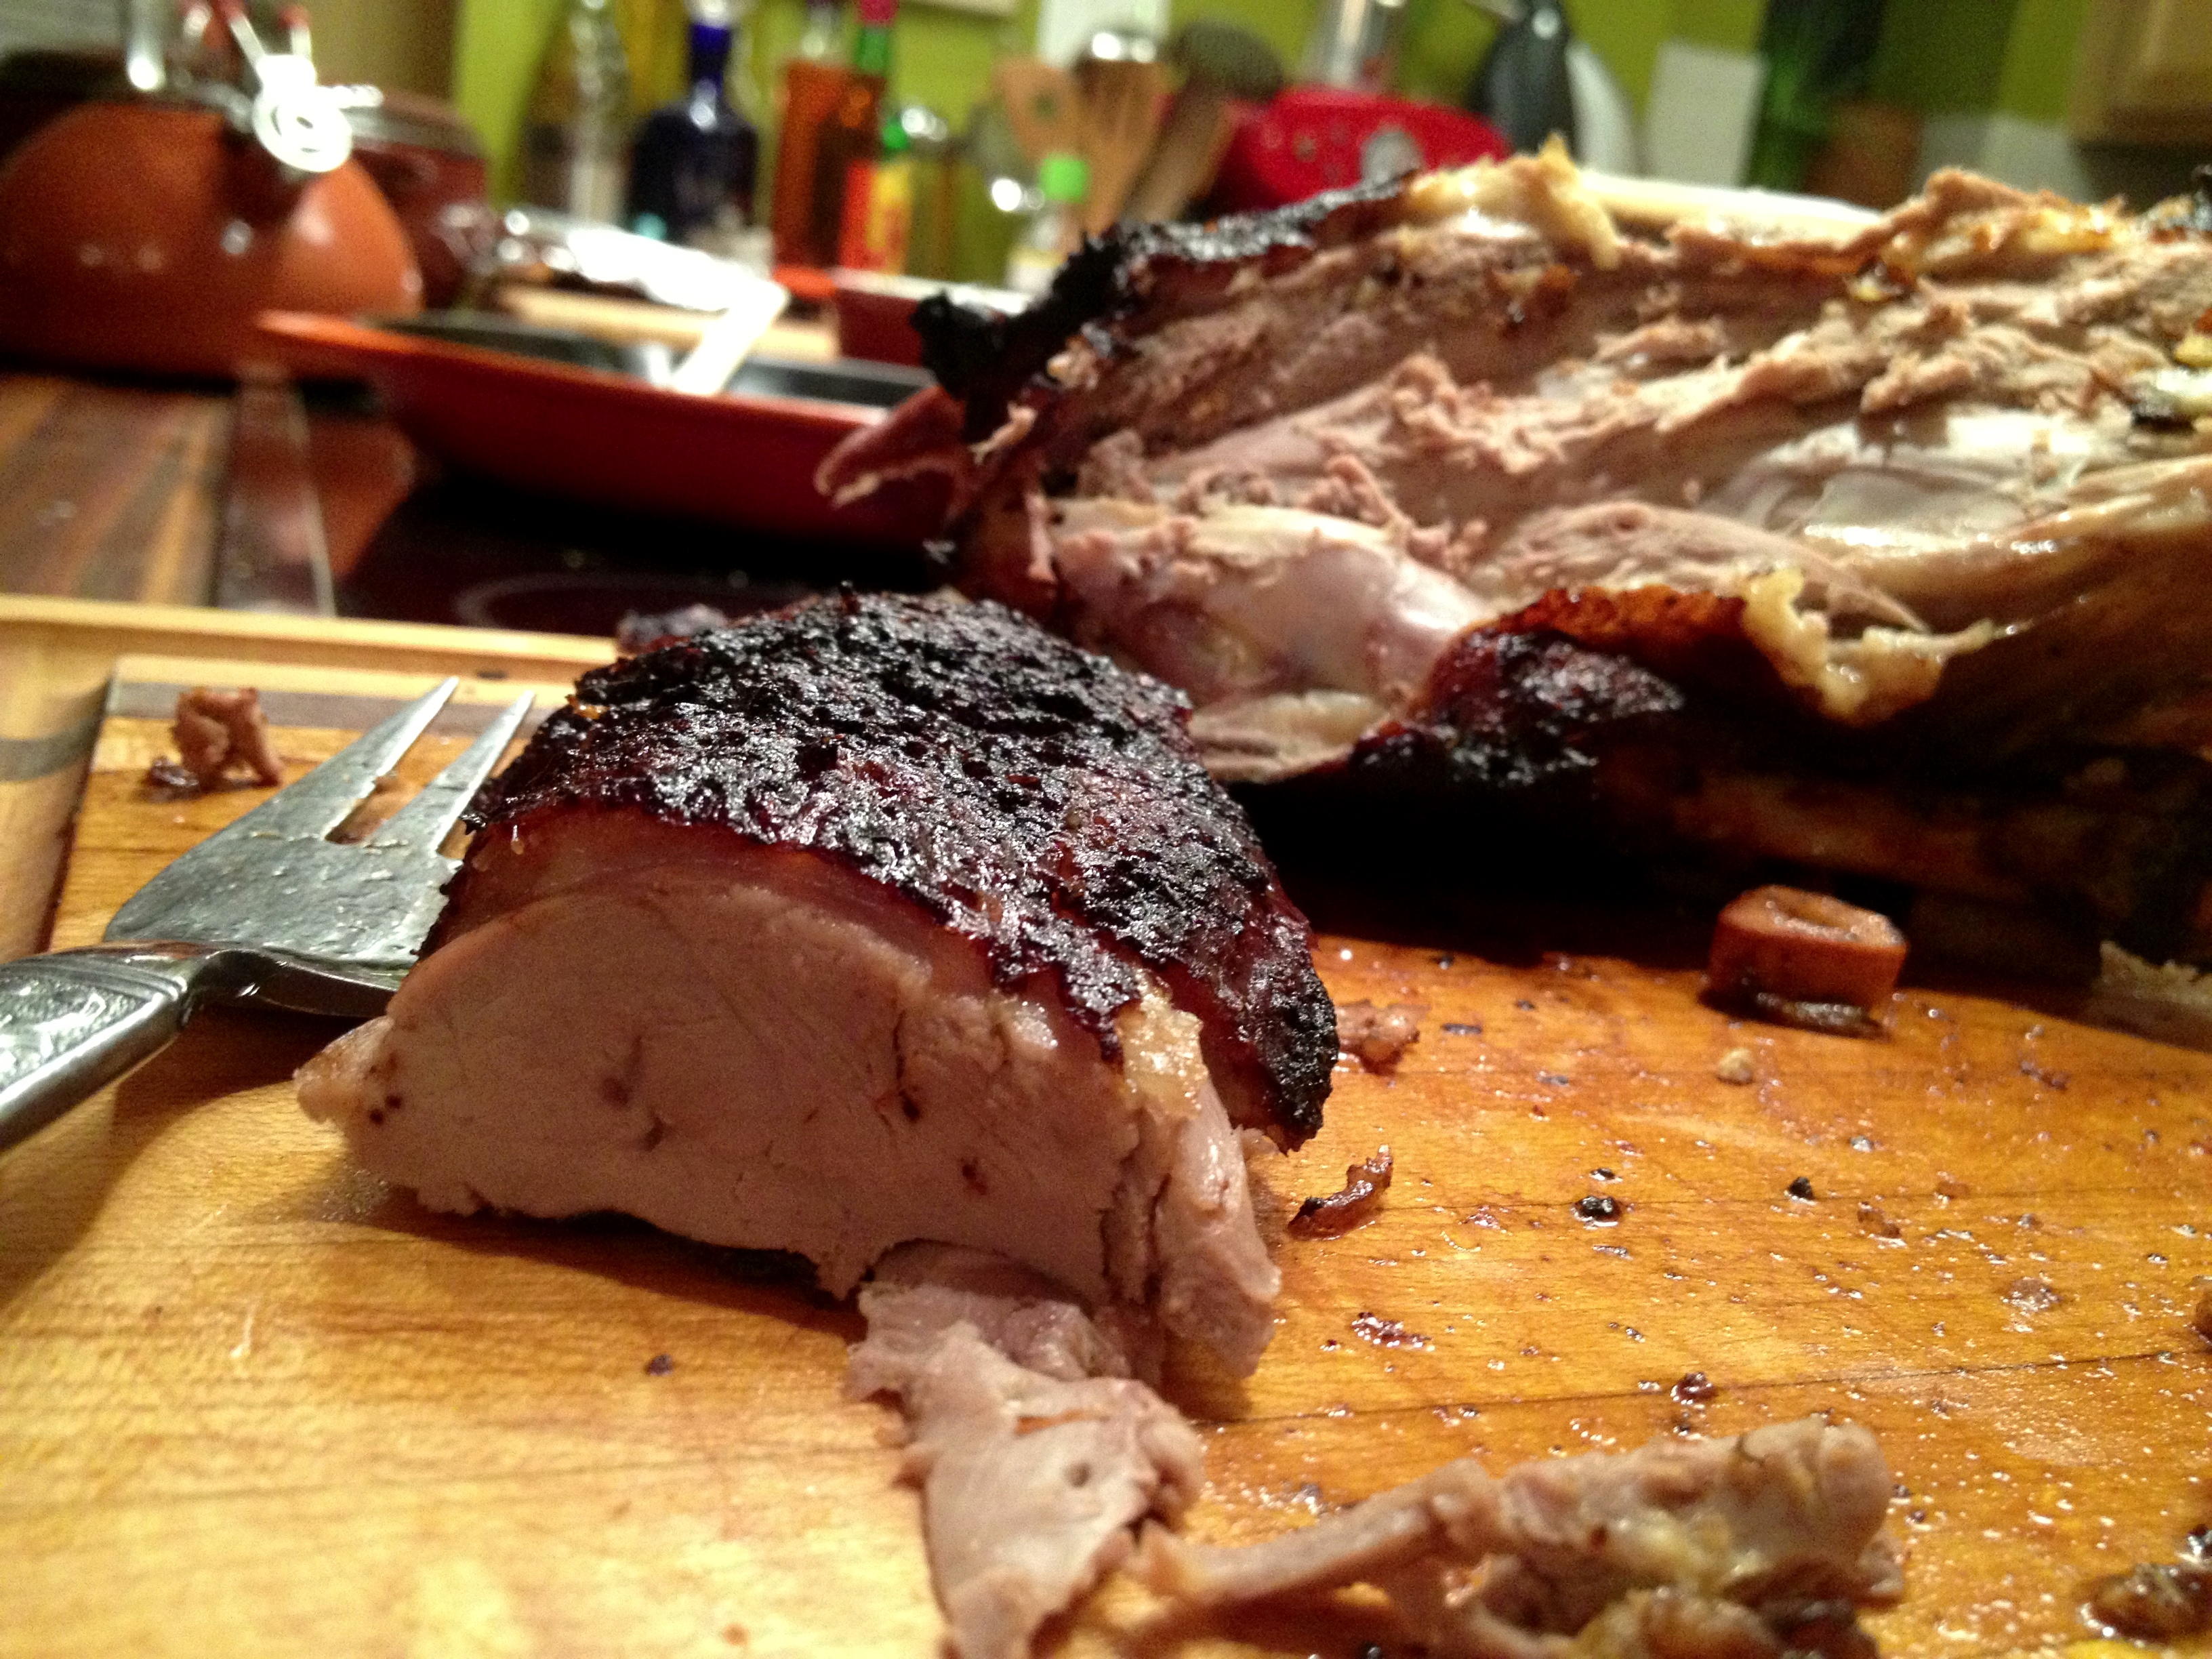
The duck was excellent–so much so that, by the time we had finished picking, there was nothing left but the carcass and half a breast.

Duck Carcass

I awoke this morning feeling better than expected given how much wine we drank. I was determined to get as much as I could out of my duck. I was also determined to procrastinate on the day’s schoolwork. I made some coffee and got to work.

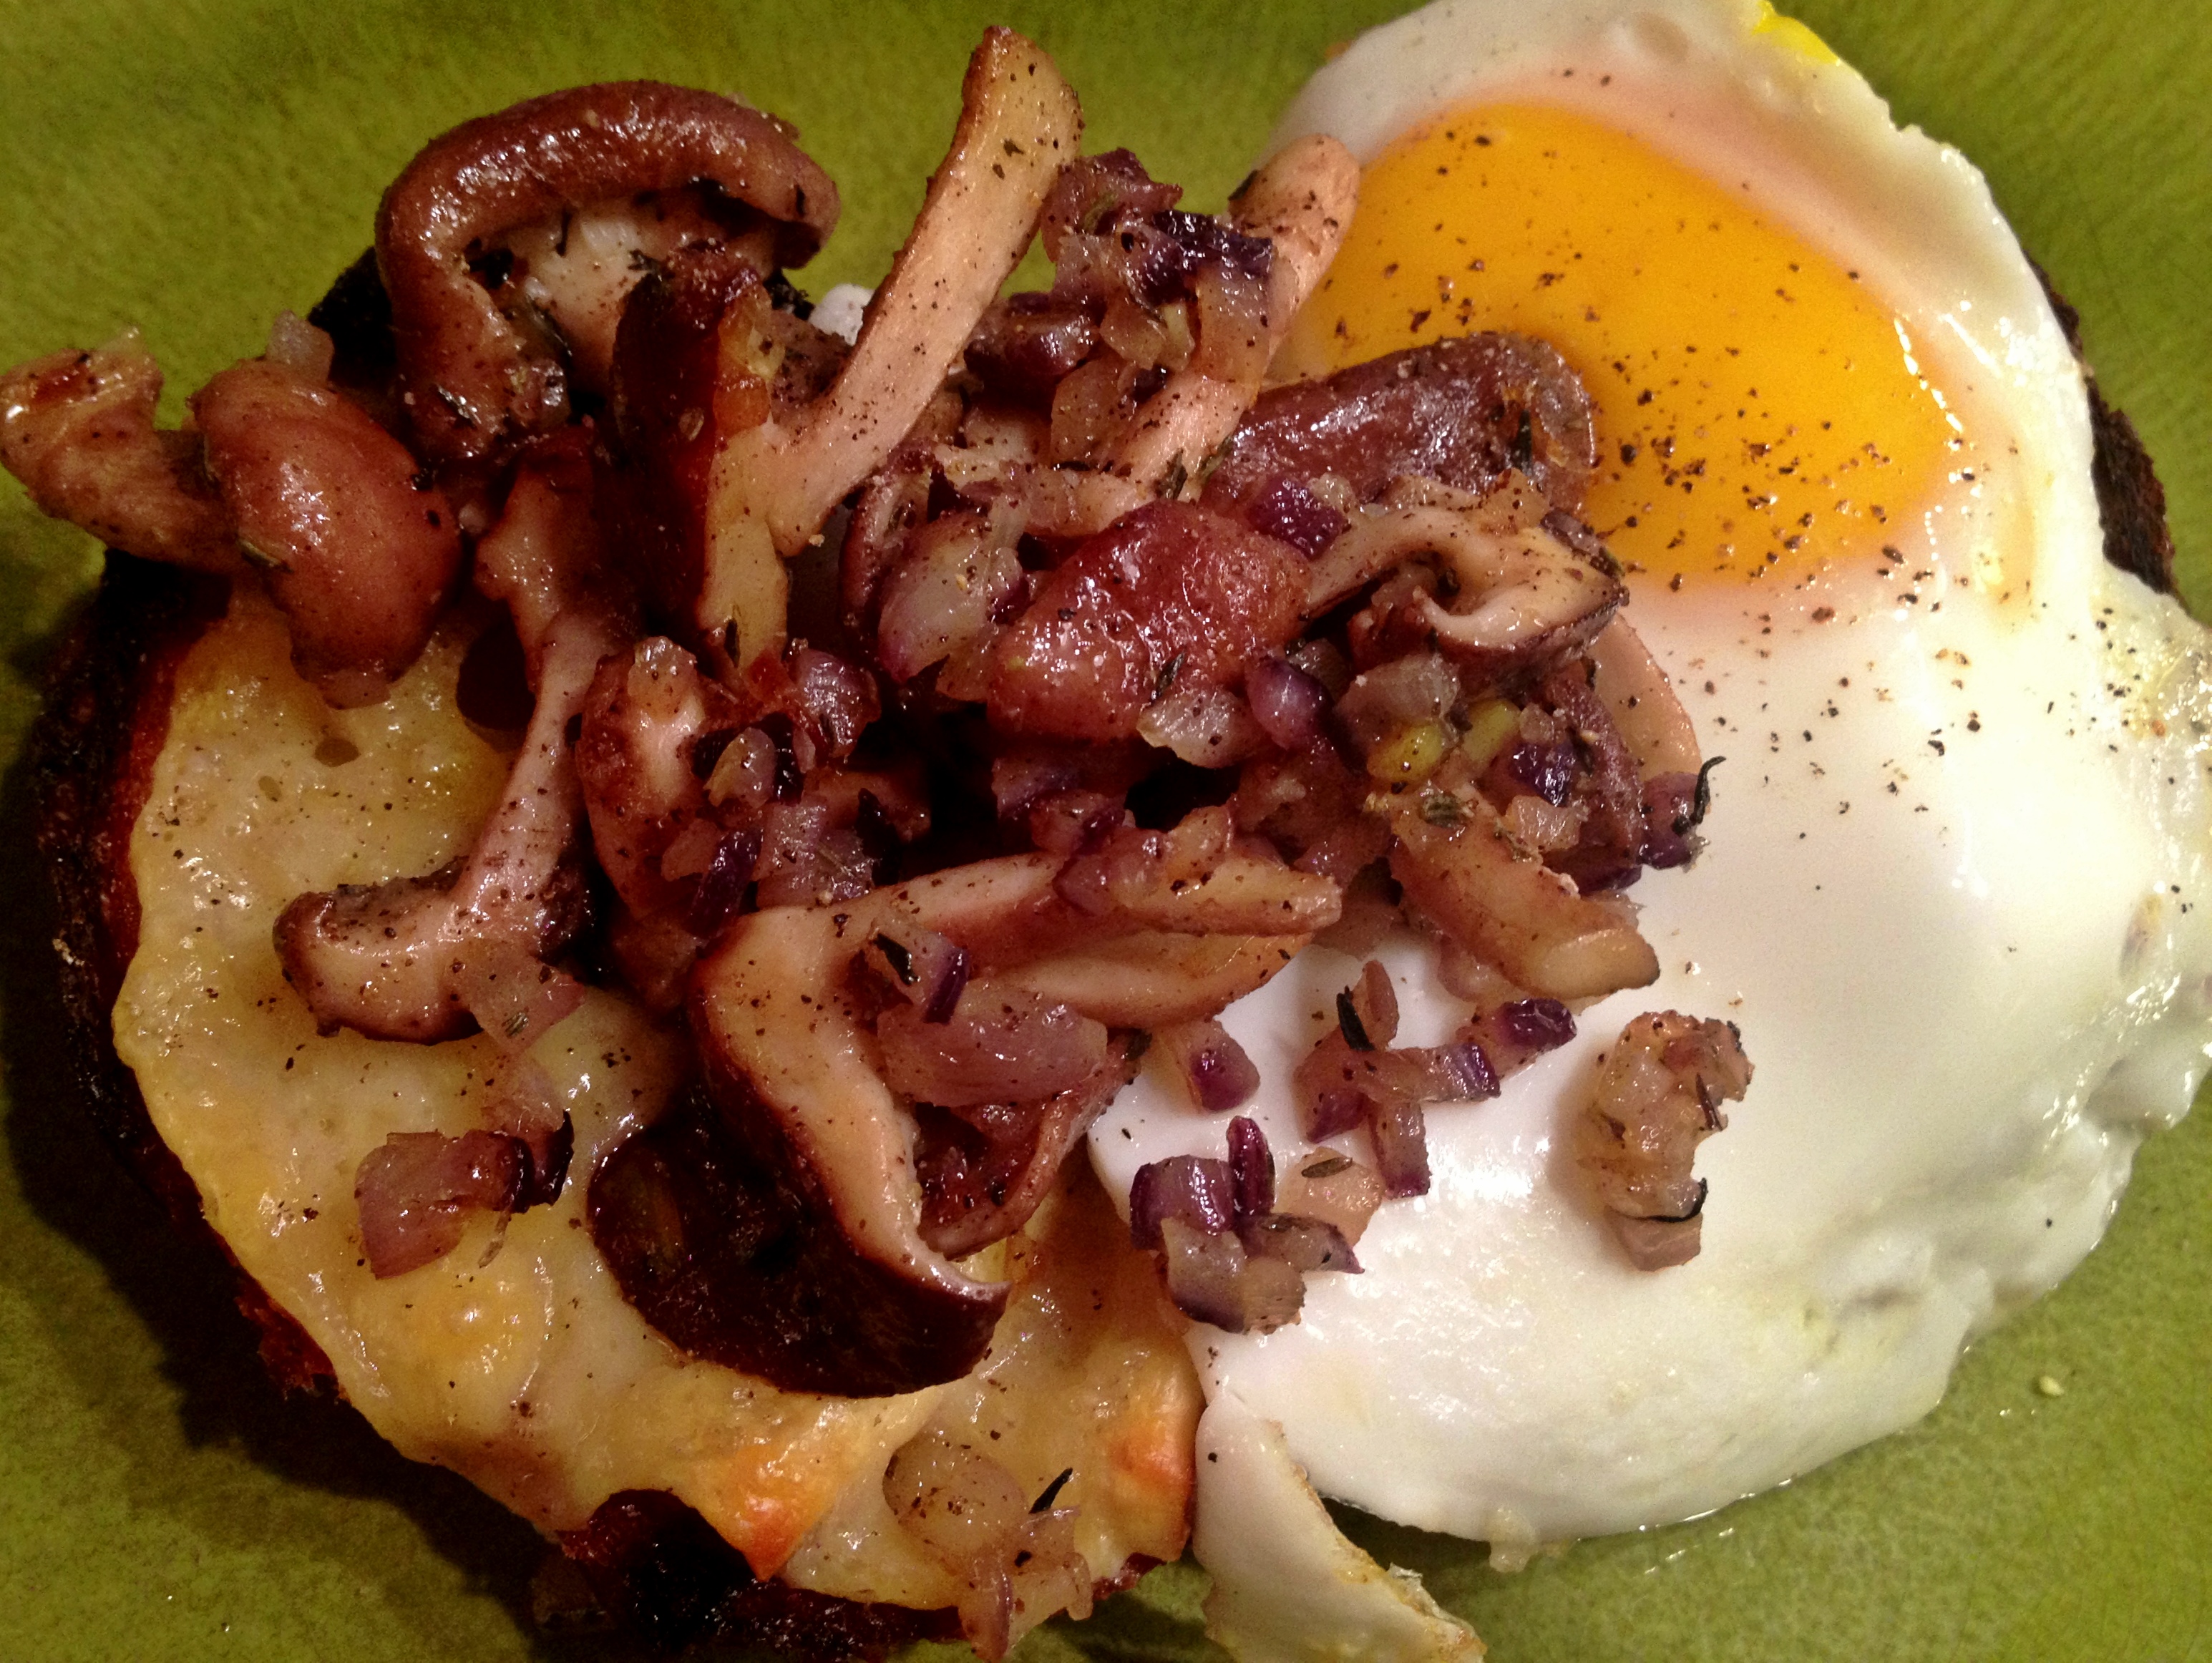
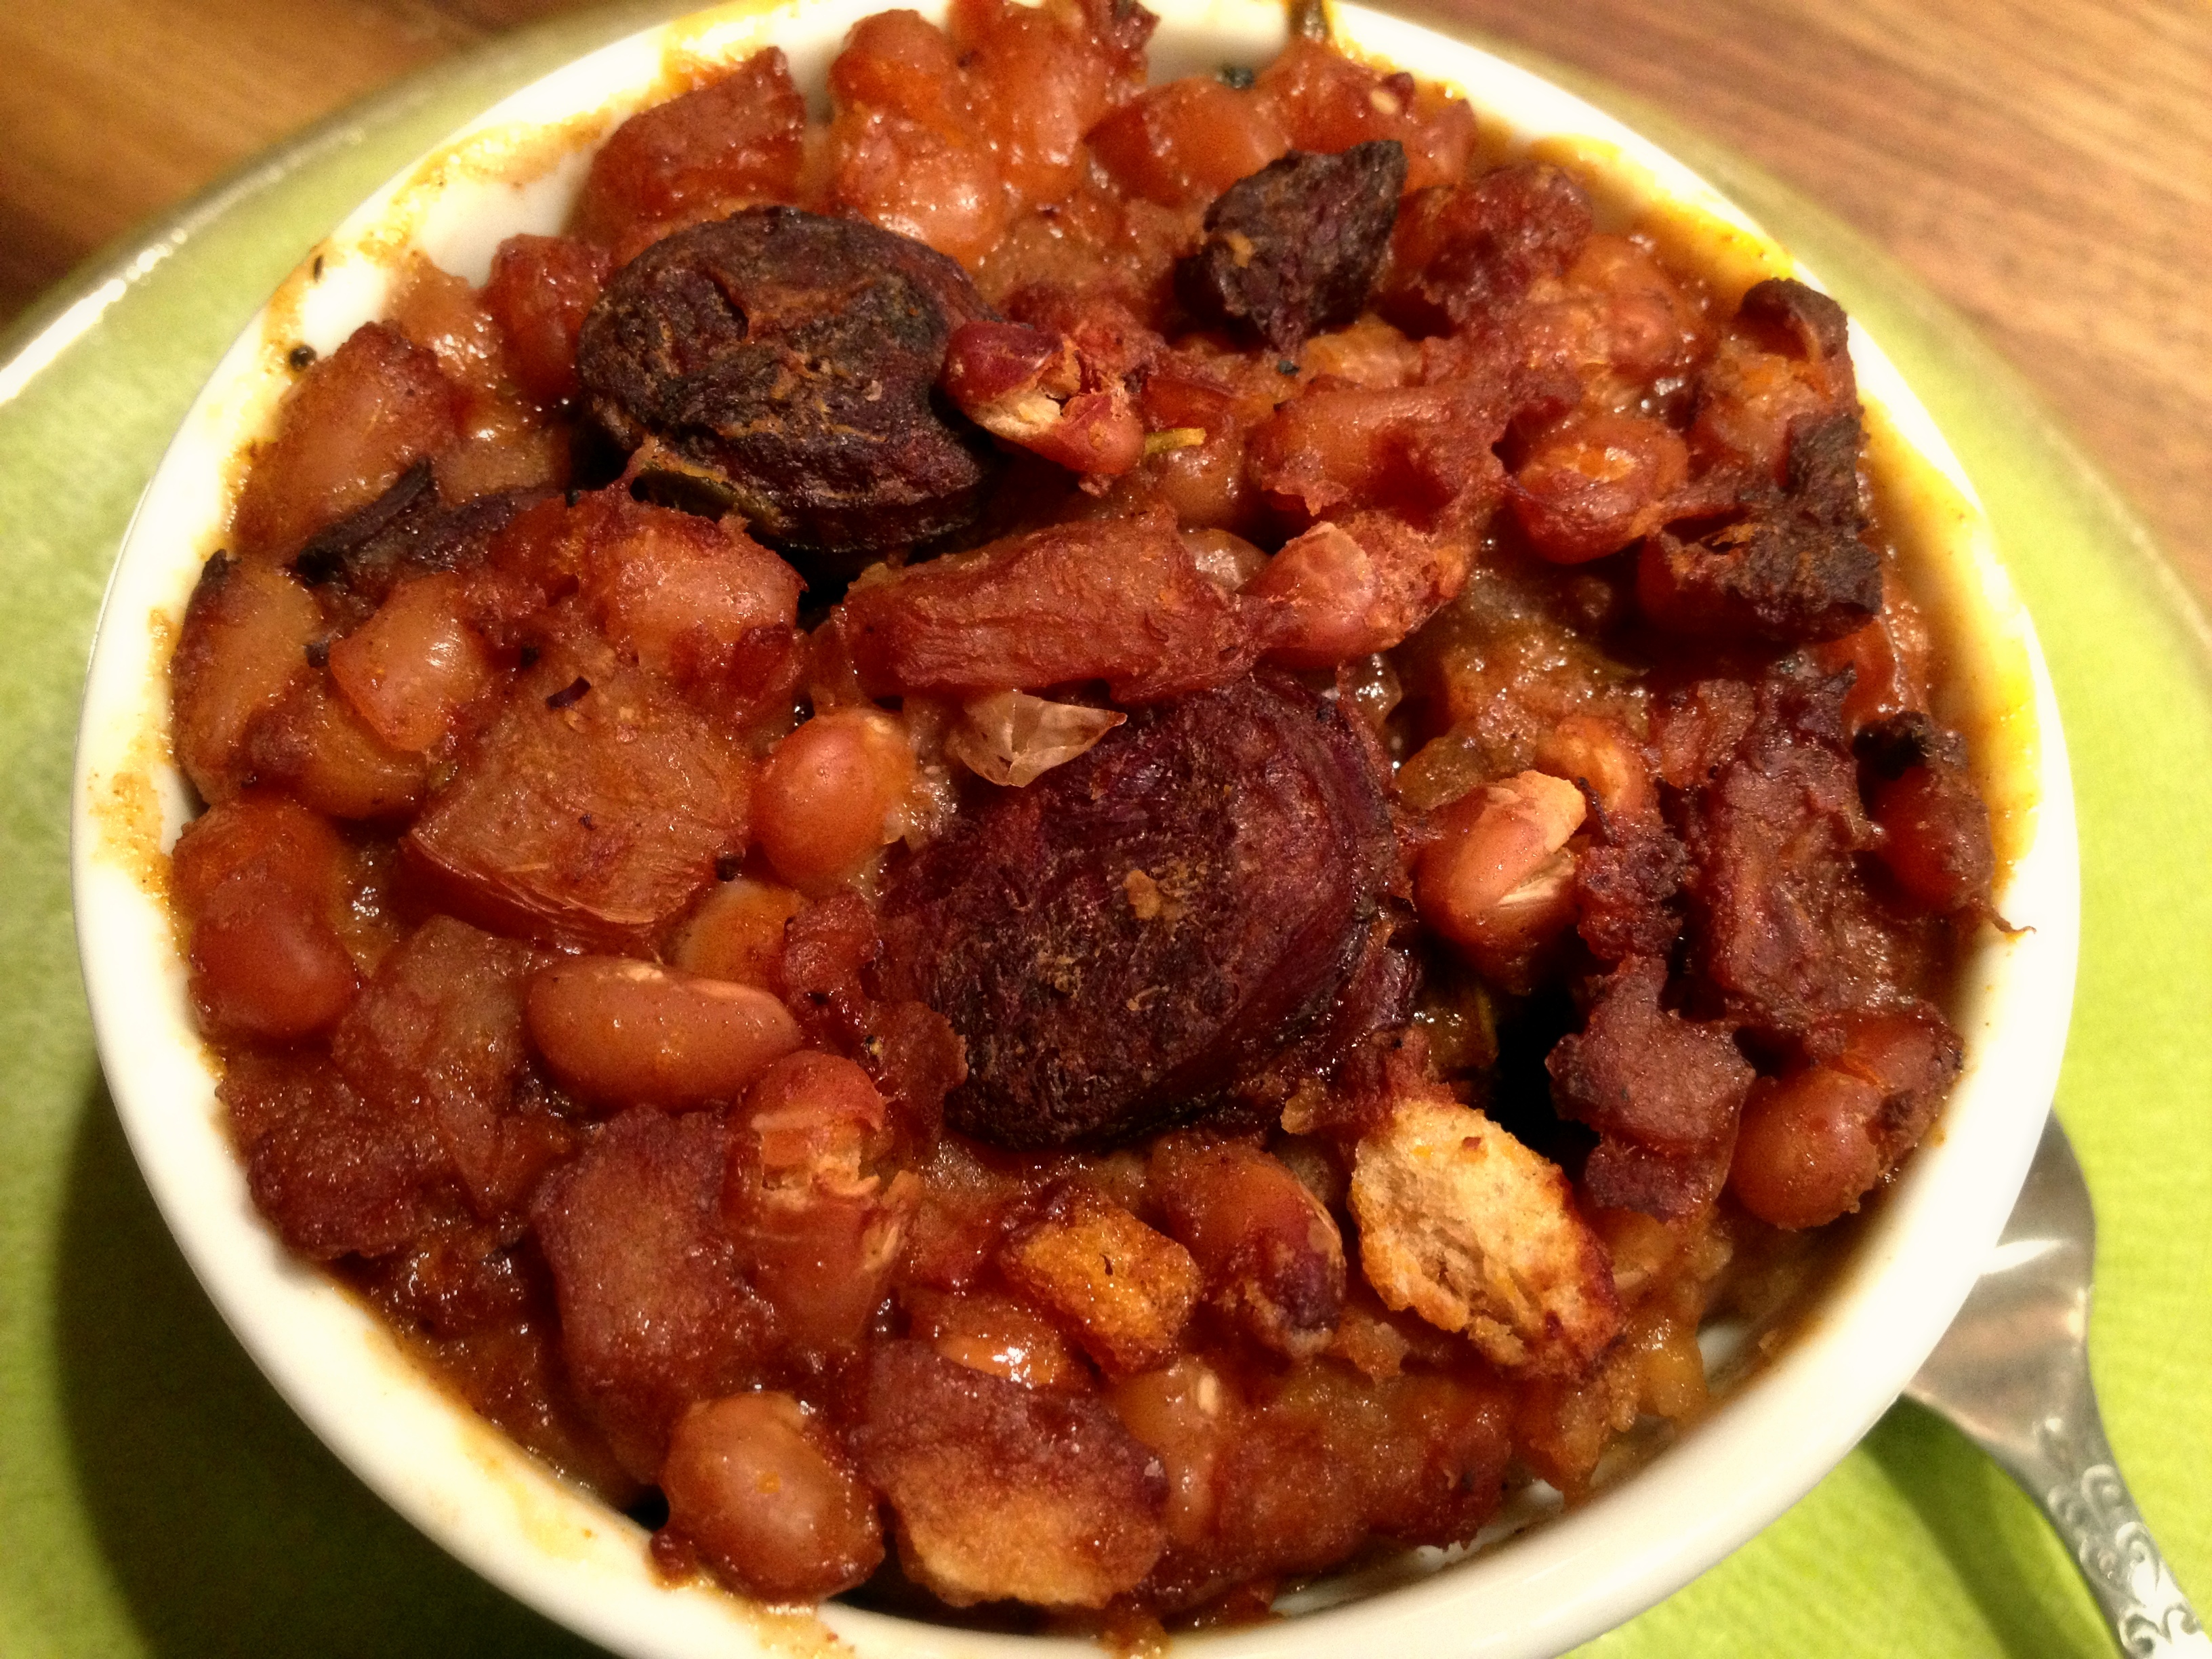
First up, I chopped the leftover meat and rendered it in a small skillet over medium heat before adding some finely sliced mustard greens. Once the greens had wilted, I added a bit of soy sauce and rice wine vinegar. Breakfast was served.

Duck with Mustard Greens

Following instructions I found online, I put some water in a small pan, added the excess fat and skin that I had trimmed from the duck prior to roasting, and brought it to a simmer over medium heat. An hour or so later, I poured the concoction through a fine mesh sieve and into a gravy separator which I stuck it in the fridge. Once the fat had congealed, I poured off the residual water and was left with some truly glorious looking duck fat. I imagine I’ll use it to pan fry some potatoes and as the foundation for a roux.

Duck Fat - After

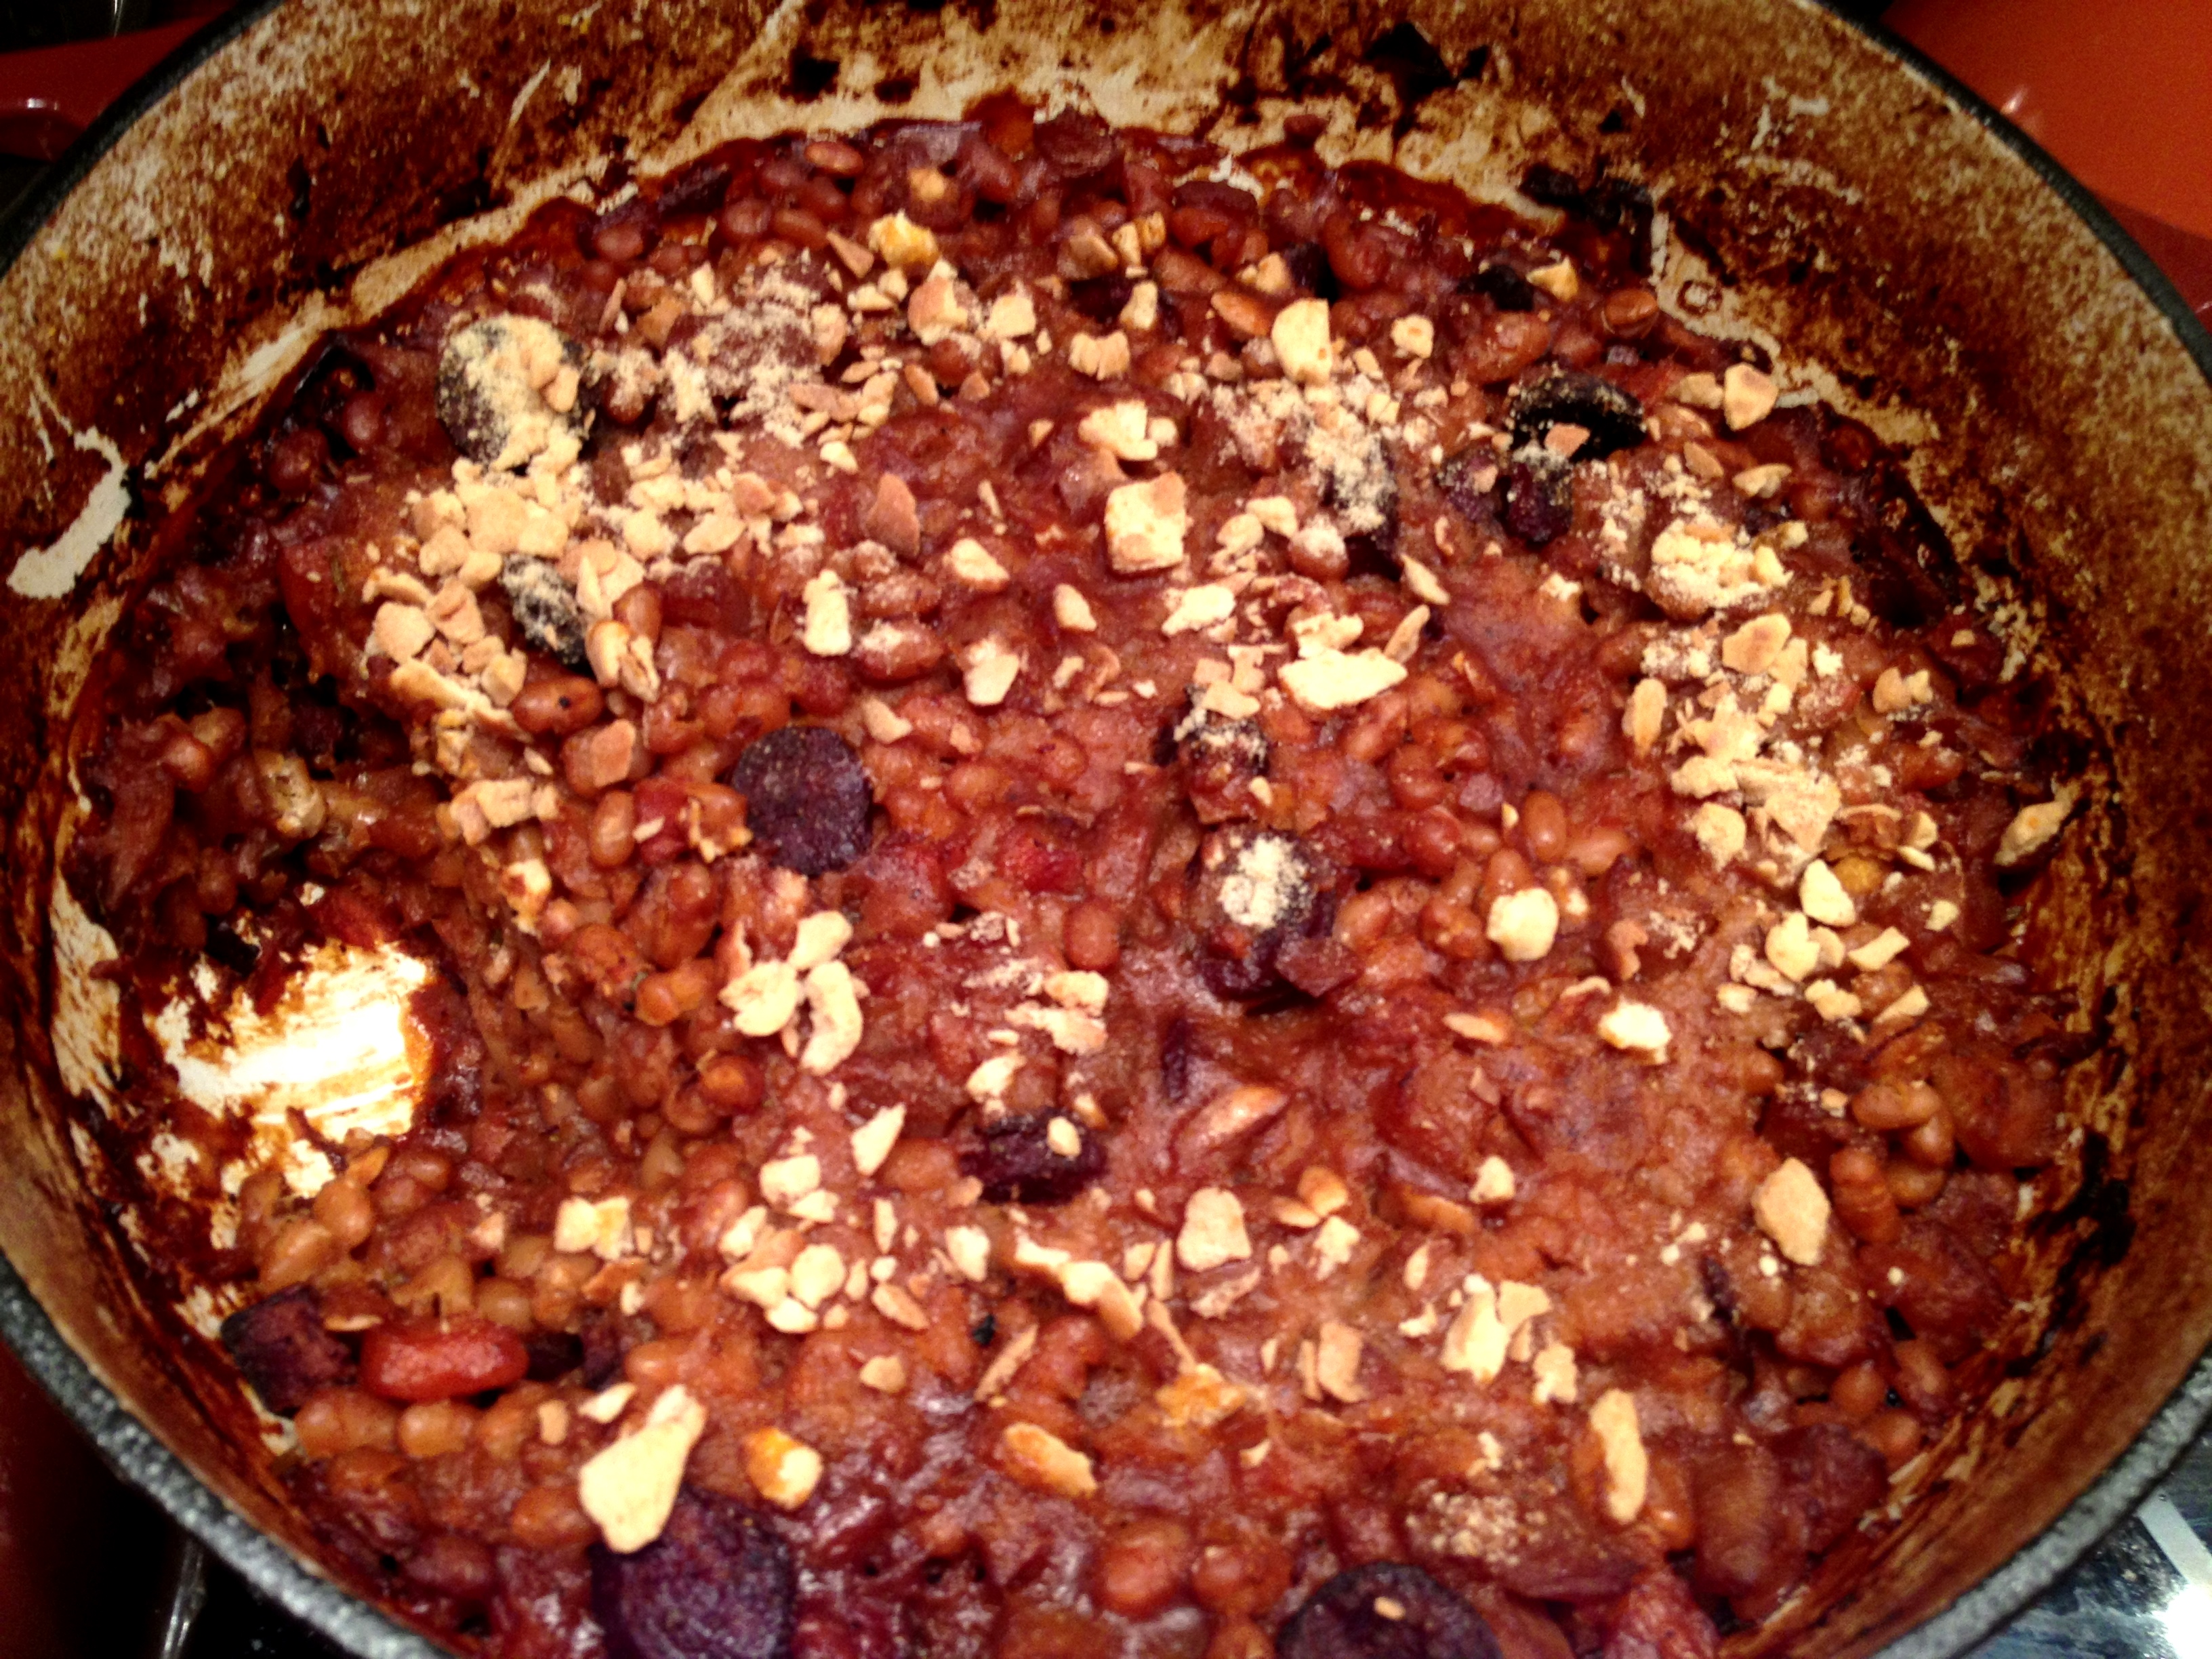
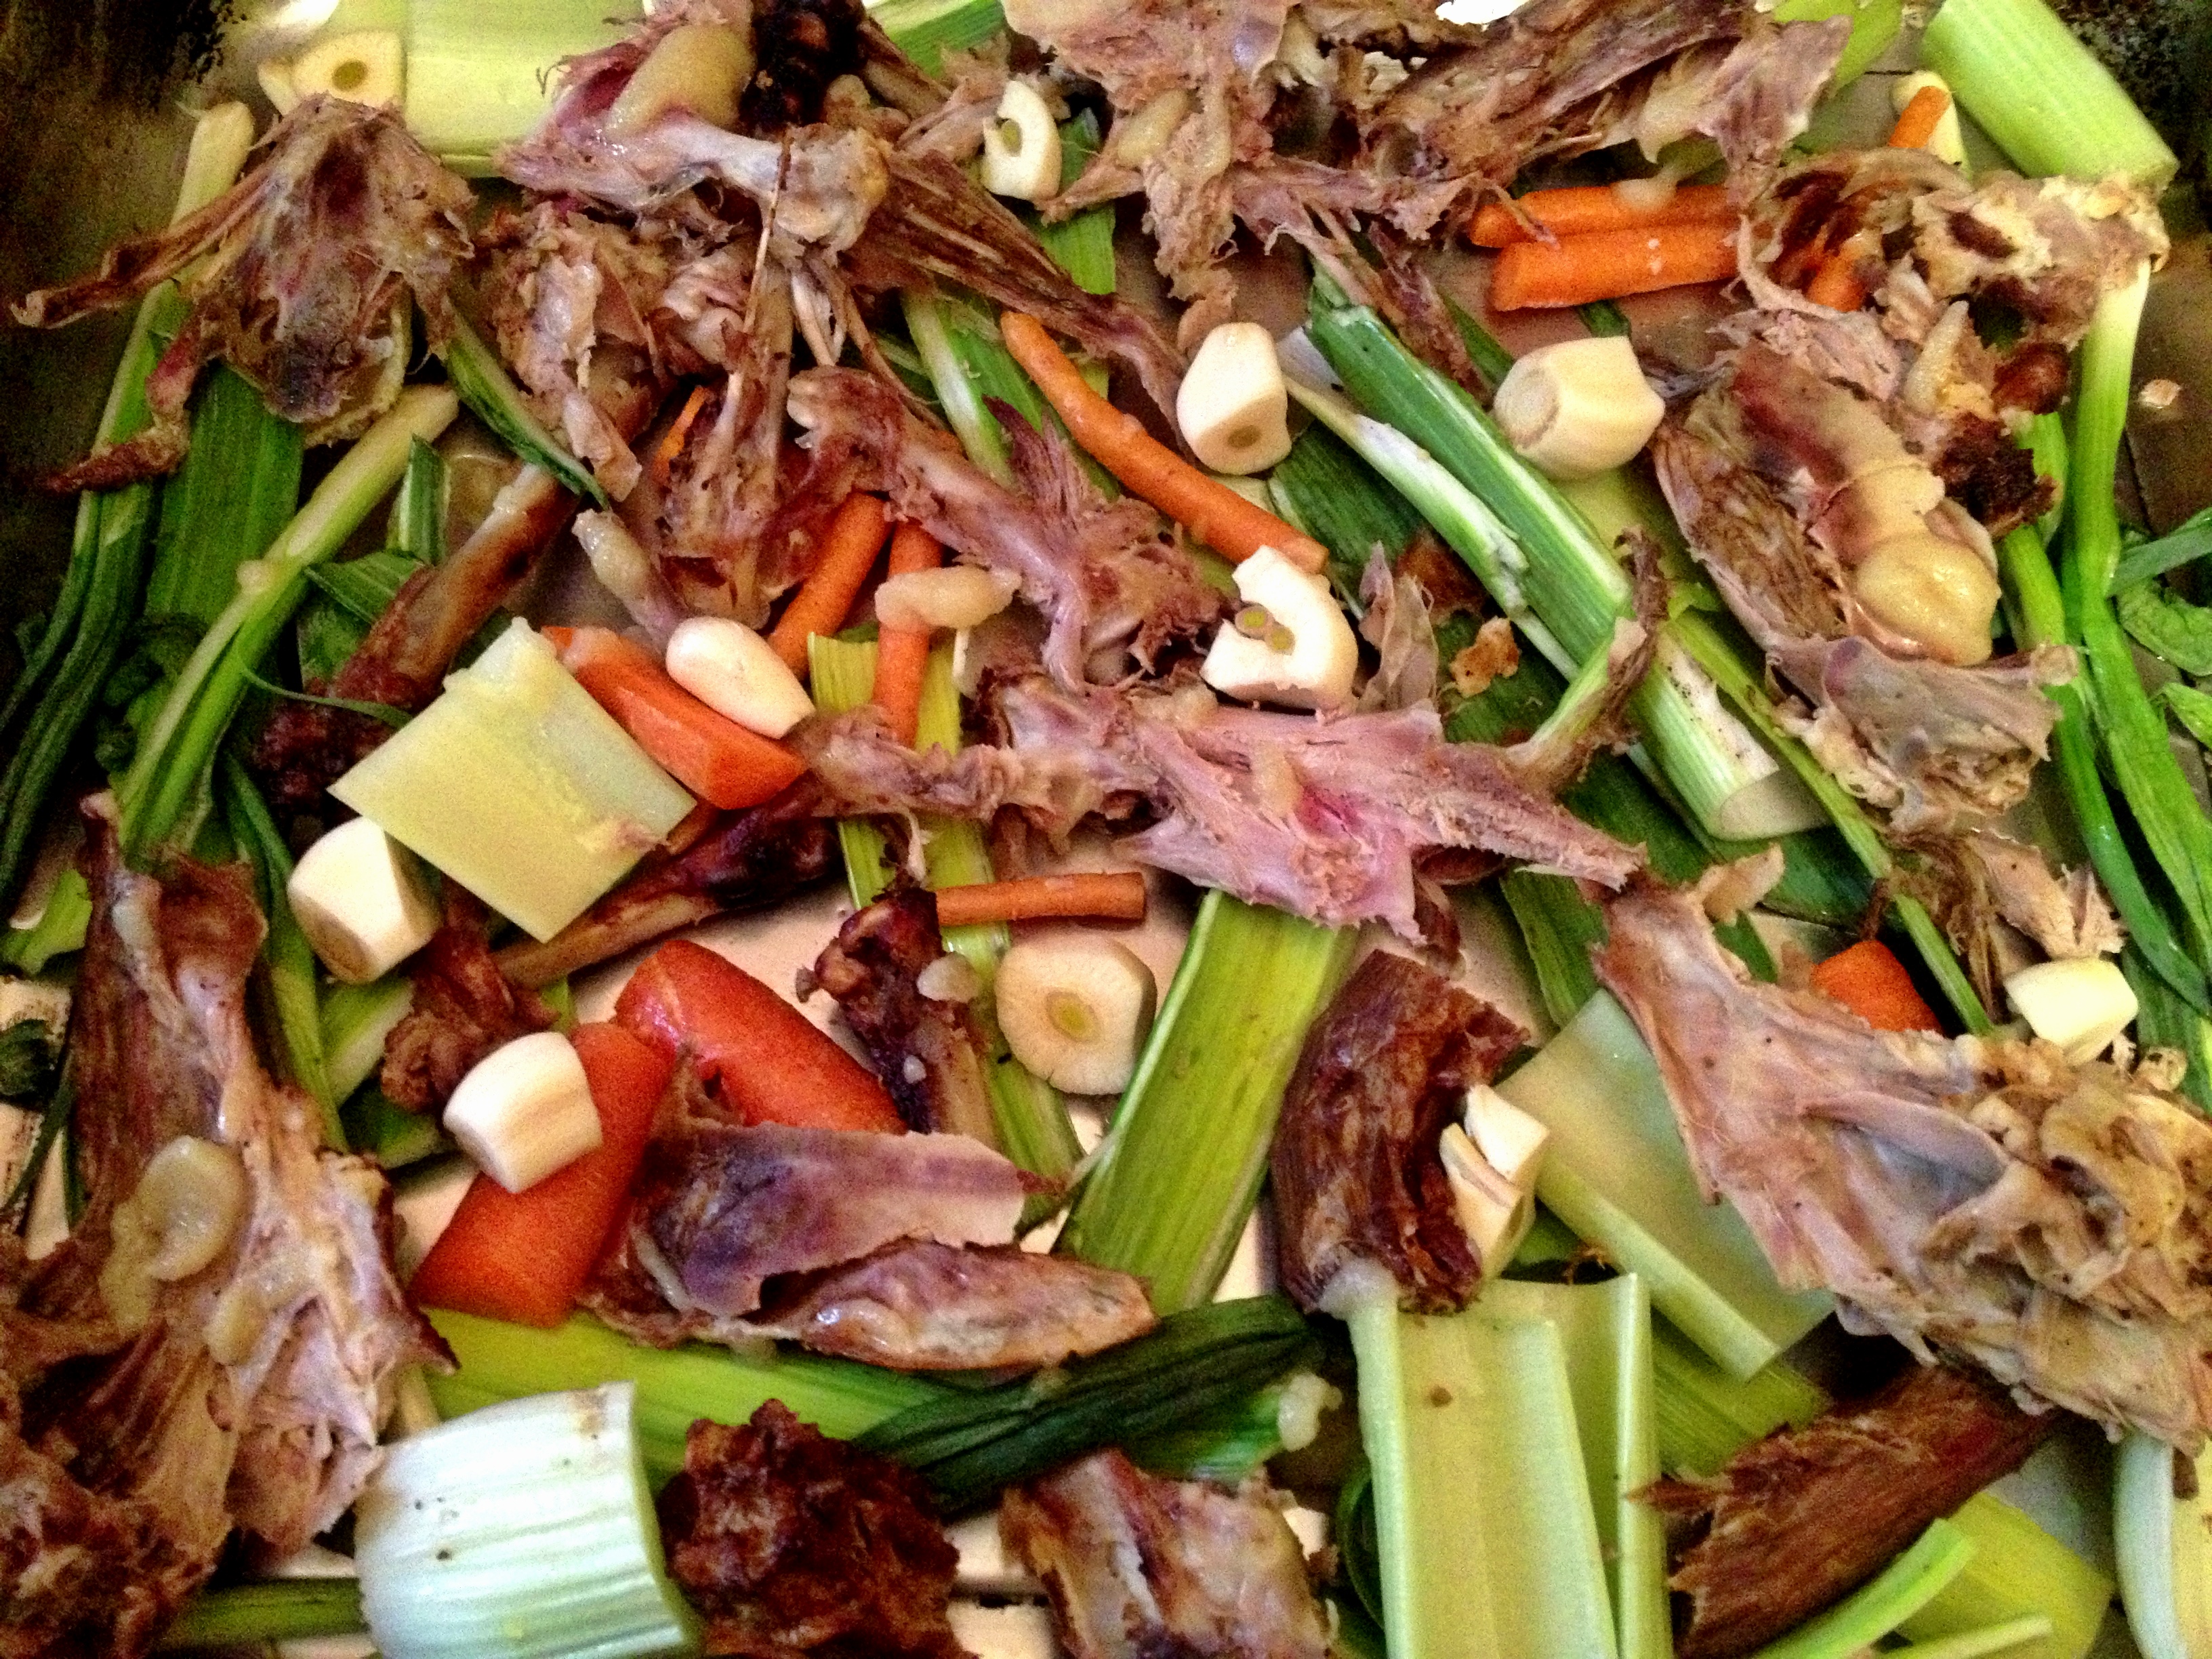
While my duck fat rendered, I preheated the oven to 400. I broke the duck carcass into as many pieces as I could manage (really must get a cleaver) and added it to a roasting pan along with the trimmings from last night’s leeks, a bunch of bedraggled scallions I found in the crisper, a few carrots, some celery, and some roughly chopped garlic. I drizzled this with a tablespoon or so of duck fat I had spooned out of the roasting pan last night and popped it in the oven for an hour.

Duck Stock Fixings

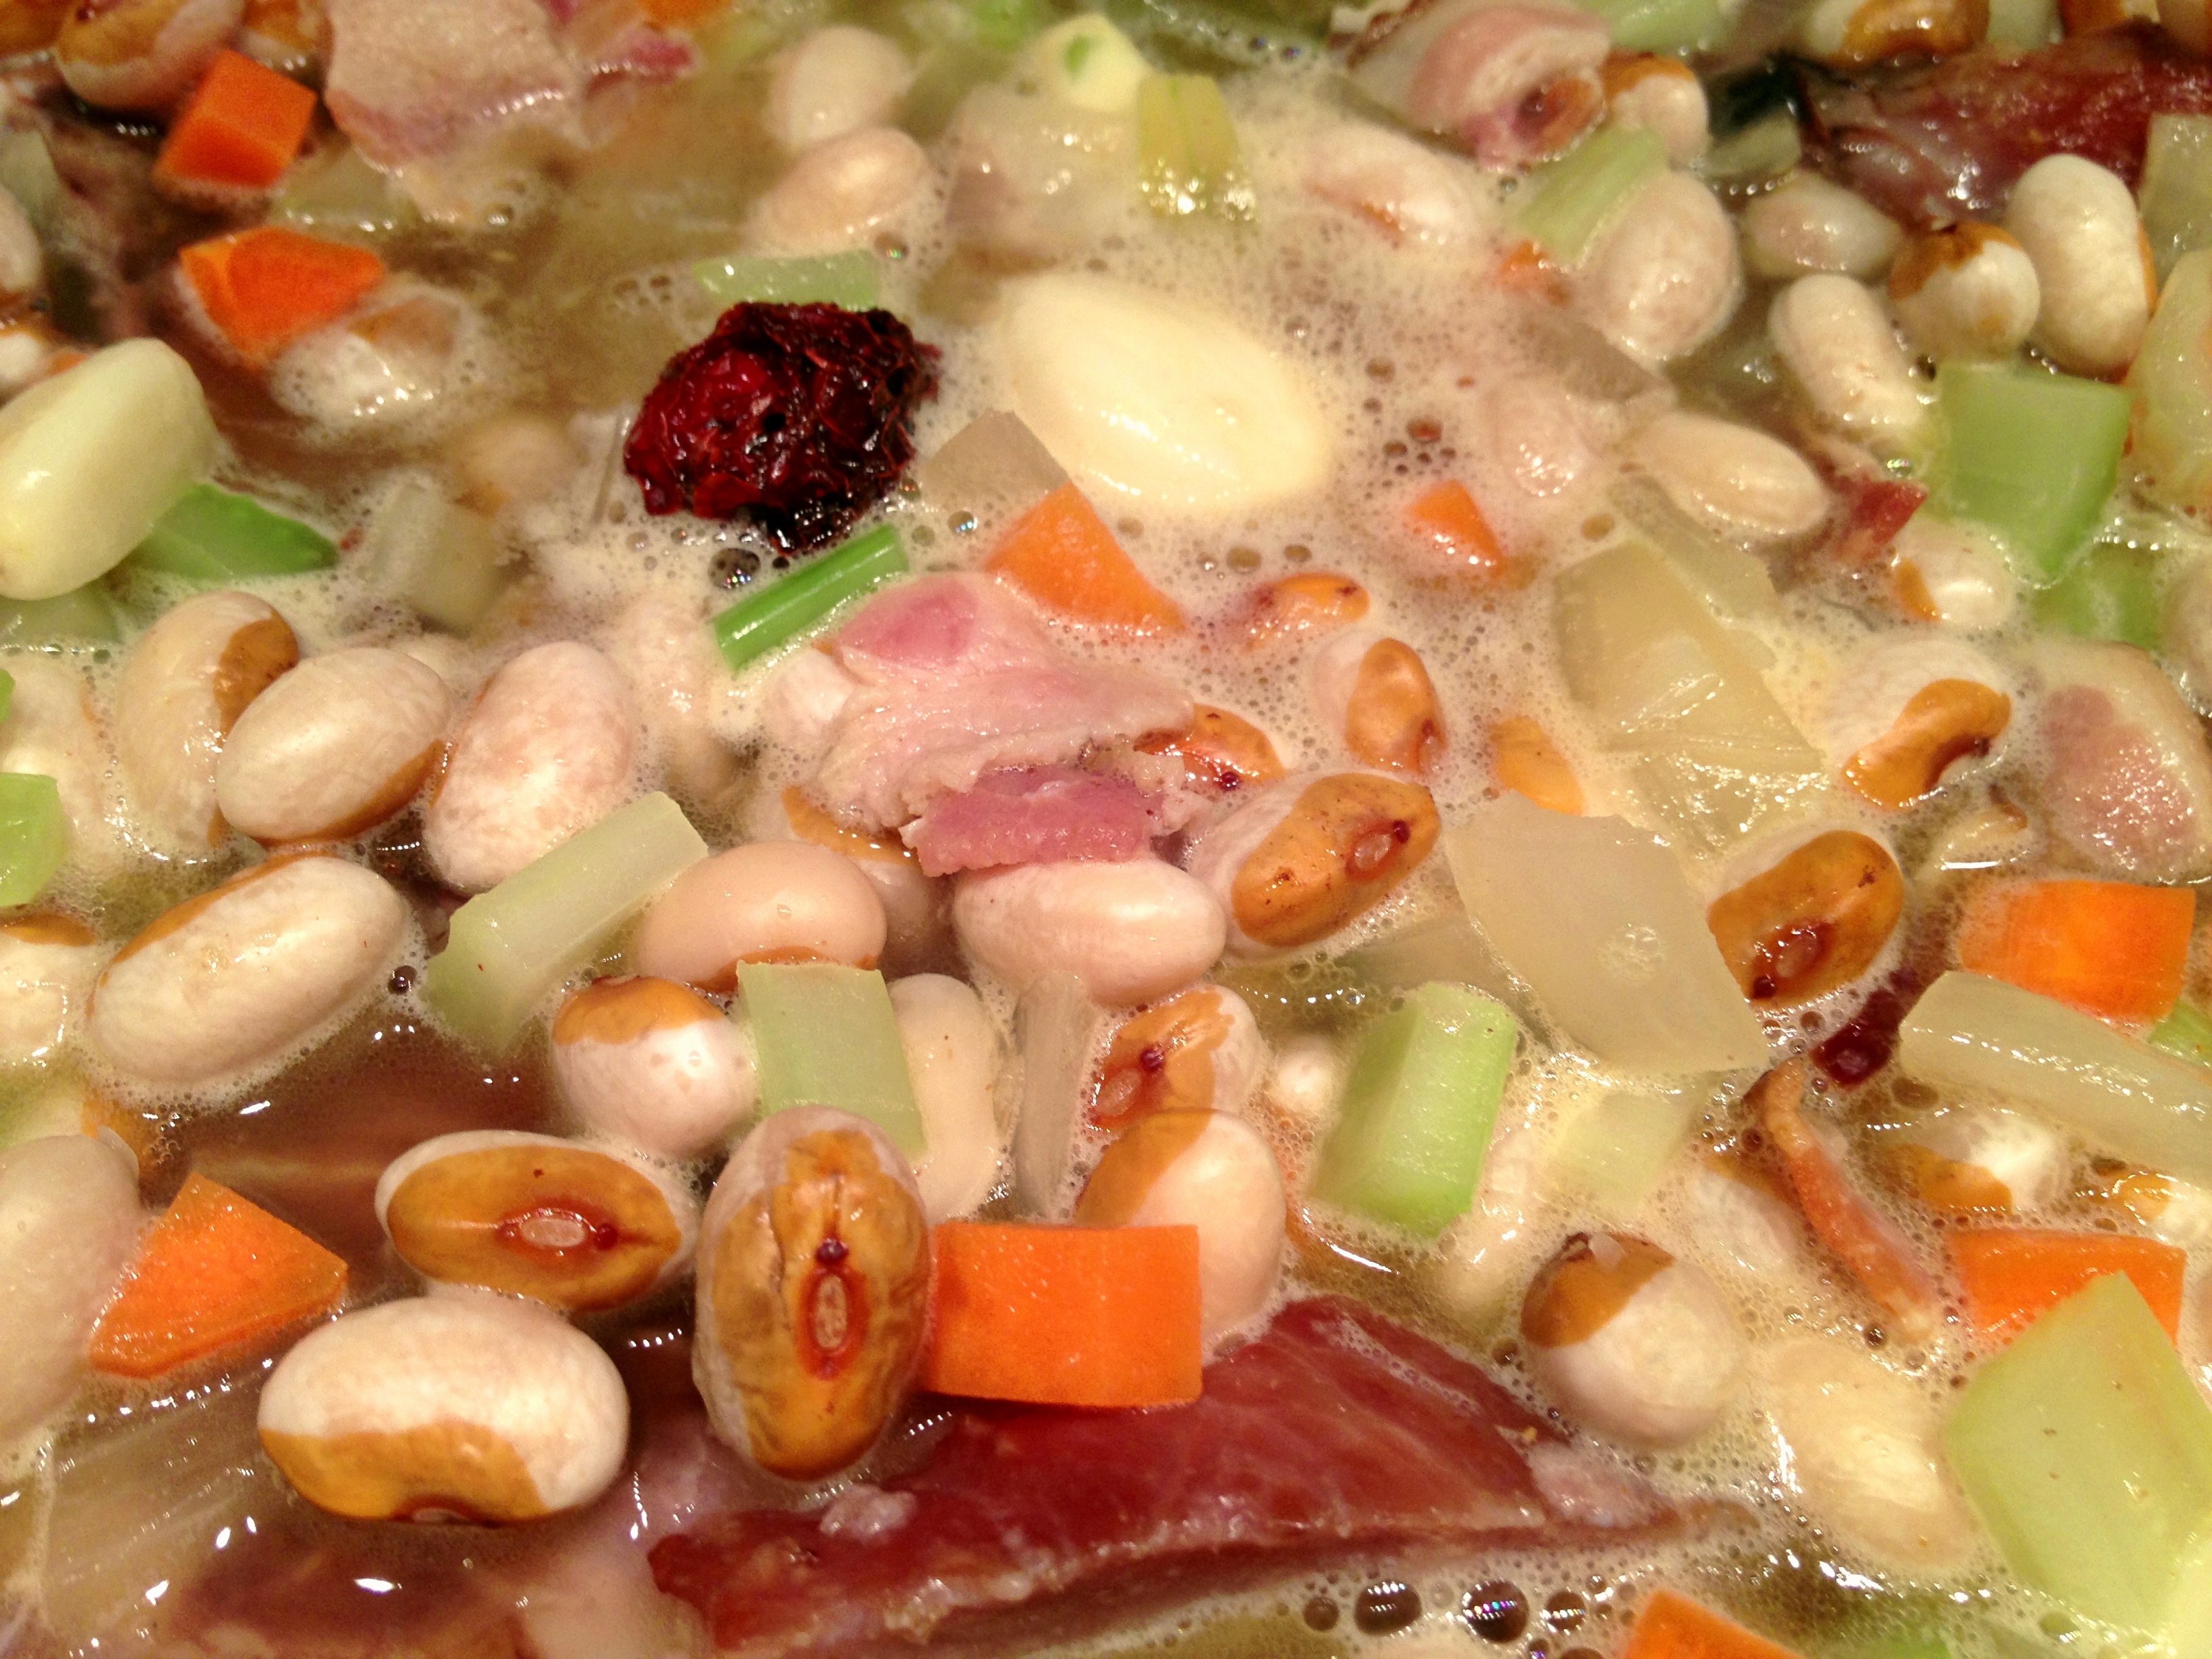
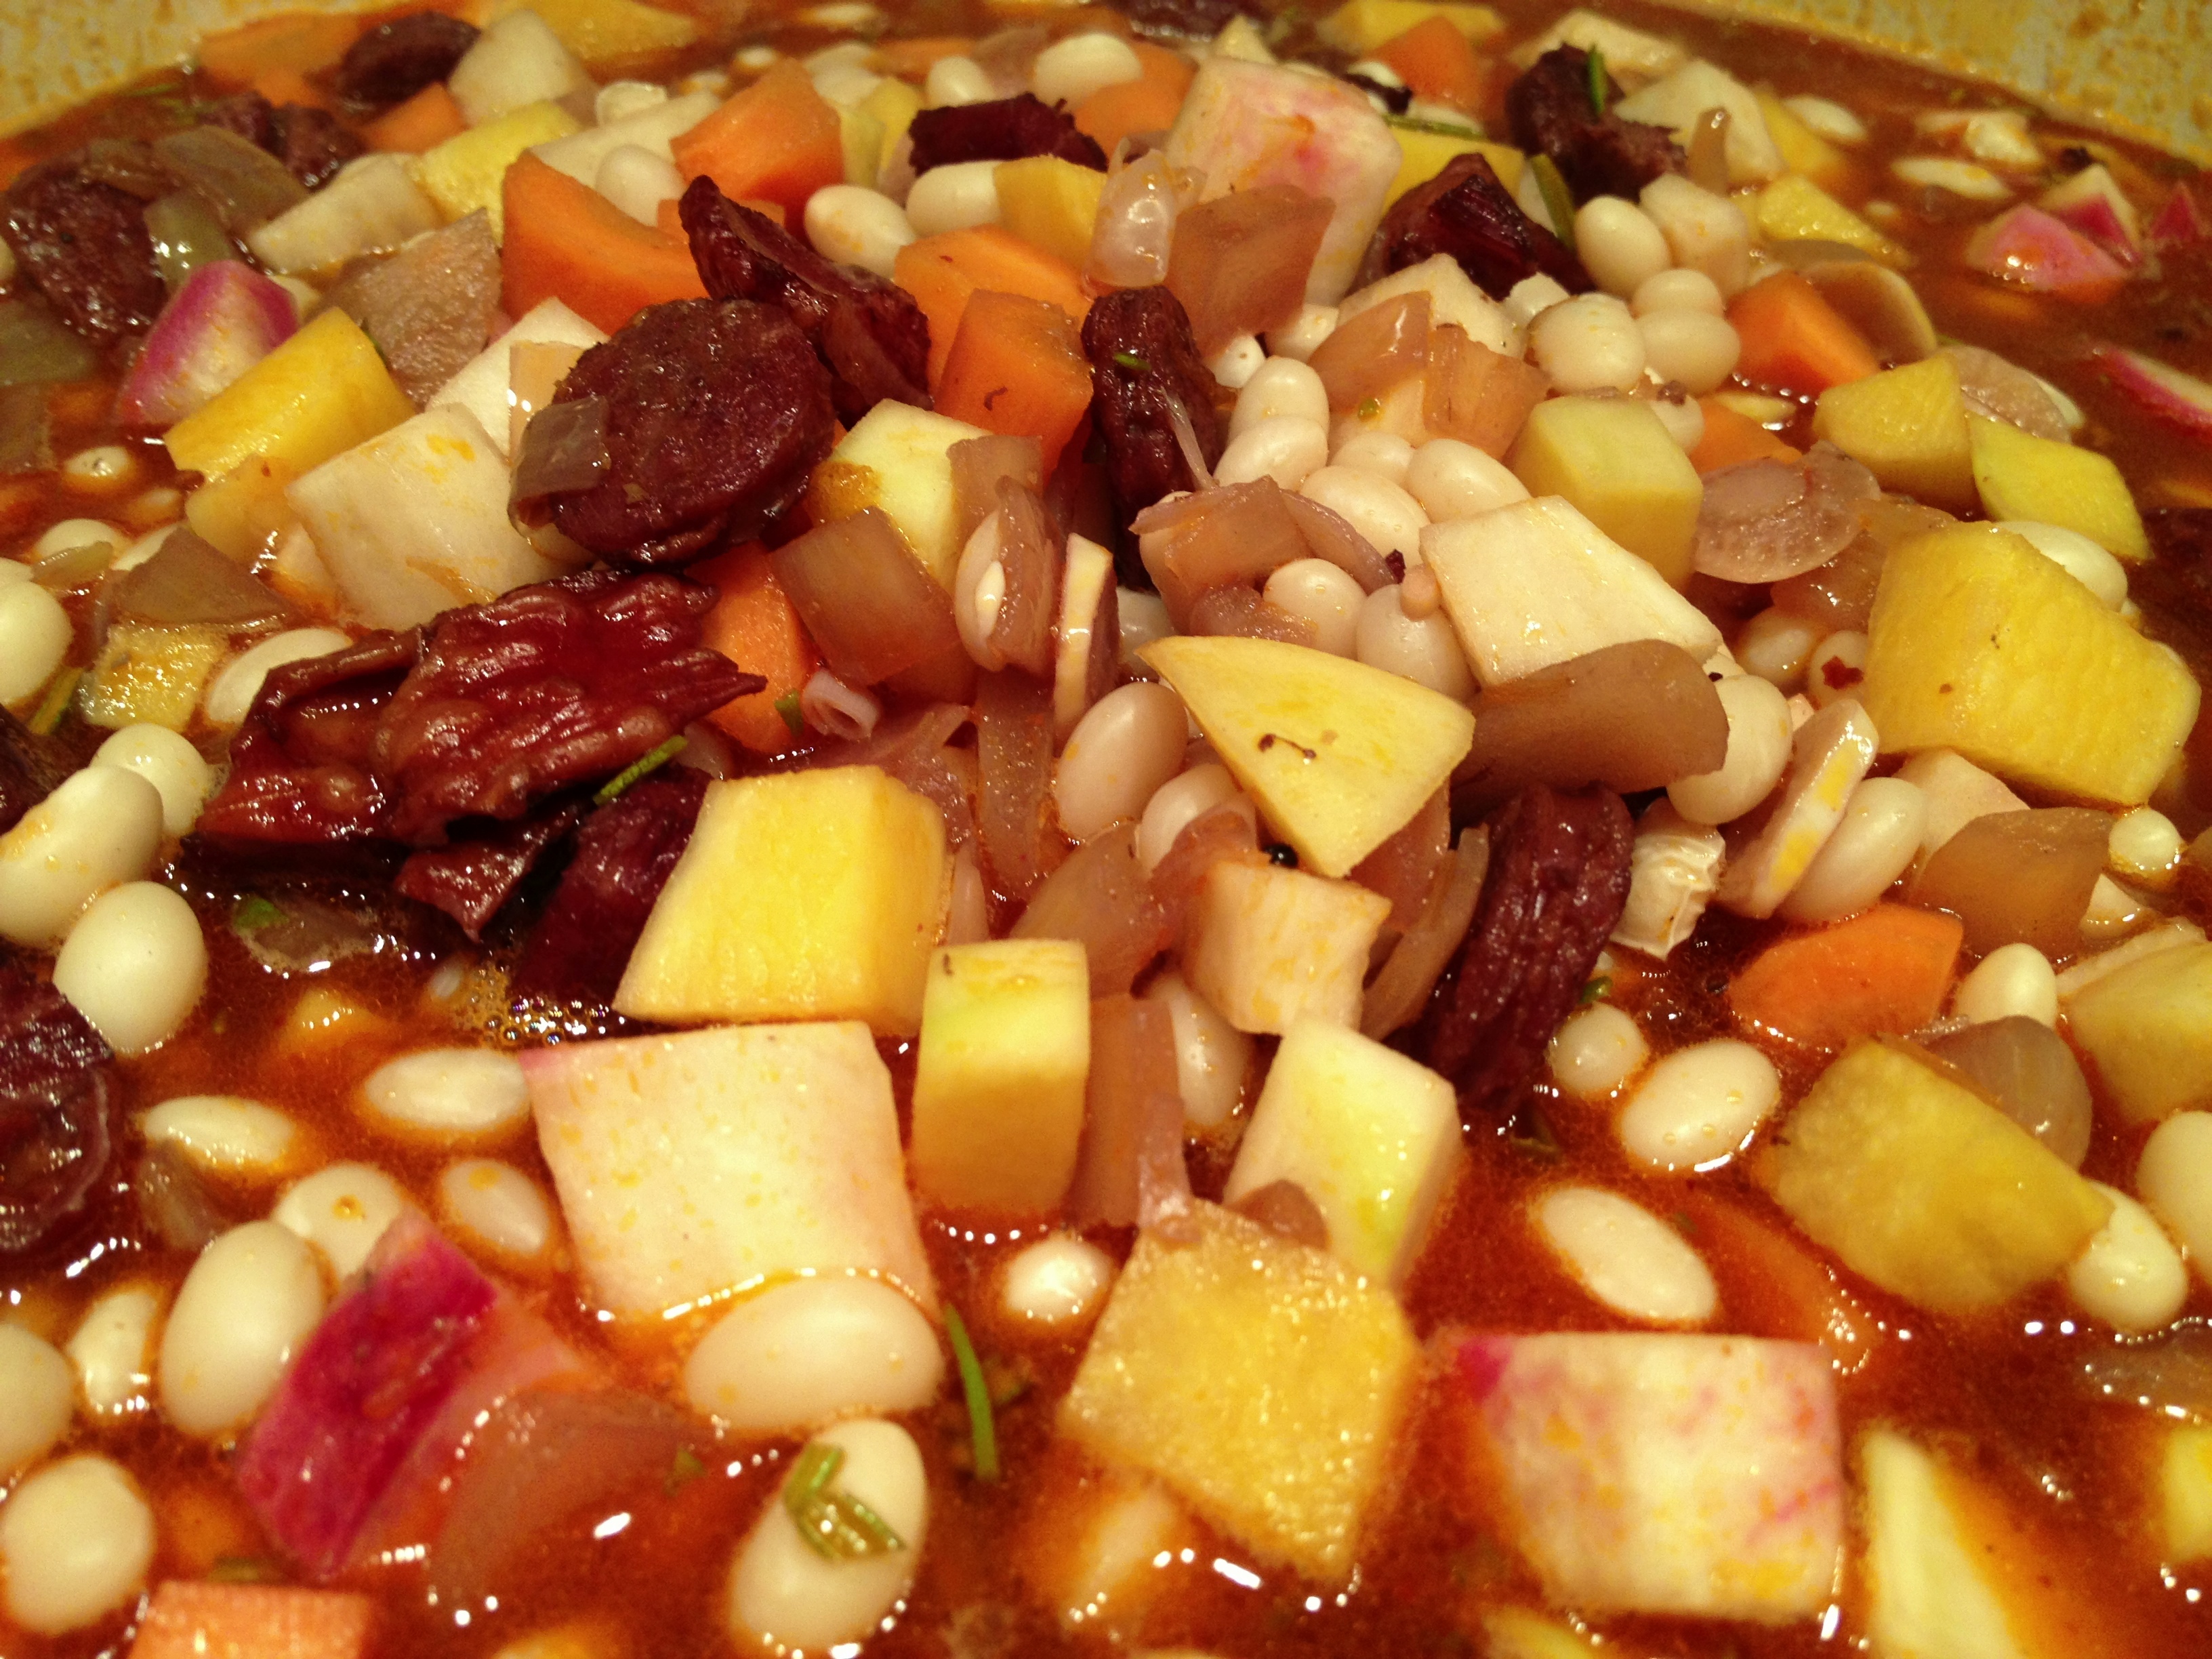
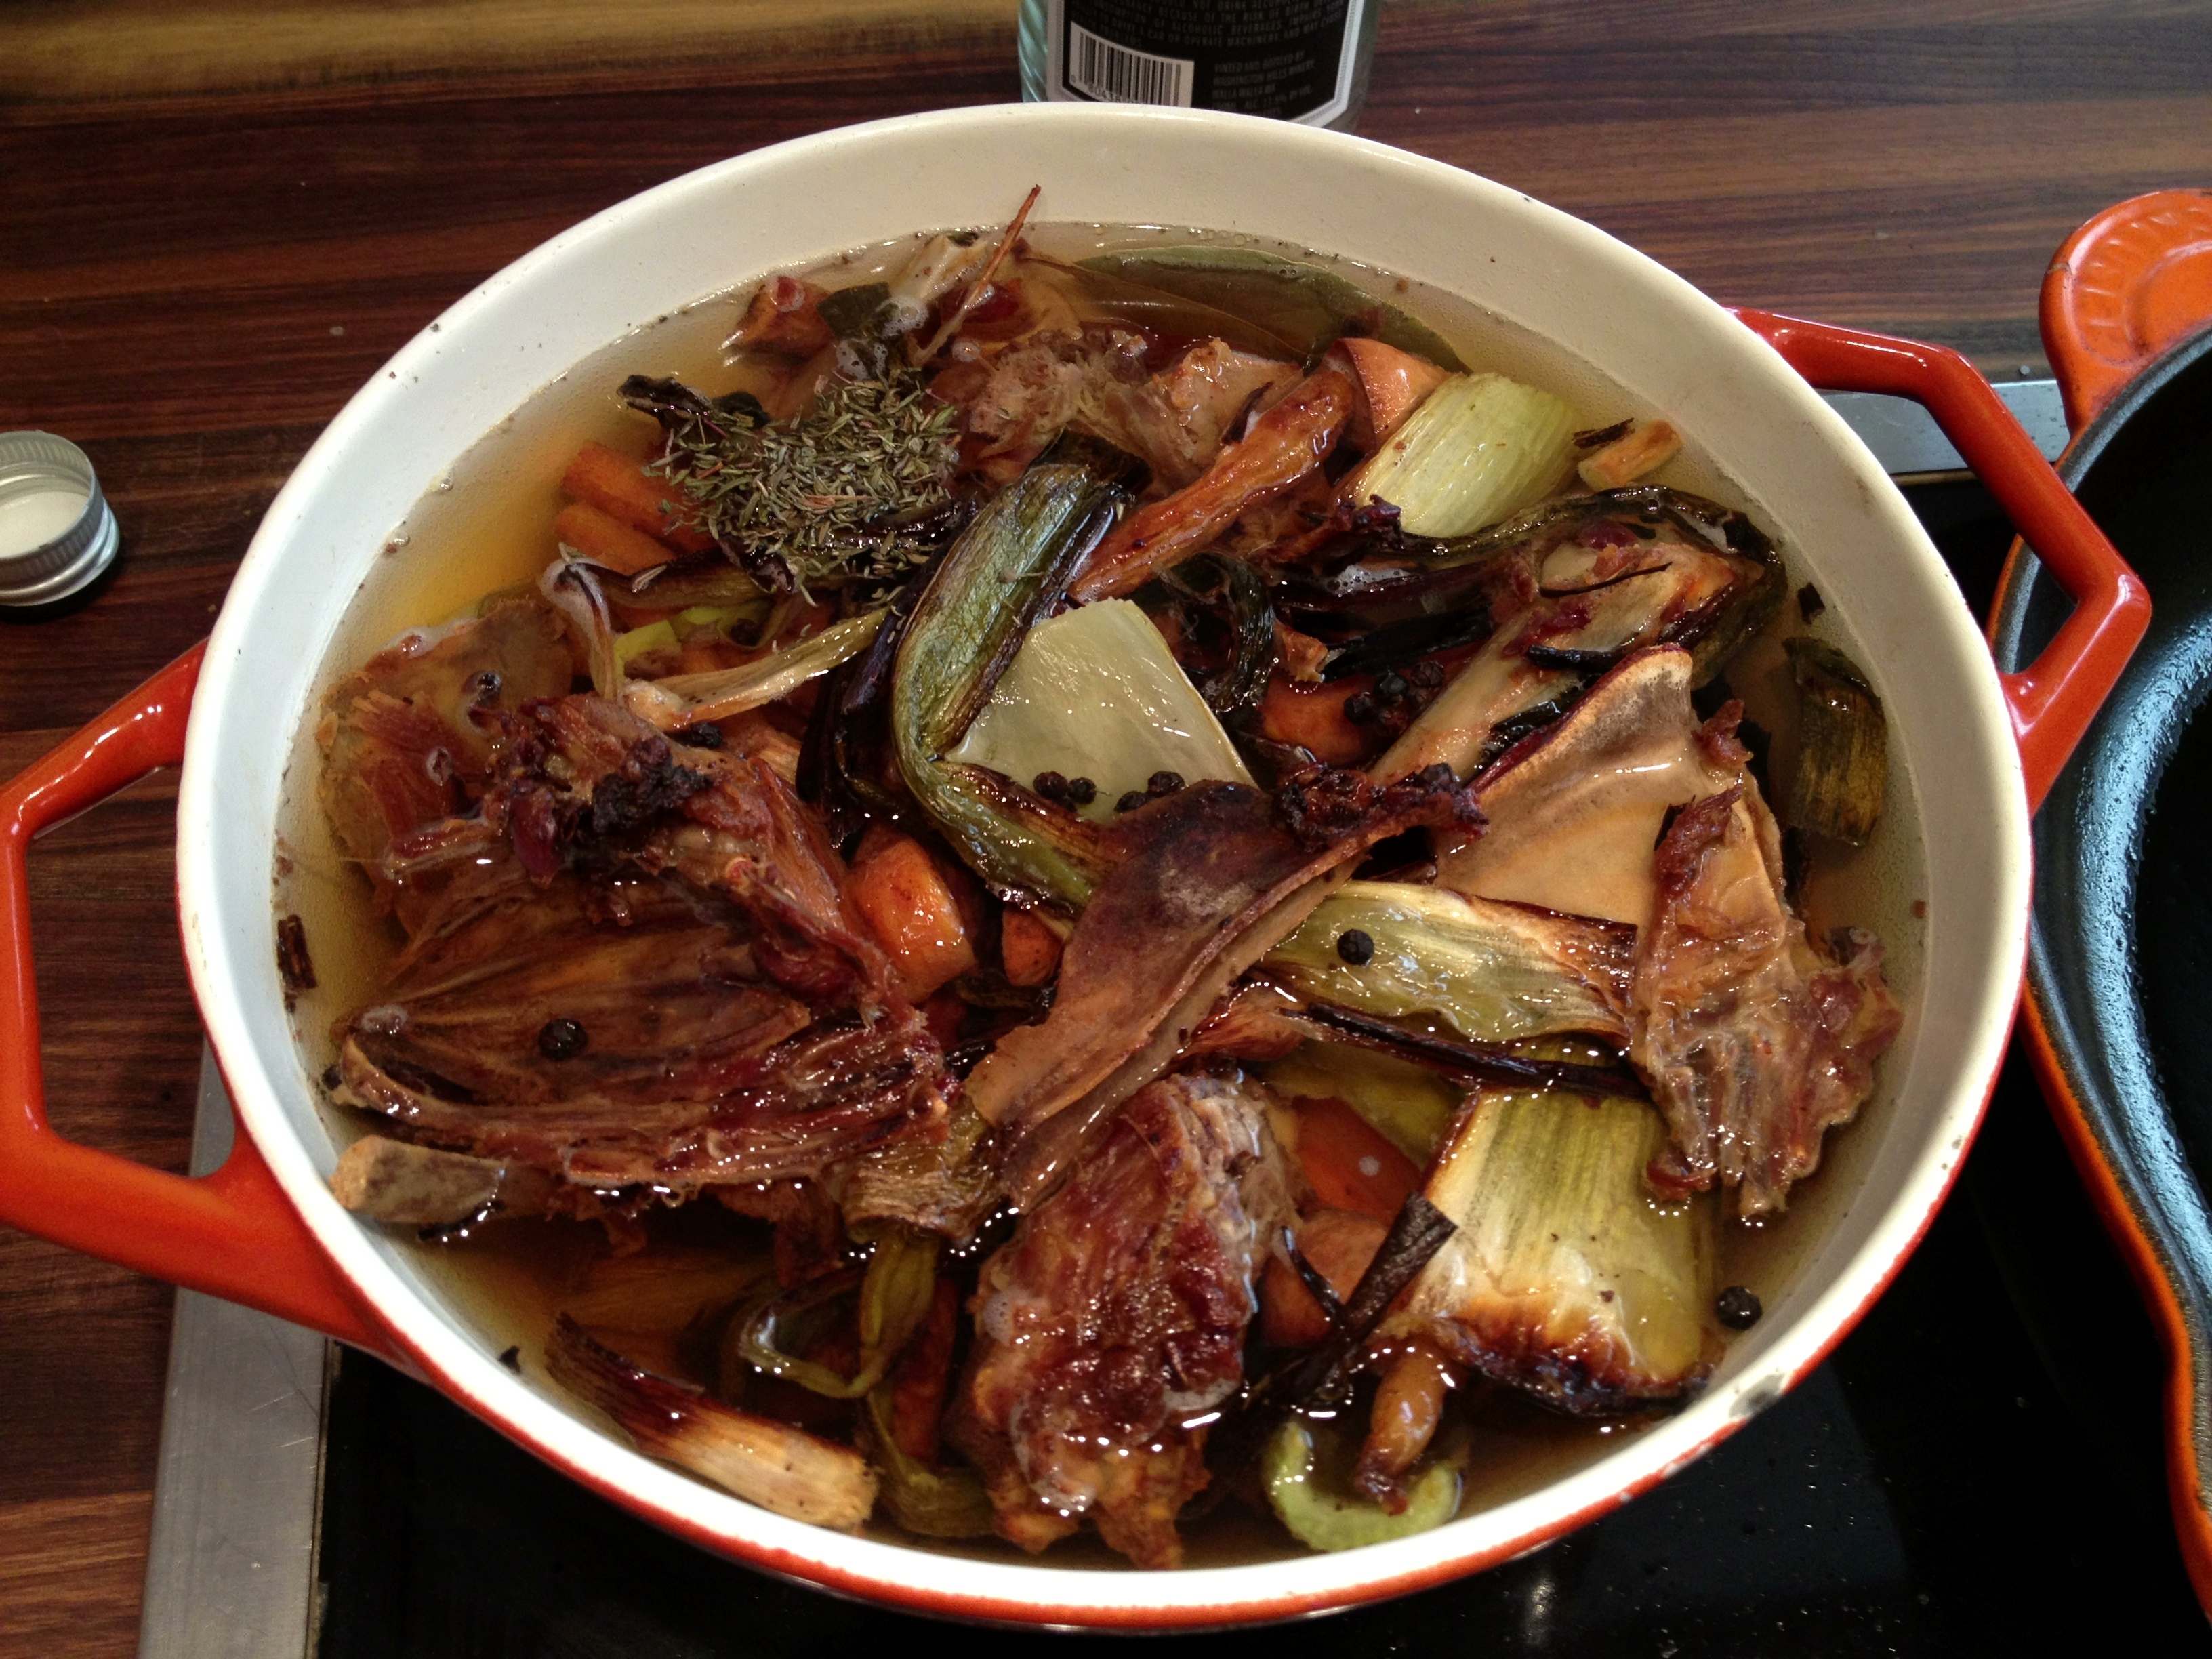
The roasted bones and vegetables then went into a medium-sized pot along with a bay leaf, several whole black peppercorns, a pinch of dried thyme, and enough water to cover. This simmered over medium-low heat while I continued studying.

Duck Stock - Before

After a couple of hours, the liquid was a rich brown color and my apartment smelled unbelievable.

Duck Stock - After

I strained the broth into a bowl and stuck it in the fridge. After an hour, I scraped off the fat that had accumulated on the surface and poured the stock through a fine mesh sieve into a container that I stuck in the freezer. I see some killer gumbo in my future.

Pork, Beans & Greens

I flew home last Tuesday from an intense two-week study trip to New Orleans. OK, there may have been a little fun thrown in there. But, since then, it’s been all about work and school. I spent most of the weekend reading and writing, but I did manage to carve out some time to cook those beautiful yellow eye beans from Cayuga Pure Organics that I picked up last month.

Dried beans may seem intimidating, but they are infinitely better than canned and it’s honestly hard to screw them up. They’re also cheap and a great source of nutrition. Ideally, you soak them overnight, after which they should look something like the photo below. But the quick-soak method is just fine. Add the beans along with enough water to cover them to a pot, bring to a boil over high heat for a few minutes, and then let soak for a couple of hours. Whichever method you choose, be sure to drain them.

Soaked Yellow Eyed Beans

Yellow Eye Bean Stew

  • 1 pound dried yellow eye beans, soaked overnight and drained
  • 6 ounces bacon, roughly cut
  • 3 medium onions, chopped
  • 4 carrots, chopped
  • 5 celery stalks, chopped
  • 4 garlic cloves, peeled and halved
  • dried, smoked chili peppers (to taste)
  • 1 pound smoked pork neck bones (A ham hock or even a smoked turkey wing or two would also do the trick.) 
  • 1 bay leaf
  • salt and pepper to taste
  1. Render the bacon in a large dutch oven over medium heat.
  2. Add the onions and cook until wilted but not yet browned.
  3. Add the celery and carrots and cook for a couple more minutes.
  4. Add the beans, garlic, dried chili peppers, neck bones, bay leaf, and enough water to cover.
  5. Bring to a boil and then let simmer until the beans are tender, about two hours. (If by chance you just tossed in a few peppers from your extensive and unlabeled collection, you might want to taste the broth midway through. If it has already reached that sinus-clearing point but is just shy of bringing tears to your eyes, it’s probably time to remove the chilis.)
  6. Remove the neck bones, strip off any remaining meat, chop roughly, and add back to the pot.
  7. Add salt and pepper to taste.

BeforePre-Cook

AfterYellow Eyed Beans with Pork

I love me some beans. And I love them even more when they’re served with greens. I cooked these up on Sunday night, took a nice helping over to my neighbors’ apartment, and have been eating the rest throughout the week along with some mustard greens that I had in the fridge.

Last night, I tossed the beans, raw mustard greens, and some cherry tomatoes with an apple cider and whole-grain mustard vinaigrette.

Yellow Eyed Bean and Mustard Green Salad

Tonight, I heated the beans up with some additional water, added the mustard greens, and simmered until they were lightly cooked. A few splashes of a vinegar-based hot sauce was the finishing touch.

Yellow Eyed Bean and Mustard Greens Soup

Lima Beans with Ham and Freekeh

There’s a new kid at the Grand Army Plaza Greenmarket. Founded in 2003, Cayuga Pure Organics‘ mission is to create a food system that works. Along the way, they are producing some beautiful dried beans and grains. On Saturday I bought some exceptionally pretty yellow-eyed peas, which I look forward to reporting on in a future post.

Yellow Eyes

I also bought half a pound of freekeh, a grain I’d heard of but didn’t know much about. The Internet tells me that it’s actually green wheat that has been burned to remove the straw and chaff, giving it a smoky flavor. Like many whole grains, it’s high in protein and fiber and has a low glycemic index. My hunch that it would be toothsome and hold up to the lima beans I was planning to cook proved to be true.

Lima Beans with Ham and Freekeh

  • 1 pound dried white baby lima beans, soaked overnight and drained
  • 2 ounces bacon (plus a little olive oil if your bacon is particularly lean)
  • 2 large onions, chopped
  • 4 carrots, peeled and chopped
  • 5 turnips, peeled and diced
  • 1 cup red wine
  • water and/or chicken stock
  • 2 teaspoons dried rosemary
  • 1 teaspoon or more crushed red pepper flakes
  • 1 bay leaf
  • 1 pound ham, cut into cubes
  • 1/2 pound freekeh or other whole grain wheat such as spelt, farro or rye
  • salt and pepper
  1. Render bacon (plus olive oil if needed) in a large dutch oven over medium heat.
  2. Add onions and cook until they start to become translucent.
  3. Add carrots and turnips (or whatever root vegetables you have on hand) and cook for a few more minutes.
  4. Add the lima beans, red wine, and enough water or chicken stock to cover. Add rosemary, red pepper flakes, bay leaf, and ham. Bring to a boil and then lower to a simmer.
  5. After half an hour, stir in the freekeh.
  6. Let simmer for 45 minutes or so until the lima beans and freekeh are tender but not yet mush. Add salt and pepper to taste.

Lima Beans with Ham and Freekeh

WARNING: This makes a lot of food and is very filling. I ate a decent portion, gave some to my neighbors (who hit me back with some tasty steamed mussels), and still have five portions waiting in the fridge–which is not such a bad thing given that I have a ton of reading to do this week, a big work event on Thursday, and a research paper due on Friday.

Is It Spring Yet?

Despite having lived in New York for more than two decades, I am newly disappointed each March to discover that it is still winter. School, work, and a chronic lack of sunshine conspired to make this past week quite challenging. By the time Friday rolled around, I was ready for some relaxation in the form of a specialty cocktail.

Is It Spring Yet?

  1. Add a shot (or more if you’ve had as rough week as I’ve had) of white rum and two to three times as much mango nectar to a rocks glass.
  2. Use a microplane or the fine holes of a cheese grater to grate some fresh ginger into your glass and give it a stir. (Your index finger works fine.)
  3. Pour some Prosecco or another dry sparkling wine on top, add a squeeze of lime, and plop in a large ice-cube.

This cocktail pairs beautifully with takeout Indian food and your sister and brother-in-law’s HBO on Demand while your nephew slumbers in the next room.

Is It Spring Yet goes down so easy that you might find yourself feeling less than stellar the next day. Fortunately, there’s a cure for that, and the ingredients can all be found at the Grand Army Plaza Greenmarket – even in early March.

Not Yet Spring Breakfast

  1. Get your ass out of the house. Be sure to take gloves; it’s still cold. Seriously.
  2. Grab some coffee on the way to the farmers market. (If you failed to bring gloves, this will help.)
  3. Pick up some fresh Madura Farms shitaake mushrooms, an organic whole wheat sourdough miche from Bread Alone, a hunk of Cato Corner Farm Farmstead Cheeses’ Dairyere and, if you don’t have some stashed in the fridge, a shallot and some eggs.
  4. Head home, remove your pants. In that order.
  5. Add half a tablespoon of unsalted butter to a small skillet over medium heat. Once the foaming has subsided, add a finely minced shallot and sauté for a few minutes. Sprinkle a little thyme over the top and then add halved or quartered mushrooms. Stir occasionally, allowing your mushrooms to brown. At some point, add salt and pepper.
  6. Lay thin slices of cheese atop sliced bread and broil until bubbly and browned.
  7. Turn the heat under your pan down a tad, slide the mushrooms onto a plate, add a little more butter and fry an egg. A bit of water and a lid will help cook the white while preserving the runny yolk. 
  8. Assemble the components as you see fit, grind a little pepper over the top, and enjoy.

Image

Beet, Apple and Arugula Salad

I just got back from an indulgent long weekend in Baltimore. Vacation eating included fried catfish and collards, crab cakes, oysters, half a bacon cheeseburger, dim sum, and shrimp and grits–washed down with a Bloody Mary, several bottles of Natty Boh and a whole lot of red wine. I had just one day to recover before today’s lunchtime tasting at The Four Seasons Restaurant for an upcoming gala. Somehow I managed to power through the afternoon despite having sampled five wines, six appetizers, six entrees and six desserts.

I worked late and still wasn’t all that hungry by the time I got home, which is good because there wasn’t much left in the cupboard. I had some arugula that had miraculously survived the two weeks since the roast chicken dinner I made for my sister. And I had plenty of apples and root vegetables from my winter CSA share.

Beet Apple Arugula Salad

Beet, Apple and Arugula Salad

  • 1 small shallot, minced
  • 1 tablespoon good quality olive oil
  • 1 tablespoon honey vinegar or apple cider vinegar
  • 1 teaspoon honey
  • 1 teaspoon creamy Dijon mustard
  • 1 pinch salt
  • black pepper
  • 5 small beets (The Chioggias pictured above were lovely, but regular beets will taste just as good.)
  • 2 small, firm apples
  • 4 cups arugula

Combine first seven ingredients in a jar and shake vigorously. Arrange arugula in a wooden bowl. Peel and rinse beets. Using your peeler (or a mandoline if you’re fancy like that), shave the beets into the salad bowl. Quarter your apples, slice out the core, and use the peeler to shave thin slices into the bowl. Give the dressing one last shake, drizzle it over you salad, and toss to combine.

I suspect that this salad would be great with orange or grapefruit pieces that had been supremed, but the desiccated clementines on my dining table didn’t make the cut. Goat cheese or burrata would give it some heft. Whatever variation you choose, this salad would be a lovely way to start a romantic dinner for two. It also makes a fine meal for someone recovering from serious gluttony.

On Winter Storms and Chicken Stock

Winter storm Nemo passed over New York City last night, leaving us with somewhere around a foot of snow. Mayor Bloomberg encouraged everyone to stay home. But my brother-in-law was stranded in Los Angeles and my sister Hannah was going a bit nuts trapped inside with their teething one-year-old, Wally. So I donned my shearling-lined Bean boots (thanks, Mom!) and headed outside.

We had plans to have dinner delivered. But once I experienced the sharp little ice chunks pelting my face, I couldn’t imagine asking someone else to do so on a bike. Luckily, Brooklyn Victory Garden is halfway between our apartments. I scanned their well-curated selection of meats and immediately hit on roast chicken as the ideal meal for a blizzard. I also grabbed some Satur Farms wild arugula (so tasty) and a demi baguette. As she was ringing me up, the woman behind the counter asked if I had bought this chicken before, to which I replied no. “They’re great,” she said, “but you’ll want to remove the head and feet before roasting.” I thanked her for the advice and headed across the street for a lemon and some shallots.

By the time I got to my sister’s, the ice chips had given way to light, fluffy snow. Up on the 10th floor of her high rise, the flakes whirled in every direction, but mainly straight up–a remarkable effect that I could have watched for hours. But there was a baby to be entertained. We played bouncy. We built towers and knocked them down. We read books. We hammered balls into holes and sometimes just hammered people.

By 7:00, Hannah was nursing Wally to sleep and the chicken was in the oven. It was stuffed with shallot and lemon slices; coated in salt, pepper, and olive oil; and nestled in a bed of carrots and shallots. (I find it criminal not to allow some vegetables to cook in those delicious pan drippings.) I poured some wine and commenced to watch the snow. Around 8:00 we sat down to a dinner that included the roast chicken and carrots, arugula dressed with a shallot and balsamic vinaigrette, and the baguette, which I had crisped in the oven while the chicken rested. This was my first encounter with a Bo Bo chicken, but I can assure you it will not be my last. We sat at the table for quite some time picking at the bones, talking, and knocking back wine.

I had planned to depart before the worst of the storm, but the conversation (and, it is safe to assume, the wine) got the better of me. By the time I made it out to the street (chicken head, feet and bones tucked into my bag), Brooklyn was a winter wonderland and the streets were nearly deserted. It was breathtaking.

Image

Today I am content to sit at home watching old movies, catching up on a long-forgotten knitting project, and simmering chicken stock.

Image

It is a wonder to me that anyone ever throws chicken bones away, as homemade stock is seriously easy, makes the whole house smell glorious, and adds that extra little something to just about any savory dish. At the most basic level, you toss a chicken carcass or parts thereof into  a pot with just enough water to cover and simmer. But here are some tricks I’ve picked up over the years.

  1. If you don’t have enough bones yet, or are lacking the time for a proper slow cook, just toss the bones in a plastic bag in the freezer until you are ready.
  2. You can use raw or roasted chicken, or a combination of the two. Raw will yield a lighter, more refined stock while roasted will have a bolder, deeper flavor.
  3. Crack any bones that you can manage. (Note to self: must buy cleaver.) Stock is more about the bones than the meat. Cartilage and marrow are what give a good stock–and, ultimately, a good soup–that velvety mouth feel. Breaking the bones speeds this process. The best stock I ever made was, once it cooled, the consistency of Jell-o.
  4. Add some aromatics, vegetables, herbs and/or spices. Onions, garlic, carrots, celery, parsley, thyme, bay leaves, red pepper flakes, pepper, and allspice will give you a more complex flavor. You’re not limited to these ingredients, but they all provide a reasonably neutral base from which you can build. Fennel, parsnips, rosemary, and the like would be delicious, but may point your ultimate dish in a specific direction.
  5. Keep your stock at a low simmer. A full boil will emulsify the fat and yield cloudy stock.
  6. If scum appears at the top of the pot, skim it. This will also contribute to a clear stock.
  7. Cook your stock for as long as you can stand it and at least one hour. I had a roommate who would leave the pot on low overnight, which I found alarming from a safety perspective (though her stock was good). Four hours is great. Add water as needed to keep your ingredients submerged.
  8. If you’ve got limited storage space, let the stock cook down until it is concentrated.
  9. Don’t add a lot of salt. It is very easy to oversalt when you are cooking something down and you can always season at the end of the process and/or when making your final dish.
  10. Strain the stock through a fine mesh strainer, pressing hard on the solids to extract as much liquid as possible.
  11. Cool your stock, pop it in the fridge overnight, and then scrape off the layer of fat that forms on the top.
  12. Save the aforementioned fat in a container in the freezer and use it in place of or in addition to oil or butter for some extra flavor. I find that potatoes are particularly tasty. My grandma has fond memories of coming home from school to a piece of toast slathered in schmaltz, but I have yet to go there.
  13. If you’re not going to use the stock right away, pour it into ice cube trays, freeze them, and then drop them in a plastic baggie. You’d be amazed what a single cube of good quality chicken stock can do for a lackluster stir-fry or pasta sauce.

This technique works fine for turkey as well and has become my Black Friday ritual. But, as you can see, I ran into some problems when I tried to use Wally.

Image

Cassoulish

I awoke Thursday to yet another glorious morning in San Juan. It was sunny and the temperature was holding steady around 82. I was staying a couple of blocks from Ocean Park Beach, where I’d spent a lot of time dozing and gazing at the view.

Ocean Park Beach

Tragically, it was the last day of vacation. My flight arrived at JFK in the depths of winter. An 80-degree temperature drop in a little over four hours is no joke. I survived the taxi line and the ride home clad in yoga pants, a tank top, a cardigan, and a pair of flats that still had sand inside. I walked in the door of my apartment and immediately donned silk long underwear, which I have been sporting pretty much ever since.

I managed to make the trek up to the Upper West Side that night for the New York Abortion Access Fund‘s Celebrate Access Awards, but there was no way I was leaving my house on Friday. A hearty dish was in order, something that would necessitate leaving the oven on for an extended period of time. I had some French navy beans I’d picked up during a shopping spree at Kalustyan’s and a wide variety of root vegetables from my January CSA share. This plus whatever meat I had socked away in the freezer would surely warm me.

Cassoulet is a slow-cooked casserole originating from the South of France. As with many classic French dishes, cassoulet involves very specific ingredients and elaborate preparation. I have had it once or twice and it is tasty, for sure. But it’s hard to go wrong with beans, meat, and a slow braise. And so I present you with…

Cassoulish

  1. Pre-soak a pound of dried beans for at least six hours and then drain. The aforementioned navy beans were good, but I could see any kind of white bean working. Use black beans, kidney beans, or pintos and you’re veering into feijoada territory. This would not be a bad thing.
  2. Preheat your oven to 350.
  3. Render some smoked pork in a large dutch oven over medium heat. I used about four ounces of lean slab bacon cut into quarter-inch cubes.
  4. Add some well seasoned sausage and stir while it browns. I went with a few links of Spanish chorizo from Despaña, but Italian sausage, saucisson, kielbasa, or pretty much anything else would work.
  5. Pull our your porky bits and reserve. At this point, you could sear off some additional meat–duck, goose, lamb or whatever–in the fat left behind. But I didn’t have any of these and my dish came out A-OK.
  6. Add some onions and/or leeks and cook until they are wilted. I went with three medium onions, diced. Add some garlic (8 cloves thinly sliced in this case) and stir just until fragrant. 
  7. Scoot your aromatics to the edge and add a couple of tablespoons of tomato paste. Stir constantly being sure not to let it burn. 
  8. Add half a bottle or more of hearty red wine, your meat, and any stock that you have on hand. (I used some concentrated turkey stock from last Thanksgiving.) Bring to a simmer.
  9. Add your herbs and spices. I went with a bay leaf, about a tablespoon of chopped fresh rosemary, a good pinch of red pepper flakes, a tablespoon of hot smoked paprika, and a mix of five allspice berries and 30 assorted peppercorns, which I had ground with a mortar and pestle. Marjoram or thyme would be tasty too, I bet. Be sure to add some salt, although you can add more later.
  10. Add a bunch of diced root vegetables. I used six carrots, four rutabagas, and one freakishly large radish. Top this off with enough water that the beans are just submerged and pop it in the oven with a lid. This is what it will look like, more or less.Pre-Baked
  11. Now go about your business.
  12. After three streaming episodes of 30 Rock and a couple of glasses of Tempranillo, take the lid off and top with one and a half stale pitas’ worth of breadcrumbs. Dot with some butter, pop it in the oven and watch another episode.
  13. At this point, you will have likely consumed the better part of a bottle of wine and could use a little food. Dish yourself a small portion, taste, and add more salt to your bowl and to the pot if needed. Stir in the crust that has formed, a quarter cup of red wine vinegar, and some additional water if it’s looking a little dry. Sprinkle the remaining half-pita’s worth of breadcrumbs over the top and pop it back in the oven, lowering the heat to 300.
  14. Stream a couple more episodes while you polish off the wine. Remove your meat and bean casserole from the oven and, regardless of what the Tempranillo is telling you to do, let it stand for at least ten minutes before serving yourself or anyone for whom you have affection.

This make a lot of food, as evidenced by this photo of the Dutch oven minus my serving.

Baked

Fortunately, it reheats brilliantly in the oven. Just stuff some into an individual ramekin, top with some water and bake in the oven until your blog post is done–or until the smell overwhelms you and you decided that you’ve earned a break.Reheated

Pesto Redux

I find myself working from home today while trying to fend off an illness whose most notable symptom is the sensation that there is a vise across the bridge of my nose. I left work early yesterday and it was all I could do to swing by the drugstore for some (to be used for legal purposes only) decongestants.

I rolled out of bed this morning, made some coffee, and got to work. By 12:30 I had sent 43 emails and held two conference calls. (Remember when sick days were a thing?) The vise was tightening. I was hungry and I had failed to stock the fridge. It was chilly and gray and I had no interest in donning pants. I was going to have to make do with what I had.

There was some kale from my CSA, a quarter cup of ricotta cheese that seemed to still be good, and an open bag of whole wheat penne. While I am not above making this a meal, it seemed a little sad. Then I remembered that rosemary-basil pesto I had frozen during the last gasps of summer and it all came together. Twenty minutes later, I was sitting down to a delicious lunch – and my next conference call.

Image

A Hoppin’ New Year

I put the finishing touches on my first grad school research paper a little after 1:00am on December 20th, sacked out for five hours, worked a full day, and then attended my final class. I arrived home around 9:00pm, stuffed some food into my mouth and some clothes into a suitcase, and hit the road for the twelve-hour drive to Gatlinburg, Tennessee. Needless to say, I was not in great shape by the time we arrived. I spent the first couple of days mentally and physically recovering.

When I came to, I found myself in a lovely house nestled in the Smoky Mountains, surrounded by good friends who’d driven in from Nashville and from Athens, Georgia. There were two wood-burning fireplaces, a pool table, a (kinda) hot tub, and plenty of booze. I was the first person up each morning and spent the earliest hours of my day under a blanket on the couch in front of a picture window. I alternated between indulging in a juicy novel and watching the mountains disappear and reappear though the mist.

Smokey View

On December 23rd, we hit Dollywood, Dolly Parton’s amusement park in Pigeon Forge. I don’t go in much for heroes, but Dolly certainly is one of mine and I have wanted to visit Dollywood ever since I learned of its existence.

We managed to hit all four of the excellent roller coasters, twice. My favorite was the Wild Eagle, a triumph of engineering in which you are hanging in a seat with nothing above or below. After a delightfully unnerving initial drop, the sensation is one of soaring. Our fear was replaced by a feeling of weightlessness that left us giddy.

Dollywood Coasters

The Chasing Rainbows Museum offered a staggering array of photos of Dolly with celebrities (Grace Jones being my personal favorite), a look back at her childhood and early years in Nashville, and an impressive collection of fan art.

Dolly's Attic

Downstairs were case upon case of clothing from Dolly’s movies and tours. My closet suddenly seems so drab.

Dolly's Wardrobe

We also got to check out Dolly’s tour bus and one of her (in)famous wigs.

Dolly's Wig

The quirky guy leading the tour got a shot of our whole group.

Dolly's Bus

Our day at Dollywood concluded with a Christmas-themed light parade led by a zealous woman with a banjo.

Dollywood Light Show

The next day was Christmas Eve, our last night in Gatlinburg. After taking stock of our food reserves, I headed out do some final grocery shopping. (Miraculously, the booze supply had held.) I knew that I wanted to use the dried black-eyed peas that our Nashville friends had brought, so I was thinking Tex-Mex as I walked into the local Food City. But one look at the freestanding cooler full of collard greens and I had a new plan. These greens were glorious–and huge; one bunch would be plenty to feed all six of us. A few aisles later, I stumbled on a shockingly large display of smoked hog jowl. This store and I were clearly on the same wavelength.

The nice young man who checked me out took one look at my cart and said, “You’re a little early, aren’t you?” For those that don’t know, collards and black-eyed peas are both traditional New Year’s foods in the Southern United States. The peas offer luck and the greens symbolize wealth. Black-eyed peas, which are generally served with rice in a dish called Hoppin’ John, came over with West African slaves. Collard greens, which were considered weeds by many plantation owners, were a mainstay of the slave diet. The hog jowl and other less desirable cuts would have been more readily accessible to the slaves. This combination of ingredients is cheap, easy to cook, and can simmer away untended.

My version is a bit fancified, to be sure, but its spirit is true–as its ability to heal after a night of over imbibing.

Hoppin' John Stew

New Year’s Day Stew

  • 1 pound dried black-eyed peas
  • 1 tablespoon olive oil
  • 3-4 ounces smoke hog jowl (slab bacon would also be fine), cut into 1/4″ cubes
  • 2 medium yellow onions, diced
  • 8 cloves of garlic, sliced
  • 1/2 bottle of cheap red wine
  • 16 ounces of chicken stock
  • 2 bunches of collard greens, large stems removed and cut into thick ribbons
  • 2 large tomatoes or 1 can whole tomatoes, chopped
  • 8 ounces apple cider vinegar
  • hot sauce, salt and pepper to taste
  1. If you’ve got it more together than I do, soak the beans in cold water overnight. If not, no worries. Just add them to a pot with enough water to cover them by a few inches, bring to a boil, simmer for a few minutes, and then let stand for an hour or more. Either way, be sure to drain the water.
  2. Add olive oil to a large heavy-bottomed pot over medium heat. Add your pork and let render, stirring occasionally. Cook the onions for a few minutes and then add the garlic. Continue cooking until onions are translucent, lowering heat if they start to brown.
  3. Add the soaked and drained beans, some leftover red wine, the chicken stock, tomatoes and a good pinch of salt. If the beans aren’t covered, you can round this out with some water. Let simmer until you sense hunger. One hour is probably enough, but two hours will be even better. Add 1/4 cup of apple cider vinegar, some hot sauce and lots of black pepper.
  4. Keep simmering while you put a pot of long-grained white rice on to boil. After 10 minutes or so, stir in the collards. (You may have to work in batches, letting each cook down a bit before you can cram the rest into the pot.)
  5. When your rice is just about done, taste the stew and adjust the seasoning with additional salt, pepper, cider vinegar, and hot sauce. (I went with plenty more of all of these.) You can let this simmer or even turn off the heat for a while if you’re not ready. I tend to like my collards a little more al dente than is traditional, but I leave that up to you. Serve the stew ladled over the rice in low bowls and get ready for a glorious new year.

Christmas Dinner

End-of-Semester Snacks

It’s the tail end of my first semester of graduate school. In hindsight, it should have occurred to me that this would coincide with the end-of-year fundraising push at work. I have a lot to accomplish over the next eleven days and very few unscheduled hours during which to accomplish it all. My dining table has been converted into a staging ground for my research papers. My sink is full of dirty dishes from the snacks that I’ve been meting out as rewards. Actual meals have fallen by the wayside, primarily because cooking would just be another form of procrastination.

Tonight for dinner, I reverted to two of my favorite snacks. The first is a graham cracker with crunchy peanut butter and raw honey. (Sometimes I substitute raisins for the honey, but I am out of raisins owing to an unfortunate pantry moth situation.) I chased this with half of an avocado filled with half a tablespoon of very good quality aged balsamic vinegar and sprinkled with fleur de sel. These two snacks provide solid nutrition and, when paired with a glass of Spanish Garnacha and a streaming episode of 30 Rock, will hopefully ward off that dream about showing up to your last class with an incomplete research paper and no pants.

Avocado